कला
सौंदर्य और कल्याण
हस्तशिल्प
संस्कृति और इतिहास
मनोरंजन
पर्यावरण
खाद्य और पेय
रिवर्स इंजीनियरिंग
विज्ञान
खेल
प्रौद्योगिकी
पहनने योग्य
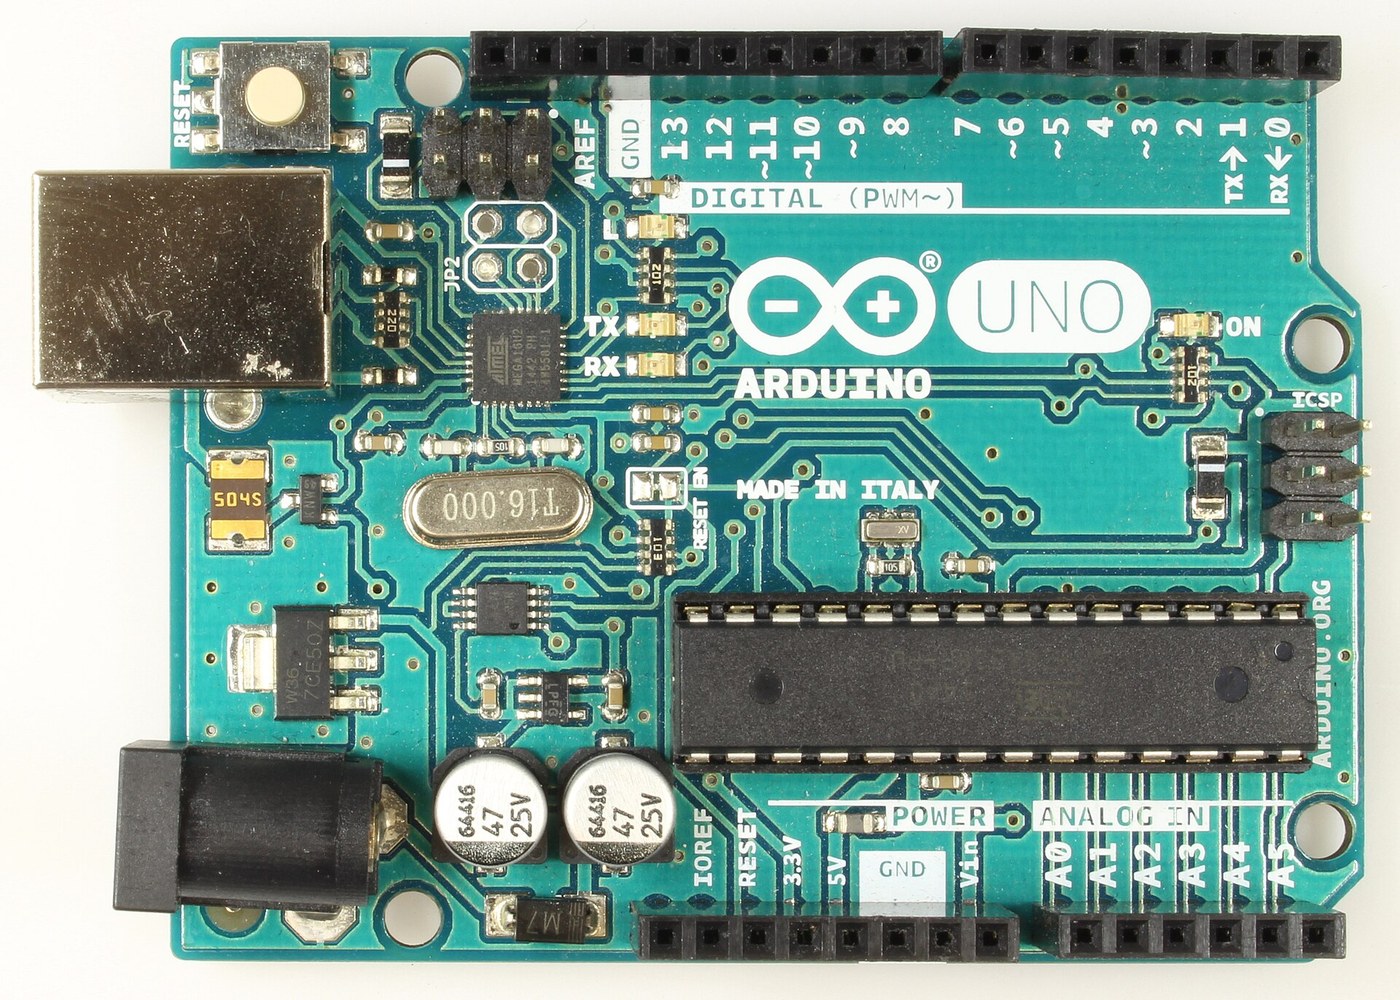


Arduino Uno R3: Assembled from Arduino's Open UNO-TH Rev3e Design Files and Flashed over ICSP
The Arduino Uno R3 is open hardware: Arduino publishes its schematic and board layout. This blueprint builds one from those files, part by part, then loads the firmware into its two processors.
Result: an Arduino Uno R3. An ATmega328P (16 MHz, 32 kB flash, 2 kB SRAM, 1 kB EEPROM) runs your programs; an ATmega16U2 turns USB into its serial link. It runs from USB (5.5 V at most) or 6-20 V at the DC jack.
Source: Arduino UNO-TH_Rev3e design files and the A000066 schematic and datasheet (Arduino, CC BY-SA). Unknown: how every bought part is made; no public source in hand says. The soldering method is ours. Picture: Wikimedia Commons.
उन्नत
1 day
निर्देश
1
1
Get the bare board
Get the bare board
Have the two-layer board made to Arduino's UNO-TH_Rev3e board layout (the .brd file of the design files). Check it against the schematic before fitting anything.
इस चरण के लिए सामग्री:
 मुद्रित परिपथ बोर्ड1 UNO-TH Rev3e layout
आवश्यक उपकरण:
 आवर्धक लूप
2
2
Fit the small surface-mount parts
Fit the small surface-mount parts
Solder the chip parts to their marked places: resistor arrays RN1 (10K), RN2 and RN4 (1K), RN3 (22R); R1, R2 (1M); capacitors C1, C2, C4-C7, C10 (100n), C3, C8 (1u), C9, C11 (22p); varistors Z1, Z2; ferrite bead L1; inductor L2 (10 uH); diodes D2, D3; LEDs ON (green), L, RX, TX (yellow). Ours: flux, tweezers and hot air or a fine iron, checked under a loupe.
इस चरण के लिए सामग्री:
 चिप प्रतिरोधक सरणी4 RN1-RN4
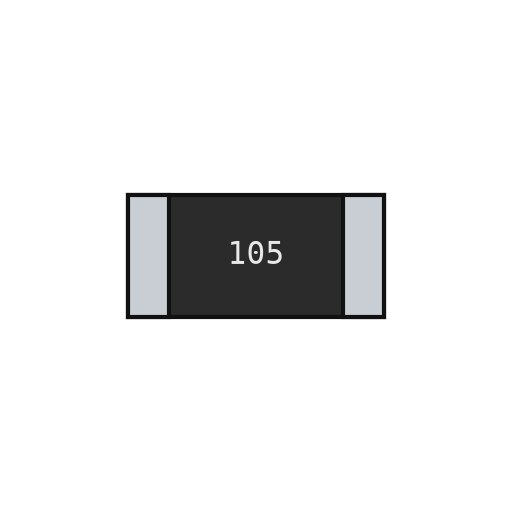 चिप प्रतिरोधक2 1M
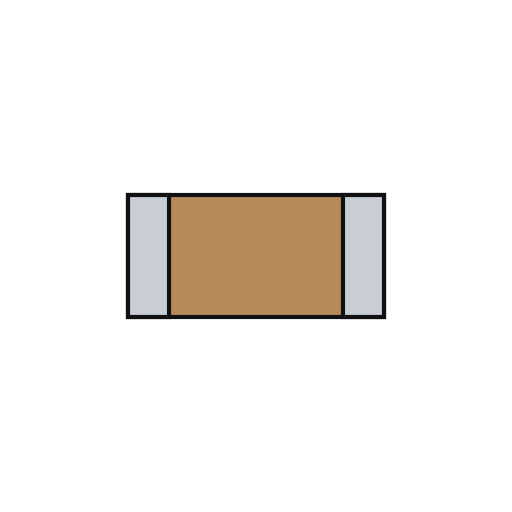 सिरेमिक चिप संधारित्र11 7x100n, 2x1u, 2x22p
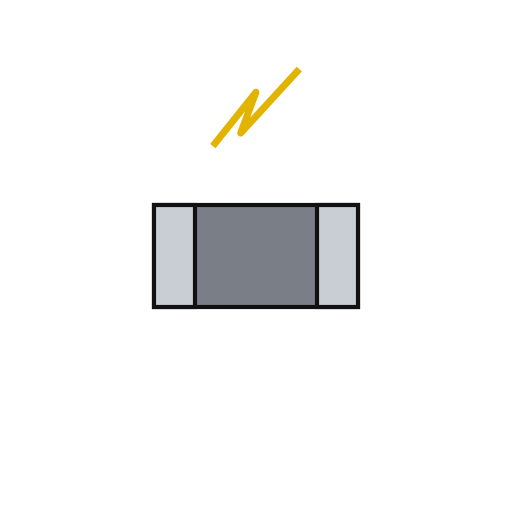 चिप वैरिस्टर2 Z1, Z2
 फ़ेराइट मनका1 L1
 सतह-माउंट प्रेरक1 L2
 सतह-माउंट डायोड2 D2, D3
 चिप LED4 1 green, 3 yellow
 सोल्डर तार1 a little
आवश्यक उपकरण:
 फ्लक्स
 नुकीली नोक वाली चिमटी
 गर्म हवा री-वर्क स्टेशन
 टाँका लगाने की छड़आवर्धक लूप
3
3
Fit the power and chip parts
Fit the power and chip parts
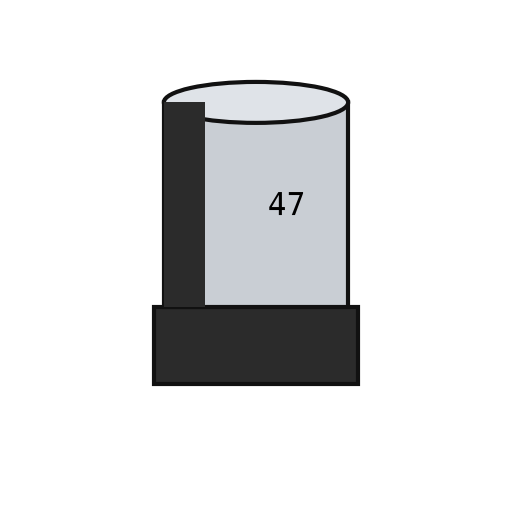
Solder the ATmega16U2 (U3), the 16 MHz resonator Y2 and crystal Y1, the 5 V regulator NCP1117 (U1) and 3.3 V regulator LP2985 (U2), the LMV358 op-amp (U5), the FDN340P transistor (T1), the M7 diode (D1), the 500 mA resettable fuse (F1) and the 47 uF capacitors PC1, PC2 with their polarity as marked.
इस चरण के लिए सामग्री:
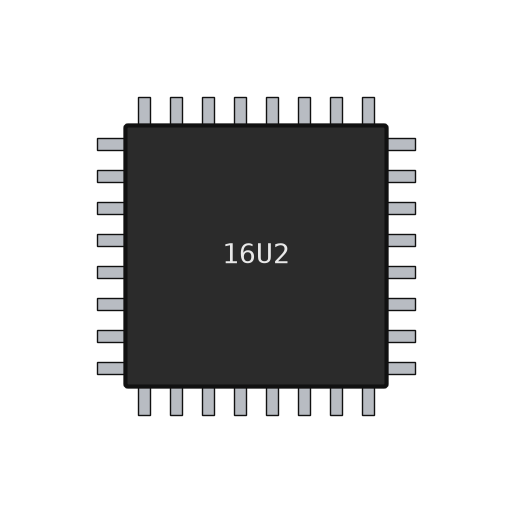 ATmega16U2 माइक्रोकंट्रोलर1 U3
 पीज़ोइलेक्ट्रिक सिरेमिक अनुनादक1 Y2
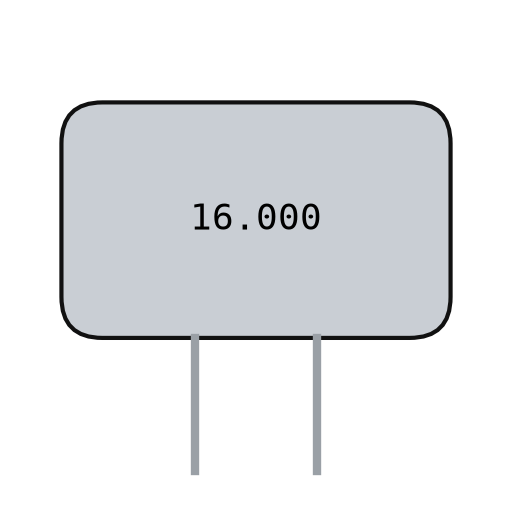 क्वार्ट्ज़ क्रिस्टल1 Y1
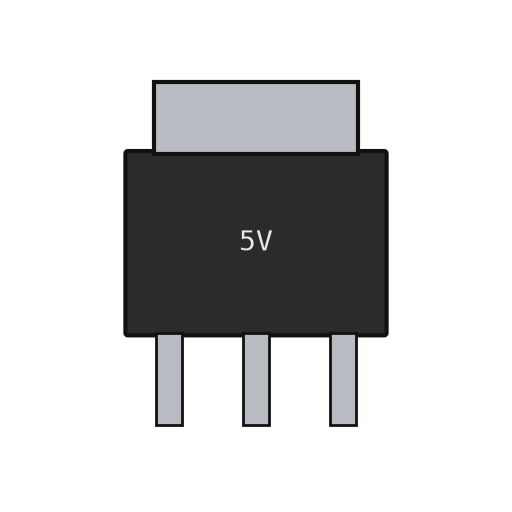 रैखिक वोल्टेज नियामक2 U1 5 V, U2 3.3 V
 ऑप-एम्प आईसी1 U5 LMV358
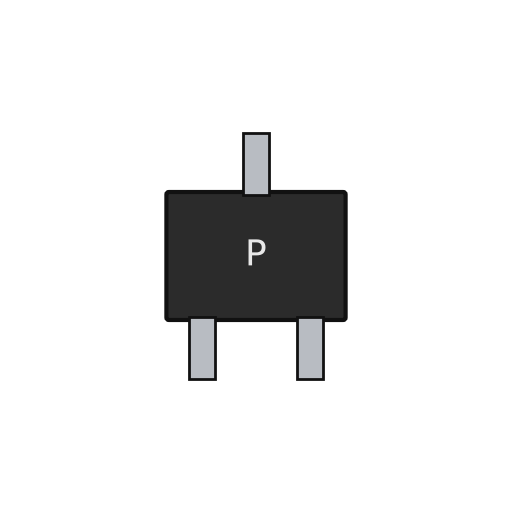 P-चैनल MOSFET1 T1सतह-माउंट डायोड1 D1 M7
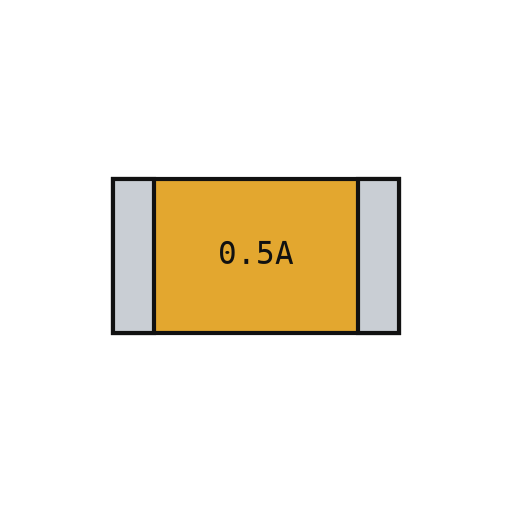 रीसेट होने वाला फ़्यूज़1 F1
 ध्रुवीय चिप संधारित्र2 PC1, PC2सोल्डर तार1 a little
आवश्यक उपकरण:
फ्लक्सनुकीली नोक वाली चिमटीगर्म हवा री-वर्क स्टेशनटाँका लगाने की छड़आवर्धक लूप4
4
Fit the through-hole parts
Fit the through-hole parts
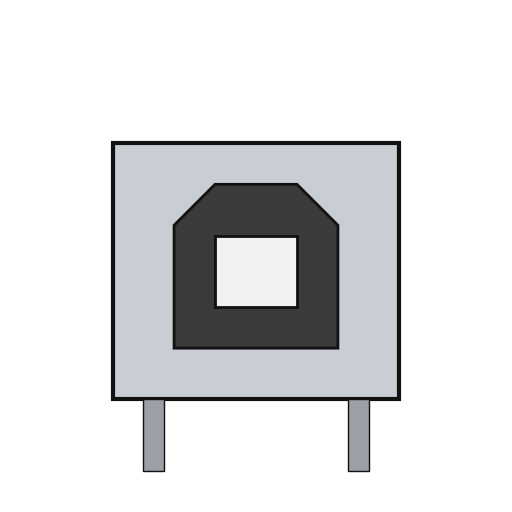
Solder the USB-B socket (X2), the DC jack (X1), the reset switch, the female headers (one 10-way, two 8-way, one 6-way) and the two 2x3 ICSP headers. Seat the ATmega328P in its place (ZU4).
इस चरण के लिए सामग्री:
 USB-B सॉकेट1 X2
 बैरल पावर सॉकेट1 X1
 दाब बटन1 RESET
 पिन हेडर6 10x1, 2x 8x1, 6x1 female; 2x 3x2 ICSP
 ATmega328P माइक्रोकंट्रोलर1 ZU4सोल्डर तार1 as needed
आवश्यक उपकरण:
टाँका लगाने की छड़5
5
Flash and check
Flash and check
Check with a meter that 5 V and GND are not shorted. Through the ICSP headers, load the USB-to-serial firmware into the ATmega16U2 and the bootloader into the ATmega328P. Plug in USB: the green ON LED lights, and the blink test in the next step flashes the L LED. Ours: an AVR ISP programmer and a multimeter.
इस चरण के लिए सामग्री:
 Arduino Uno फ़र्मवेयर1 download
आवश्यक उपकरण:
 मल्टीमीटर
 AVR ISP प्रोग्रामर
 USB-B केबल
6
6
The blink test
The blink test
blink_test.ino: the same check as Arduino's Blink example. Upload it over USB from the Arduino IDE with the board set to Arduino Uno; the L LED on pin 13 turns on for one second and off for one second, over and over. If it does, both processors, the USB link and the bootloader work.
blink_test.inocpp
आवश्यक उपकरण:
USB-B केबलसामग्री
24- 1 UNO-TH Rev3e layoutप्लेसहोल्डर
- 4 RN1-RN4प्लेसहोल्डर
- 2 1Mप्लेसहोल्डर
- 11 7x100n, 2x1u, 2x22pप्लेसहोल्डर
- 2 Z1, Z2प्लेसहोल्डर
- 1 L1प्लेसहोल्डर
- 1 L2प्लेसहोल्डर
- 1 D1 M7प्लेसहोल्डर
- 4 1 green, 3 yellowप्लेसहोल्डर
- 1 as neededप्लेसहोल्डर
- प्लेसहोल्डर
- प्लेसहोल्डर
- प्लेसहोल्डर
- 2 U1 5 V, U2 3.3 Vप्लेसहोल्डर
- 1 U5 LMV358प्लेसहोल्डर
- 1 T1प्लेसहोल्डर
- प्लेसहोल्डर
- 2 PC1, PC2प्लेसहोल्डर
- 1 X2प्लेसहोल्डर
- प्लेसहोल्डर
- प्लेसहोल्डर
- प्लेसहोल्डर
- प्लेसहोल्डर
- 1 downloadप्लेसहोल्डर
आवश्यक उपकरण
8- प्लेसहोल्डर
- प्लेसहोल्डर
- प्लेसहोल्डर
- प्लेसहोल्डर
- 2 vendors sell this, none ship to you yetप्लेसहोल्डर
- प्लेसहोल्डर
- प्लेसहोल्डर
- 1 vendor sell this, none ship to you yetप्लेसहोल्डर
यह ब्लूप्रिंट बनाता है
संबंधित ब्लूप्रिंट
ये ब्लूप्रिंट ज्ञान साझा करते हैं — तकनीक, सामग्री या सिद्धांत
CC0 पब्लिक डोमेन
यह ब्लूप्रिंट CC0 के तहत जारी किया गया है। आप बिना अनुमति माँगे इस कार्य को किसी भी उद्देश्य के लिए कॉपी, संशोधित, वितरित और उपयोग करने के लिए स्वतंत्र हैं।
उनके ब्लूप्रिंट के माध्यम से उत्पाद खरीदकर मेकर का समर्थन करें जहाँ वे मेकर कमीशन कमाते हैं जो विक्रेताओं द्वारा निर्धारित होता है, या इस ब्लूप्रिंट का नया संस्करण बनाएँ और राजस्व साझा करने के लिए इसे अपने ब्लूप्रिंट में कनेक्शन के रूप में शामिल करें।