कला
सौंदर्य और कल्याण
हस्तशिल्प
संस्कृति और इतिहास
मनोरंजन
पर्यावरण
खाद्य और पेय
रिवर्स इंजीनियरिंग
विज्ञान
खेल
प्रौद्योगिकी
पहनने योग्य
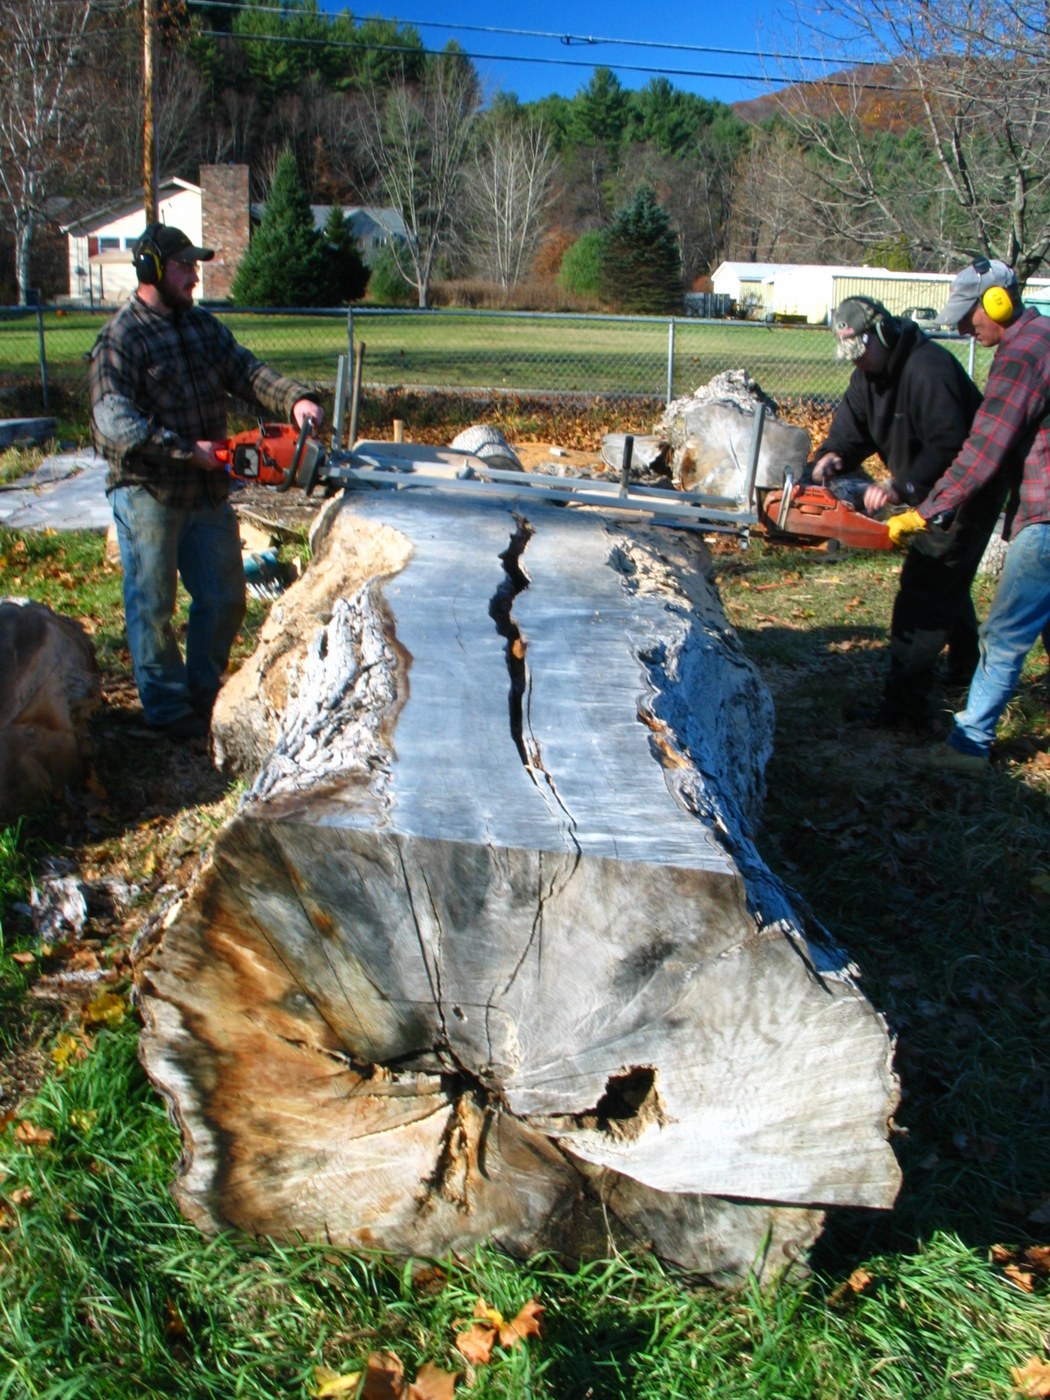


Pine Boards with a Chainsaw Mill
A chainsaw mill is a frame that holds the saw's bar flat at a set height, so the chain rips a log lengthways into boards. The first cut rides on a straight board screwed to the log; every later cut rides on the flat face before it. The green boards are then stacked on stickers to air-dry.
Pine dries fast: a 25 mm board can reach about 14 % moisture in 60 to 90 days in good drying weather. Oak and other slow species take far longer.
मध्यवर्ती
1 day milling, 2–3 months drying
निर्देश
1
1
Pick and prop the log
Pick and prop the log
Choose a straight pine log, 2.5–3 m long, without large knots. Prop it on two short logs so it cannot roll and the chain will not reach the ground.
इस चरण के लिए सामग्री:
 मुलायम लकड़ी के लट्ठे1 टुकड़ा
आवश्यक उपकरण:
 नापने का फीता
2
2
Fit the mill
Fit the mill
Bolt the mill to the chainsaw bar following its maker's instructions. A ripping chain cuts along the grain faster and smoother than a crosscut chain.
आवश्यक उपकरण:
 चेनसॉ (व्यावसायिक वानिकी श्रेणी)
 चेनसॉ चिराई ढाँचा
3
3
Screw on the guide board
Screw on the guide board
Screw a straight board along the top of the log, level from end to end, as the rail for the first cut. Check it with the straightedge and level.
इस चरण के लिए सामग्री:
 लकड़ी के पेच6 टुकड़े
आवश्यक उपकरण:
 चीड़ का पटरा
 तारहीन ड्रिल
 सीधा किनारा
 साहुल-स्तर (स्पिरिट लेवल)
4
4
First cut
First cut
Wearing helmet with visor, ear protection, gloves and boots, run the mill along the guide board and take off the top slab. Remove the guide board.
आवश्यक उपकरण:
चेनसॉ (व्यावसायिक वानिकी श्रेणी)चेनसॉ चिराई ढाँचा सुरक्षा हेलमेट
 कान के बचाव-कवच
 चमड़े के काम के दस्ताने
 इस्पात-अग्र सुरक्षा बूट
5
5
Cut the boards
Cut the boards
Set the mill a few millimetres thicker than the finished board, to allow for shrinking and planing. Run each cut on the flat face left by the one before.
आवश्यक उपकरण:
चेनसॉ (व्यावसायिक वानिकी श्रेणी)चेनसॉ चिराई ढाँचानापने का फीता6
6
Seal the ends
Seal the ends
Paint both ends of every board with end sealer the same day, to stop them splitting as they dry.
इस चरण के लिए सामग्री:
 सिरा बंद करने वाला पदार्थ (पैराफ़िन मोम)0.5 लीटर
7
7
Sticker the stack
Sticker the stack
On a level base at least 30 cm off the ground, lay the boards in layers with a gap between them, each layer on stickers every 40–60 cm, the stickers one above the other.
इस चरण के लिए सामग्री:
 लकड़ी की स्टिकर पट्टी (सुखाने का अंतरक)30 टुकड़े
आवश्यक उपकरण:
 लकड़ी का पैलेटसाहुल-स्तर (स्पिरिट लेवल)
8
8
Cover and weight
Cover and weight
Cover the top of the stack against rain and lay weight on it to keep the top boards flat; leave the sides open to the air.
आवश्यक उपकरण:
 तिरपाल
9
9
Measure the moisture
Measure the moisture
After 2 months, read a board from the middle of the stack. Air-dry outdoors reaches about 12–15 %; bring boards for furniture indoors to settle at 6–8 % before working them.
आवश्यक उपकरण:
 नमी मापक
10
10
Troubleshooting
Troubleshooting
Chainsaw milling troubleshooting.
Flow
Loading...
सामग्री
4- 1 टुकड़ाप्लेसहोल्डर
- 6 टुकड़ेप्लेसहोल्डर
- प्लेसहोल्डर
- प्लेसहोल्डर
आवश्यक उपकरण
14- 1 vendor sell this, none ship to you yetप्लेसहोल्डर
- प्लेसहोल्डर
- प्लेसहोल्डर
- प्लेसहोल्डर
- 1 vendor sell this, none ship to you yetप्लेसहोल्डर
- प्लेसहोल्डर
- प्लेसहोल्डर
- प्लेसहोल्डर
- प्लेसहोल्डर
- प्लेसहोल्डर
- प्लेसहोल्डर
- प्लेसहोल्डर
- प्लेसहोल्डर
- प्लेसहोल्डर
यह ब्लूप्रिंट बनाता है

संबंधित ब्लूप्रिंट
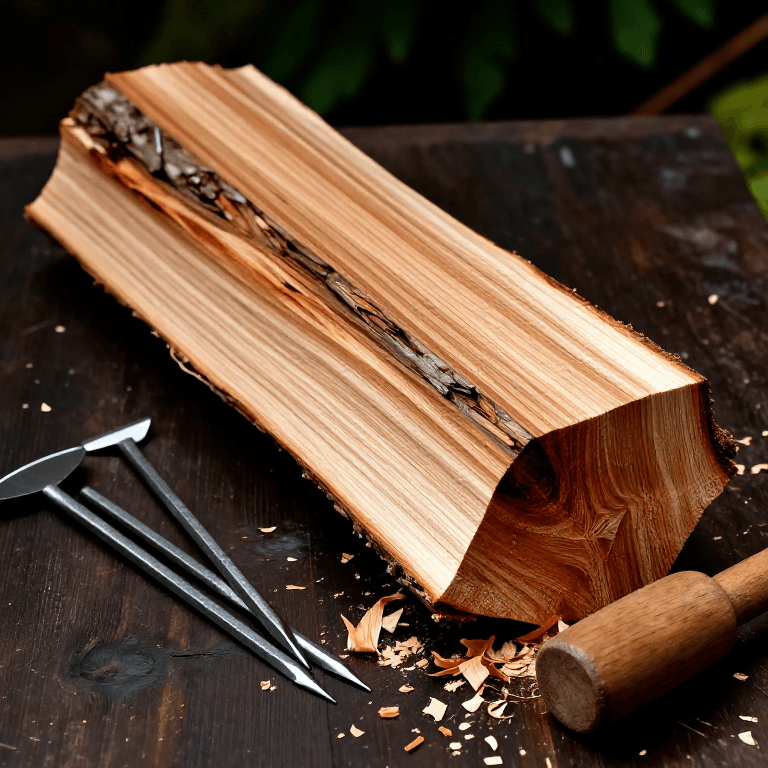
ये ब्लूप्रिंट ज्ञान साझा करते हैं — तकनीक, सामग्री या सिद्धांत
CC0 पब्लिक डोमेन
यह ब्लूप्रिंट CC0 के तहत जारी किया गया है। आप बिना अनुमति माँगे इस कार्य को किसी भी उद्देश्य के लिए कॉपी, संशोधित, वितरित और उपयोग करने के लिए स्वतंत्र हैं।
उनके ब्लूप्रिंट के माध्यम से उत्पाद खरीदकर मेकर का समर्थन करें जहाँ वे मेकर कमीशन कमाते हैं जो विक्रेताओं द्वारा निर्धारित होता है, या इस ब्लूप्रिंट का नया संस्करण बनाएँ और राजस्व साझा करने के लिए इसे अपने ब्लूप्रिंट में कनेक्शन के रूप में शामिल करें।