कला
सौंदर्य और कल्याण
हस्तशिल्प
संस्कृति और इतिहास
मनोरंजन
पर्यावरण
खाद्य और पेय
रिवर्स इंजीनियरिंग
विज्ञान
खेल
प्रौद्योगिकी
पहनने योग्य
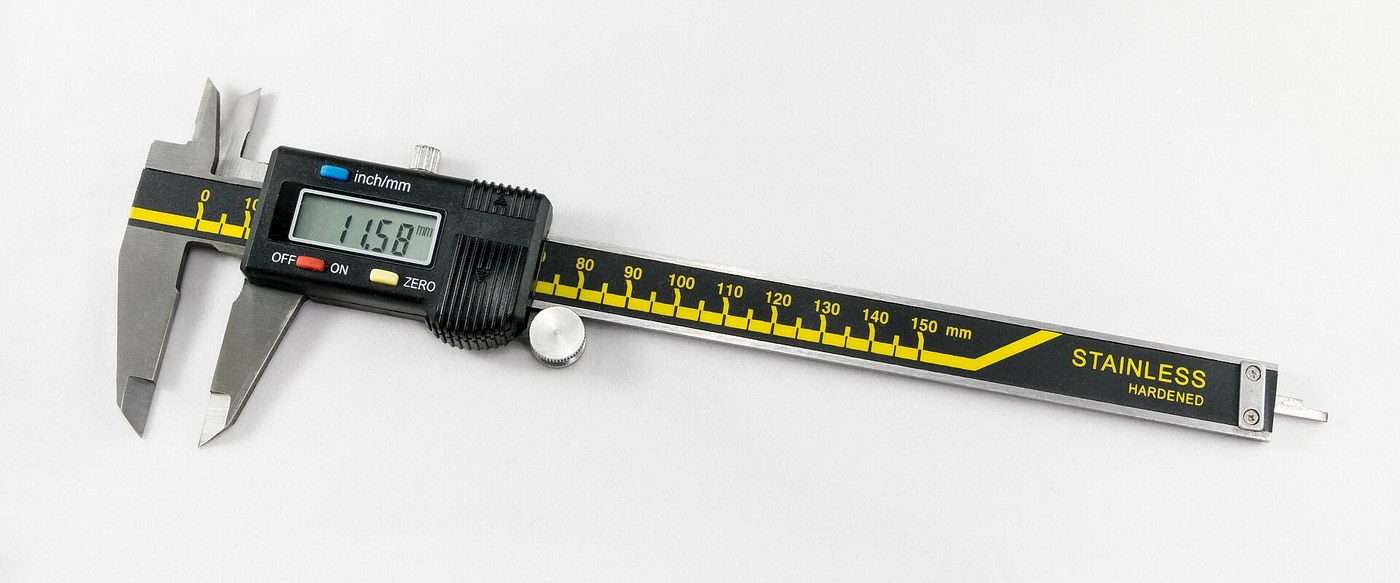


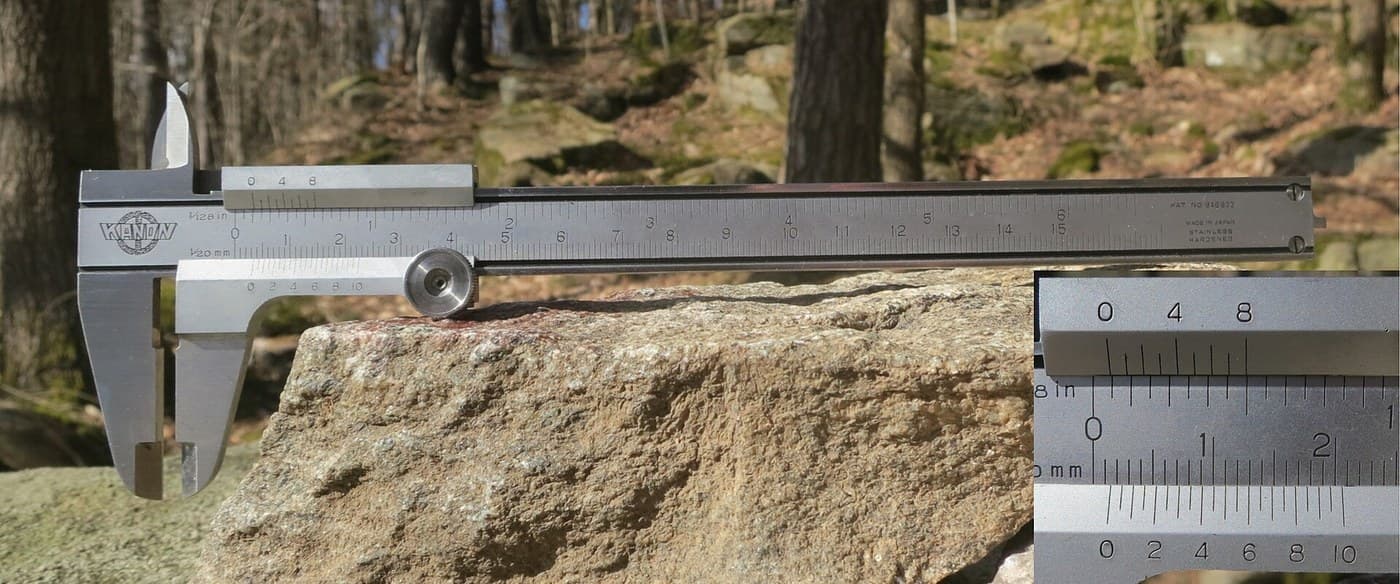
Digital Caliper: Capacitive Scale and Slider with Two-Chip Electronics (Baxter and Buehler, Starrett, 1986)
A six-inch caliper that reads out on a display. Under the slide, a strip of etched copper bars runs along the beam. Electrodes on the slider pass a signal through the bars by capacitance, and the slider's electronics count the bars crossed and work out the position in between.
Result: a digital caliper reading in inches or millimetres, repeatable to a ten-thousandth of an inch, with floating zero, peak hold and high/low limits. It runs on two 1.5 V cells at 10-50 microamps.
Source: L. K. Baxter and R. J. Buehler (L. S. Starrett Co.), US Patent 4,586,260 (1986). Unknown: the metal of the beam, slide and rod, their dimensions, the processor's program, and how the chips and display are made. Ours: the etchant, photoresist and glue. Picture: Wikimedia Commons.
उन्नत
2 days
निर्देश
1
1
Etch the scale
Etch the scale
Etch the scale pattern onto a strip of copper-clad epoxy fibreglass with photoresist and etchant. Each copper bar is 0.40 inch long, with a wider centre 0.12 inch long and two ends 0.14 inch long. Space the bars on 0.05 inch centres: the centres sit 0.004 inch apart, the ends 0.025 inch apart. Run the pattern the full length of the scale. Ours: dry film resist and ferric chloride.
इस चरण के लिए सामग्री:
 मुद्रित परिपथ का कोरा बोर्ड (ताम्र-आवरण)1 strip, length of the beam
आवश्यक उपकरण:
 शुष्क फ़िल्म फ़ोटोरेज़िस्ट
 फेरिक क्लोराइड विलयन
 रसायन-रोधी दस्ताने
2
2
Fix the scale into the beam
Fix the scale into the beam
The beam is a metal bar with the fixed outside and inside jaws at one end, a wide shallow channel in its face and a second channel along its back. Fix the scale permanently into the face channel, copper up. The patent allows etching before or after this step. Not given: the metal, the dimensions and how the scale is fixed. Ours: epoxy.
इस चरण के लिए सामग्री:
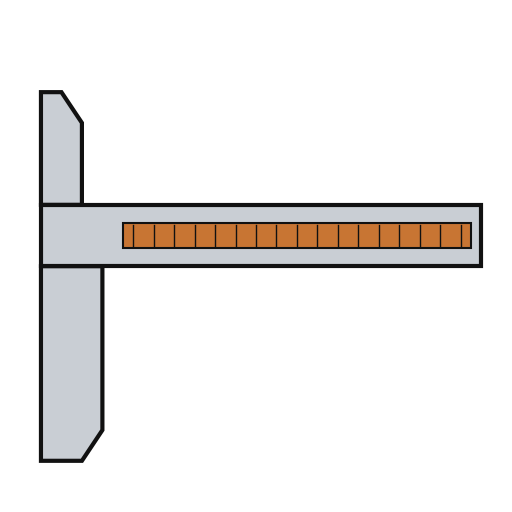 कैलिपर की बीम1 with integral jaws
 दो-भाग एपॉक्सी चिपकाव (शीघ्र जमने वाला)1 a little
आवश्यक उपकरण:
 अज्ञात माप
3
3
Fit the parts to the circuit
Fit the parts to the circuit
The circuit is one folded piece: a double-sided slider board joined by a flexible hinge to a circuit board. Its bottom face has two pickup electrodes, 0.750 x 0.110 inch and 0.0625 inch apart. On each side of them is an interdigitated transmitter array: fingers 0.115 inch long on 0.025 inch spacing, opening to 0.0375 inch at the centre. On the circuit board, solder or wire-bond the two chips: an NEC uPD7503 3 V processor (768 bits RAM, 2 kB ROM) and a CMOS gate array. Then fit the LCD, the 100 kHz crystal, the integrating capacitor and the MODE and SET buttons. Not given: the processor's program. Ours: a capacitor from a kit.
इस चरण के लिए सामग्री:
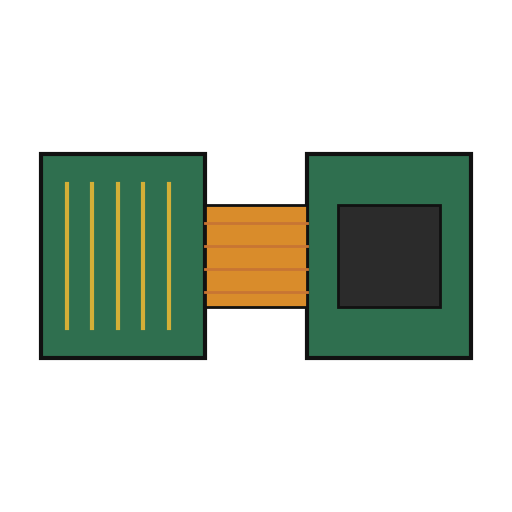 कठोर-लचीला सर्किट बोर्ड1 slider board + circuit board
 इंटीग्रेटेड सर्किट (IC)2 uPD7503 CPU, CMOS gate array
 सेगमेंट एलसीडी पैनल1 5 digits
 क्वार्ट्ज़ क्रिस्टल1 100 kHz
 संधारित्र किट1 one integrating capacitor
 दाब बटन2 MODE, SET
 सोल्डर तार1 a little
आवश्यक उपकरण:
 टाँका लगाने की छड़
4
4
Build the slide
Build the slide
The slide frame wraps the back and edges of the beam and carries the movable jaws. Fix it to the depth rod, which runs in the back channel of the beam; the rod's free end is the depth gauge. Put the moulded plastic housing between the frame ends. Fasten two metal wear strips under the slider board, one on each side of the scale. They ride on the beam and connect the board's copper to it. Not given: the metal and sizes.
इस चरण के लिए सामग्री:
 स्लाइड का फ्रेम1 with jaws
 अज्ञात धातु1 depth rod and two wear strips
 स्लाइड का आवरण1 टुकड़ा
आवश्यक उपकरण:
अज्ञात माप सूक्ष्म पेचकस सेट
5
5
Assemble and check
Assemble and check
Fold the circuit into the housing recess, slider board facing the scale, and screw it to the frame. The electrodes must lie parallel to the scale bars at every point of travel. Put the two 1.5 V cells (the patent says 'zinc oxide') in the battery pockets of the circuit. The display shows five digits, a ten-thousandths bar graph, a minus sign and 'mm', plus PEAK, LOW, HIGH and LIMIT. Ours: check the reading against a vernier caliper.
इस चरण के लिए सामग्री:
 मशीन पेंच2 टुकड़े
 1.5 वोल्ट बटन सेल2 टुकड़े
आवश्यक उपकरण:
सूक्ष्म पेचकस सेट वर्नियर कैलिपर
सामग्री
15- 1 strip, length of the beamप्लेसहोल्डर
- 1 with integral jawsप्लेसहोल्डर
- 1 a littleप्लेसहोल्डर
- 1 slider board + circuit boardप्लेसहोल्डर
- 2 uPD7503 CPU, CMOS gate arrayप्लेसहोल्डर
- 1 5 digitsप्लेसहोल्डर
- 1 100 kHzप्लेसहोल्डर
- 1 one integrating capacitorप्लेसहोल्डर
- प्लेसहोल्डर
- 1 a littleप्लेसहोल्डर
- 1 with jawsप्लेसहोल्डर
- 1 depth rod and two wear stripsप्लेसहोल्डर
- 1 टुकड़ाप्लेसहोल्डर
- 2 टुकड़ेप्लेसहोल्डर
- 2 टुकड़ेप्लेसहोल्डर
आवश्यक उपकरण
7- प्लेसहोल्डर
- प्लेसहोल्डर
- प्लेसहोल्डर
- प्लेसहोल्डर
- 2 vendors sell this, none ship to you yetप्लेसहोल्डर
- प्लेसहोल्डर
- प्लेसहोल्डर
कनेक्टेड ब्लूप्रिंट सामग्री

यह ब्लूप्रिंट बनाता है

संबंधित ब्लूप्रिंट
ये ब्लूप्रिंट ज्ञान साझा करते हैं — तकनीक, सामग्री या सिद्धांत
CC0 पब्लिक डोमेन
यह ब्लूप्रिंट CC0 के तहत जारी किया गया है। आप बिना अनुमति माँगे इस कार्य को किसी भी उद्देश्य के लिए कॉपी, संशोधित, वितरित और उपयोग करने के लिए स्वतंत्र हैं।
उनके ब्लूप्रिंट के माध्यम से उत्पाद खरीदकर मेकर का समर्थन करें जहाँ वे मेकर कमीशन कमाते हैं जो विक्रेताओं द्वारा निर्धारित होता है, या इस ब्लूप्रिंट का नया संस्करण बनाएँ और राजस्व साझा करने के लिए इसे अपने ब्लूप्रिंट में कनेक्शन के रूप में शामिल करें।