कला
सौंदर्य और कल्याण
हस्तशिल्प
संस्कृति और इतिहास
मनोरंजन
पर्यावरण
खाद्य और पेय
रिवर्स इंजीनियरिंग
विज्ञान
खेल
प्रौद्योगिकी
पहनने योग्य
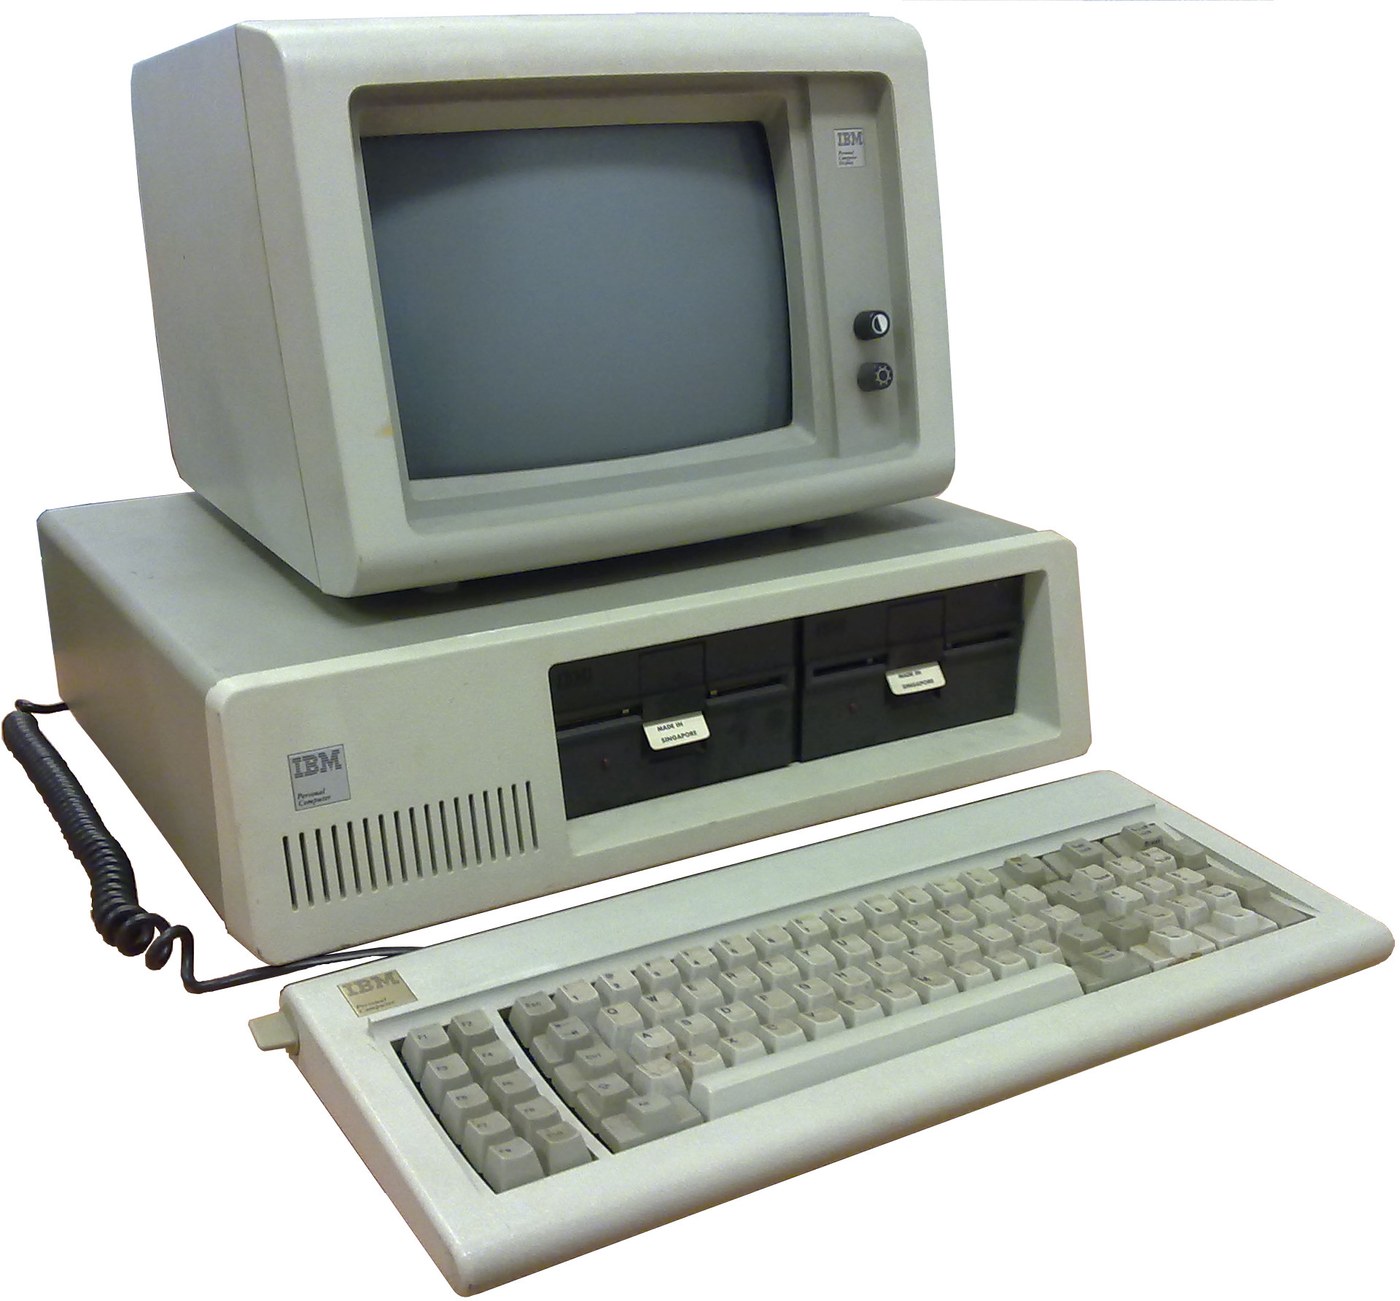


IBM Personal Computer (5150): System Unit, Keyboard and Display (IBM Technical Reference, 1981)
IBM's first personal computer, the machine today's desktop PCs descend from. One system unit holds an Intel 8088 system board, a power supply and five expansion slots. A keyboard, a display and 5-1/4 inch diskette drives complete it. IBM published its whole design, down to the BIOS program, in the Technical Reference.
Result: an IBM PC that tests itself at power-on and starts an operating system from diskette.
Source: IBM Personal Computer Technical Reference (1981; edition of April 1984). Unknown: the chassis and its sizes, the display and diskette adapter cards (described in IBM's separate Options and Adapters volumes), and how each part is made. Ours: the assembly order. Picture: Wikimedia Commons.
उन्नत
1 week
निर्देश
1
1
Populate the system board
Populate the system board
On the system board, fit the Intel 8088 processor. It runs at 4.77 MHz, taken from a 14.31818 MHz crystal divided by 3; divided by 4, the same crystal gives the 3.58 MHz colour-burst signal for colour TVs. Fit its support chips: the 8237A-5 DMA controller, 8259A interrupt controller, 8253-5 timer and 8255A-5 peripheral interface. Add the ROM holding the BIOS, the read/write memory, the speaker circuit, five expansion slots, and 5-pin DIN sockets for the keyboard and a cassette recorder. The 8088 runs in maximum mode, so a coprocessor can be added later. Set switch SW1 to tell the machine what it has: whether to start from a 5-1/4 inch diskette drive, how much read/write memory is on the board, which display adapter is fitted, and how many diskette drives there are. Not given here: the board layout.
इस चरण के लिए सामग्री:
 मुद्रित परिपथ बोर्ड1 system board
 इंटीग्रेटेड सर्किट (IC)1 8088, 8237A-5, 8259A, 8253-5, 8255A-5, ROM, RAM
 क्वार्ट्ज़ क्रिस्टल1 14.31818 MHz
 IBM PC का BIOS1 in ROM
 DIP स्विच1 SW1
 सोल्डर तार1 as needed
आवश्यक उपकरण:
 टाँका लगाने की छड़
2
2
Fit the board and power supply in the chassis
Fit the board and power supply in the chassis
Screw the system board into the system-unit chassis. Fit the power supply at the right rear; its housing supports the rear panel and its fan cools the whole machine. It is rated for 63.5 W continuous, from a fused 120 V or 220/240 V input. Its four protected outputs are +5 V at 7 A, +12 V at 2 A, -5 V at 0.3 A and -12 V at 0.25 A, bussed to all five slots. It also has a power-good signal, a switched mains socket for the monochrome display and two drive power plugs. Not given: the chassis metal and sizes.
इस चरण के लिए सामग्री:
 अज्ञात धातु1 chassis
 कंप्यूटर पावर सप्लाई1 63.5 W
 मशीन पेंच1 सेट
आवश्यक उपकरण:
 पेचकस सेट
 अज्ञात माप
 मल्टीमीटर
3
3
Add the drives and adapter cards
Add the drives and adapter cards
Fit up to two 5-1/4 inch diskette drives, each powered from its own plug on the supply. Only one drive runs at a time. Plug a diskette drive adapter and a display adapter (monochrome or colour/graphics) into expansion slots, and cable the drives to their adapter. Not given here: the adapter cards and cables, which IBM describes in its separate Options and Adapters volumes.
इस चरण के लिए सामग्री:
 5¼ इंच डिस्केट ड्राइव2 up to two
 एक्सपेंशन कार्ड2 diskette adapter, display adapter
 रिबन केबल1 drive cable
आवश्यक उपकरण:
पेचकस सेट4
4
Connect keyboard and display, and power on
Connect keyboard and display, and power on
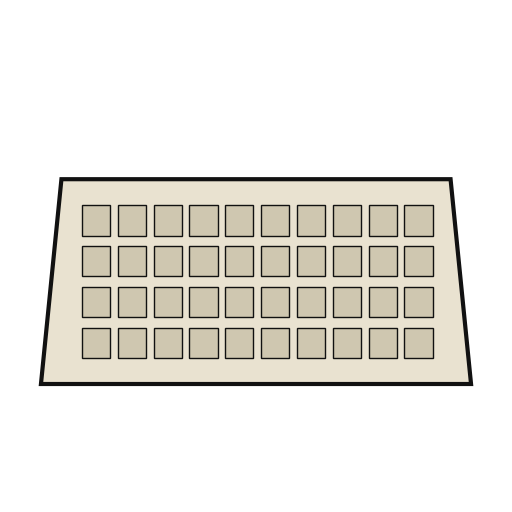
Plug in the keyboard: 83 keys, with the typewriter keys in the middle, 10 function keys on the left and a 15-key pad on the right. It sends scan codes, not letters, so the software decides what each key does. Connect the display to its adapter and to the switched socket. Switch on: the power-on self-test in the BIOS checks the machine, sets up its interrupt vectors, and looks for extra ROM on the adapter cards. The bootstrap loader then starts the operating system from a diskette.
इस चरण के लिए सामग्री:
 कंप्यूटर कीबोर्ड1 83 keys
 कंप्यूटर मॉनिटर1 टुकड़ा
आवश्यक उपकरण:
 फ़्लॉपी डिस्क
सामग्री
14- 1 system boardप्लेसहोल्डर
- 1 8088, 8237A-5, 8259A, 8253-5, 8255A-5, ROM, RAMप्लेसहोल्डर
- 1 14.31818 MHzप्लेसहोल्डर
- 1 in ROMप्लेसहोल्डर
- प्लेसहोल्डर
- 1 as neededप्लेसहोल्डर
- 1 chassisप्लेसहोल्डर
- 1 63.5 Wप्लेसहोल्डर
- 1 सेटप्लेसहोल्डर
- 2 up to twoप्लेसहोल्डर
- 2 diskette adapter, display adapterप्लेसहोल्डर
- प्लेसहोल्डर
- 1 83 keysप्लेसहोल्डर
- 1 टुकड़ाप्लेसहोल्डर
कनेक्टेड ब्लूप्रिंट सामग्री
यह ब्लूप्रिंट बनाता है
CC0 पब्लिक डोमेन
यह ब्लूप्रिंट CC0 के तहत जारी किया गया है। आप बिना अनुमति माँगे इस कार्य को किसी भी उद्देश्य के लिए कॉपी, संशोधित, वितरित और उपयोग करने के लिए स्वतंत्र हैं।
उनके ब्लूप्रिंट के माध्यम से उत्पाद खरीदकर मेकर का समर्थन करें जहाँ वे मेकर कमीशन कमाते हैं जो विक्रेताओं द्वारा निर्धारित होता है, या इस ब्लूप्रिंट का नया संस्करण बनाएँ और राजस्व साझा करने के लिए इसे अपने ब्लूप्रिंट में कनेक्शन के रूप में शामिल करें।