

Making a Color-Changing LilyPad Patch
Sew a patch that glows in any color. A single RGB LED holds red, green and blue elements; by fading each one with the microcontroller's PWM pins you mix millions of colors and cycle through the rainbow. The e-textile version of the classic RGB colour-mixing project.
निर्देश
Sew the board and RGB LED
Sew the board and RGB LED
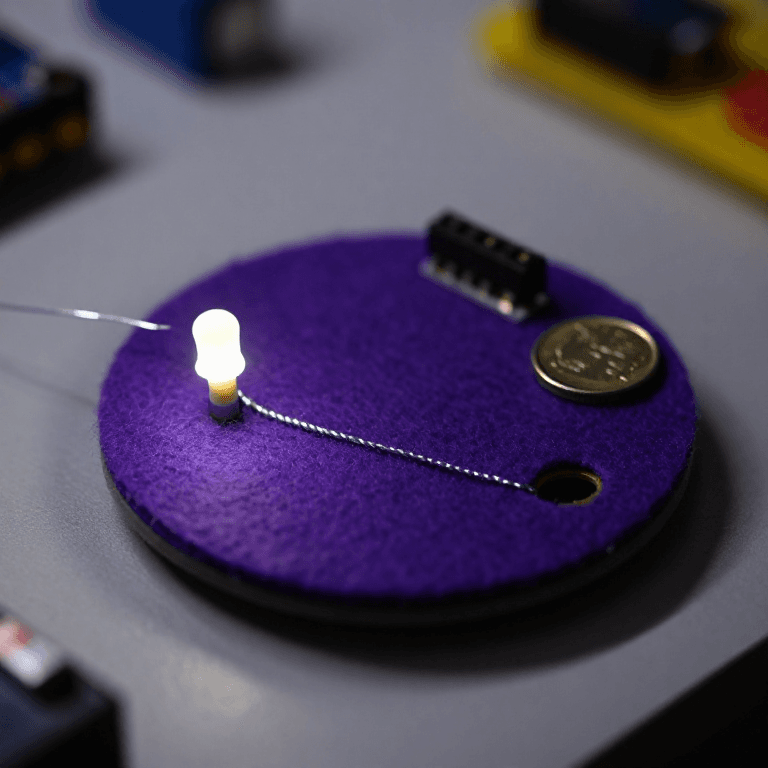
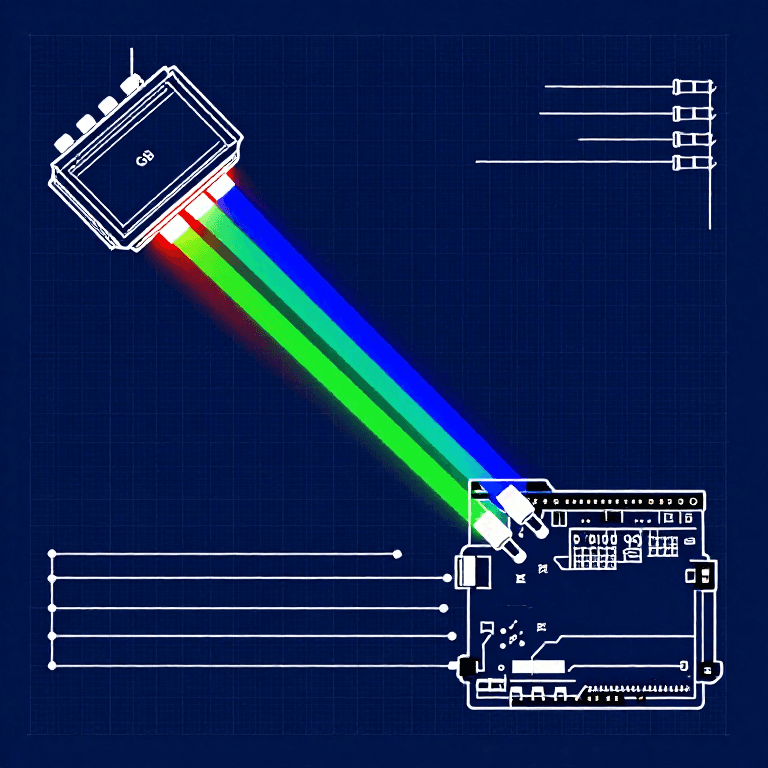
Sew a LilyPad Arduino onto felt. The RGB LED has four legs — bend each into a small loop so it can be sewn. Wire the common cathode (the longest leg) to -, and the red, green and blue legs to pins 5, 6 and 9. Keep the four lines from touching each other.
इस चरण के लिए सामग्री:
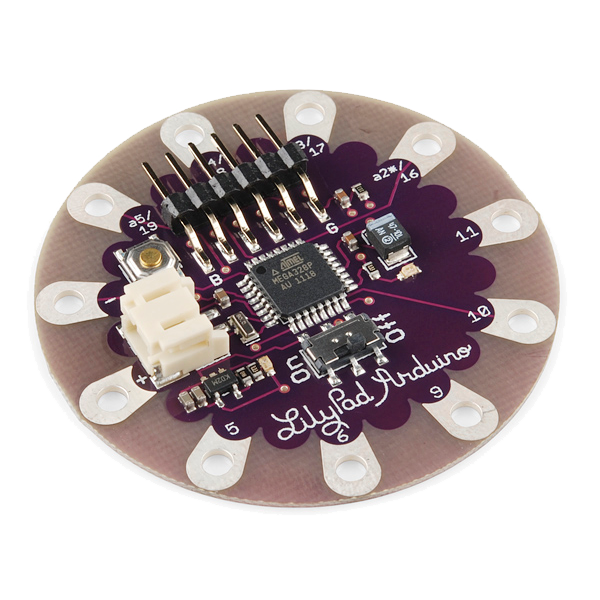 LilyPad Arduino Simple Board1 टुकड़ा
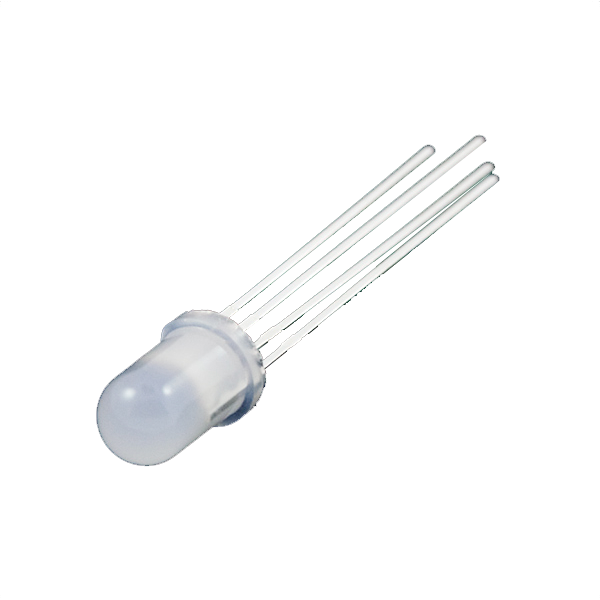 LED - RGB Diffused Common Cathode - 5mm1 टुकड़ा
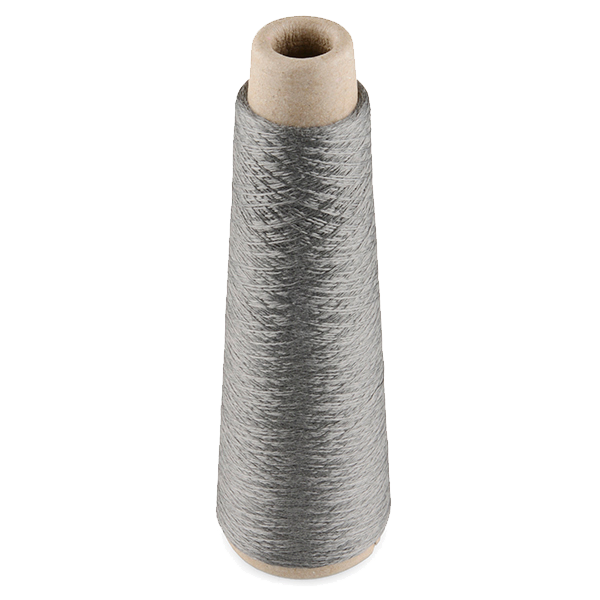 Conductive Thread - 60g (Stainless Steel)1 रील
 ऊनी नमदे की चादर1 शीट
आवश्यक उपकरण:
 हाथ से सिलाई की सूइयाँ
Connect the programmer
Connect the programmer
Plug the LilyPad FTDI onto the programming header and connect the USB cable. Open the Arduino IDE and select the LilyPad Arduino board and its serial port.
आवश्यक उपकरण:
 Arduino IDE वाला कंप्यूटर
 LilyPad FTDI Basic Breakout - 5V
 USB-B केबल
Upload the color-mixing sketch
Upload the color-mixing sketch
Paste this sketch and upload. It fades the LED through red, green, blue and the mixes using analogWrite (PWM).
Watch it cycle, then mix your own
Watch it cycle, then mix your own
The LED fades through the colors on its own. Make your own by changing the three numbers in setColor(red, green, blue) — each 0–255. Note: at the LilyPad's lower voltage blue and green look a little dimmer than red, which is normal for RGB LEDs.
Go wireless and wear it
Go wireless and wear it
Plug a 3.7 V LiPo into the LilyPad Arduino's JST connector and switch on — the higher voltage also makes the colors brighter. Sew the felt onto a bag or costume for a colour-changing glow.
इस चरण के लिए सामग्री:
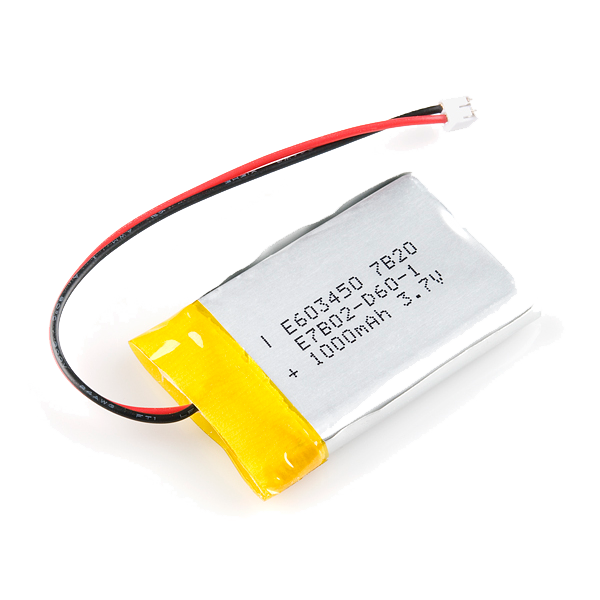 LiPo Battery 3.7V 1000mAh (JST Connector)1 टुकड़ा
सामग्री
5- LilyPad Arduino Simple Board10% कमीशन1 टुकड़ा₹1,879.17
- 1 टुकड़ा₹1,879.17
- 1 रील₹3,848.60
- 1 शीटप्लेसहोल्डर
- 1 टुकड़ा₹919.07
आवश्यक उपकरण
4- प्लेसहोल्डर
- प्लेसहोल्डर
- LilyPad FTDI Basic Breakout - 5V10% कमीशन₹1,378.61
- 1 vendor sell this, none ship to you yetप्लेसहोल्डर
संबंधित ब्लूप्रिंट
ये ब्लूप्रिंट ज्ञान साझा करते हैं — तकनीक, सामग्री या सिद्धांत
CC0 पब्लिक डोमेन
यह ब्लूप्रिंट CC0 के तहत जारी किया गया है। आप बिना अनुमति माँगे इस कार्य को किसी भी उद्देश्य के लिए कॉपी, संशोधित, वितरित और उपयोग करने के लिए स्वतंत्र हैं।
उनके ब्लूप्रिंट के माध्यम से उत्पाद खरीदकर मेकर का समर्थन करें जहाँ वे मेकर कमीशन कमाते हैं जो विक्रेताओं द्वारा निर्धारित होता है, या इस ब्लूप्रिंट का नया संस्करण बनाएँ और राजस्व साझा करने के लिए इसे अपने ब्लूप्रिंट में कनेक्शन के रूप में शामिल करें।