Carving a Bone Fishhook — Grinding & Scoring Technique
निर्देश
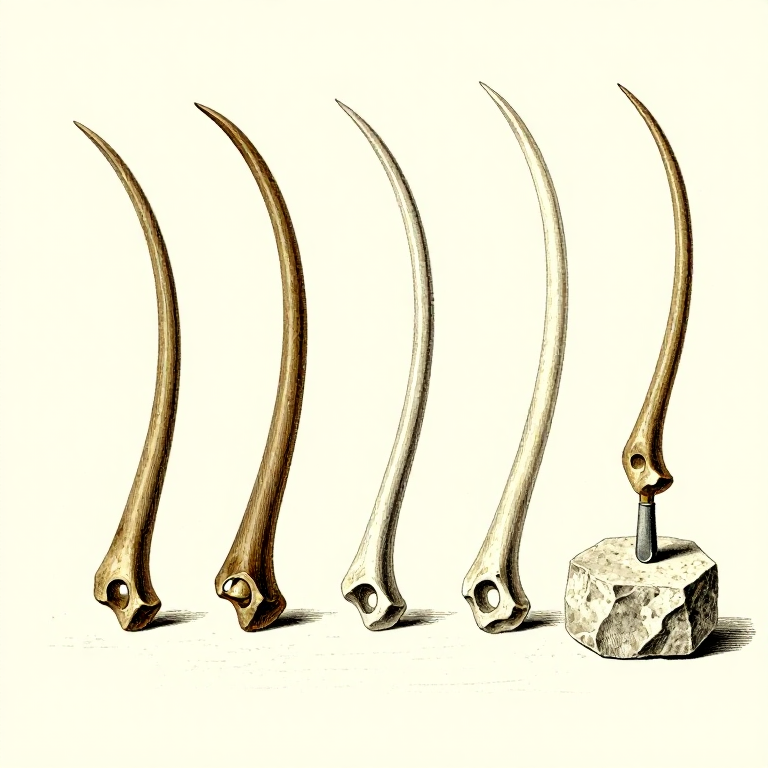
Select Suitable Bone
Select Suitable Bone
Choose a dense, compact bone — the cannon bone (metapodial) of deer, the rib of a large animal, or the leg bone of a bird for small hooks. Avoid spongy bone from joint ends; it lacks the structural density needed for a strong hook point. The bone section should be at least 5cm long and solid through its cross-section. Fresh or recently dried bone carves more easily than old, brittle bone. If working with dried bone, soak it in water for several hours to restore some workability.
इस चरण के लिए सामग्री:
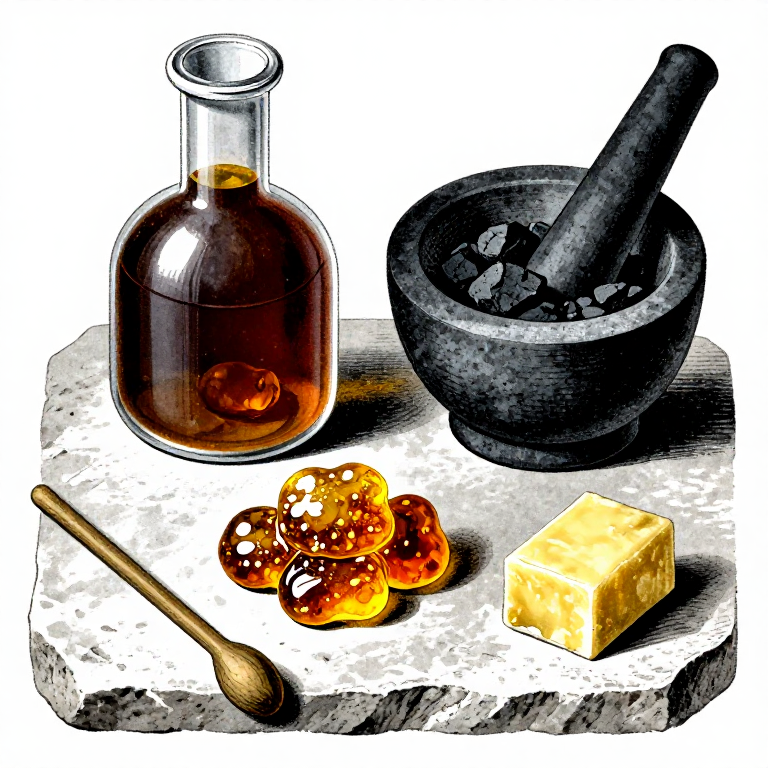
 Sandstone Slab1 flat piece टुकड़ा
 Watersmall amount टुकड़ा
आवश्यक उपकरण:
Sandstone (Abrasive)Score the Hook Outline
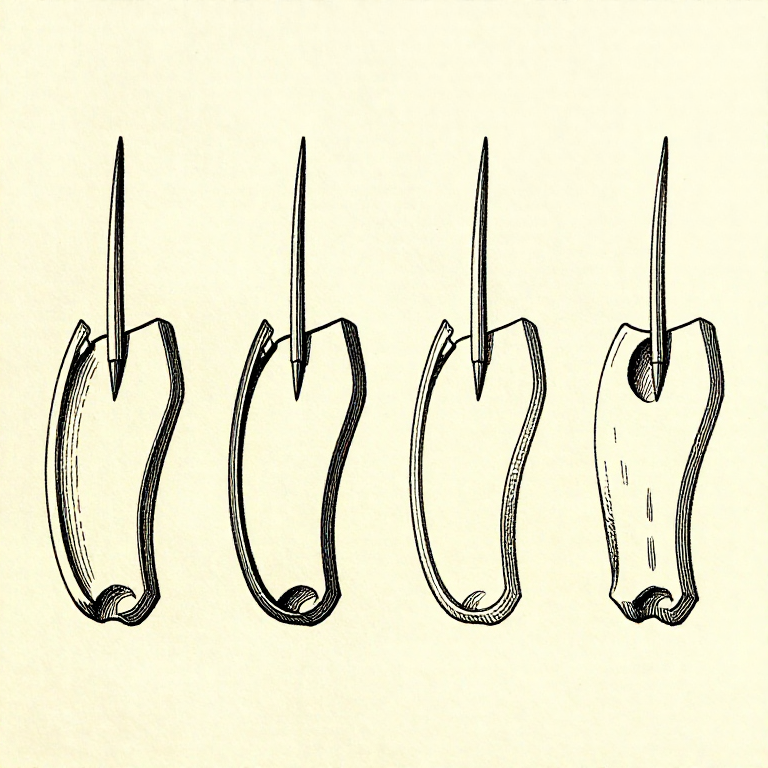
Score the Hook Outline
Using a flint burin (a pointed flake tool), score the outline of a hook shape into the flat surface of the bone. The hook needs four elements: a straight shank (2-3cm) for line attachment, a smooth bend, a point, and optionally a small barb near the point. Score deeply along both sides of the outline by drawing the burin repeatedly through the same groove — 20-30 passes per line. The deeper the score lines, the cleaner the break will be.
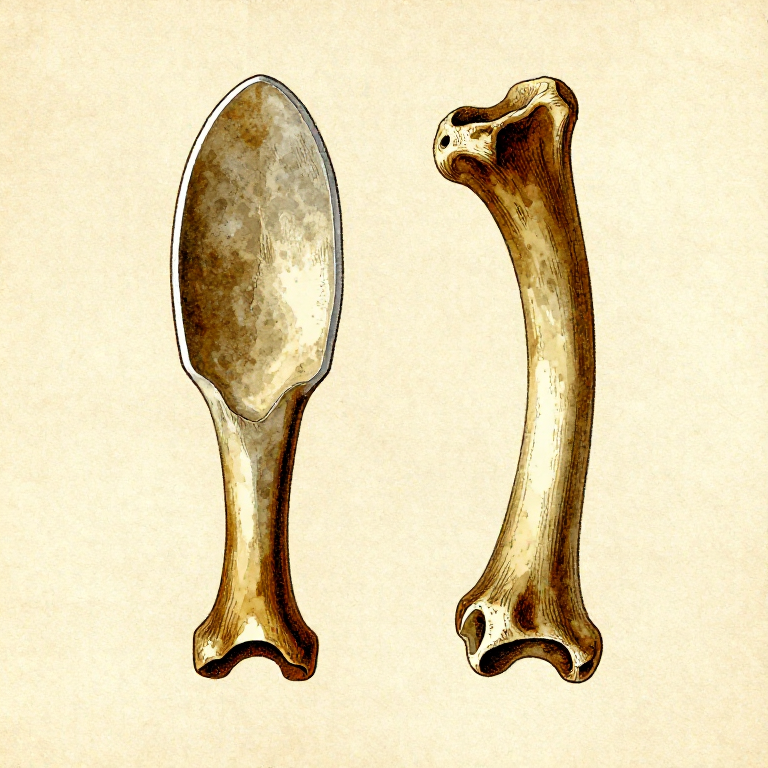
Break Out the Blank
Break Out the Blank
Once the score lines are deep enough (at least 1-2mm), carefully snap the hook blank free from the surrounding bone by applying gentle bending pressure. Work slowly — if the bone cracks across the hook shape, you must start over. Some makers prefer to score from both sides of a thin bone section so the blank pops free cleanly. The result is a rough hook blank that still needs significant shaping.
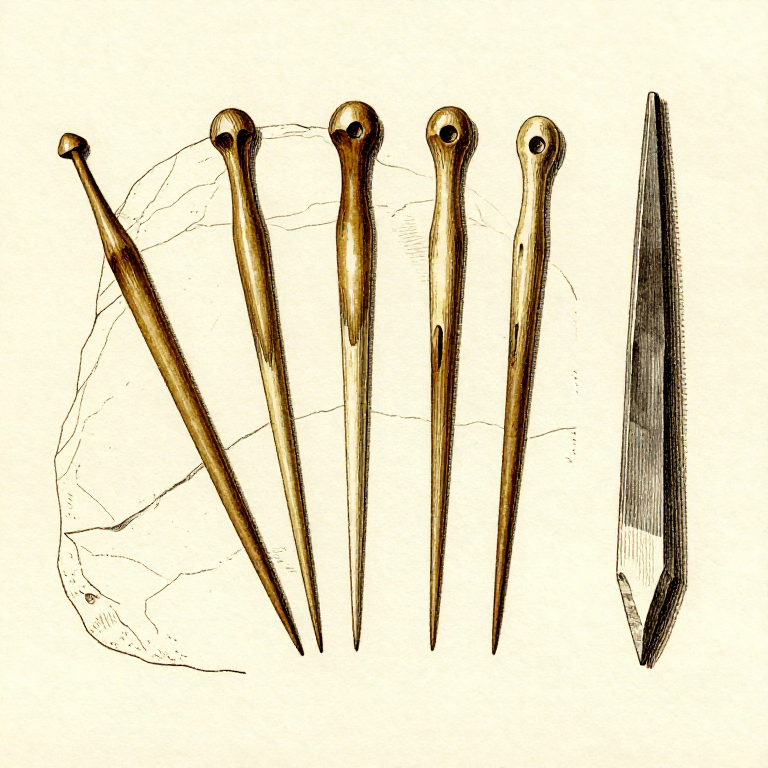
Grind and Shape
Grind and Shape
Grind the hook blank against a flat sandstone slab using water as a lubricant. Wet grinding produces a smoother finish and prevents bone dust from clogging the stone. Shape the bend into a smooth curve — any flat spot or sharp angle creates a weak point where the hook will snap under load. Thin the point down to a sharp tip using fine, controlled strokes. Grind a small groove or notch near the top of the shank for tying the fishing line. The finished hook should be smooth with no rough edges that could cut the line.
Test and Harden
Test and Harden
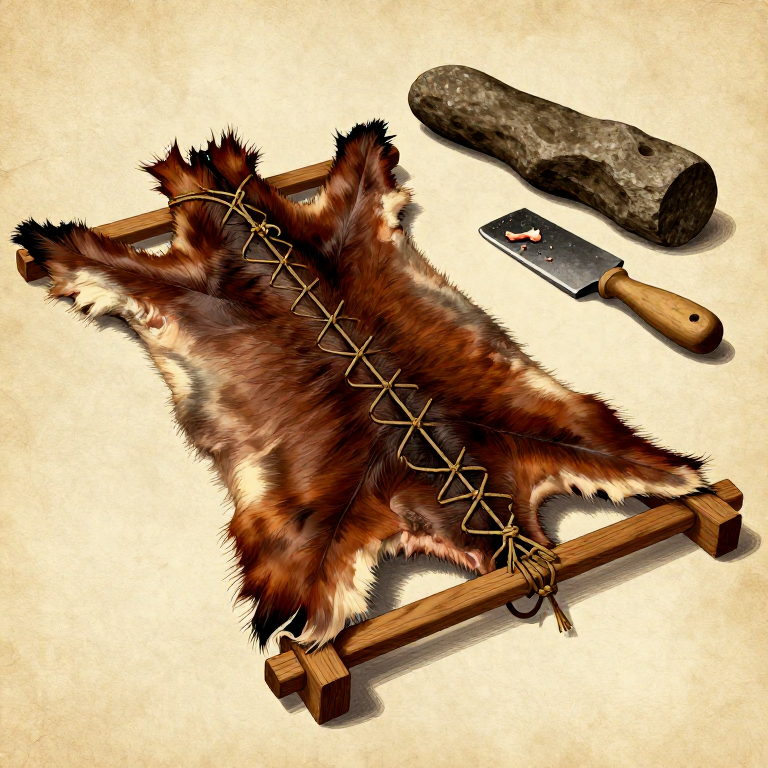
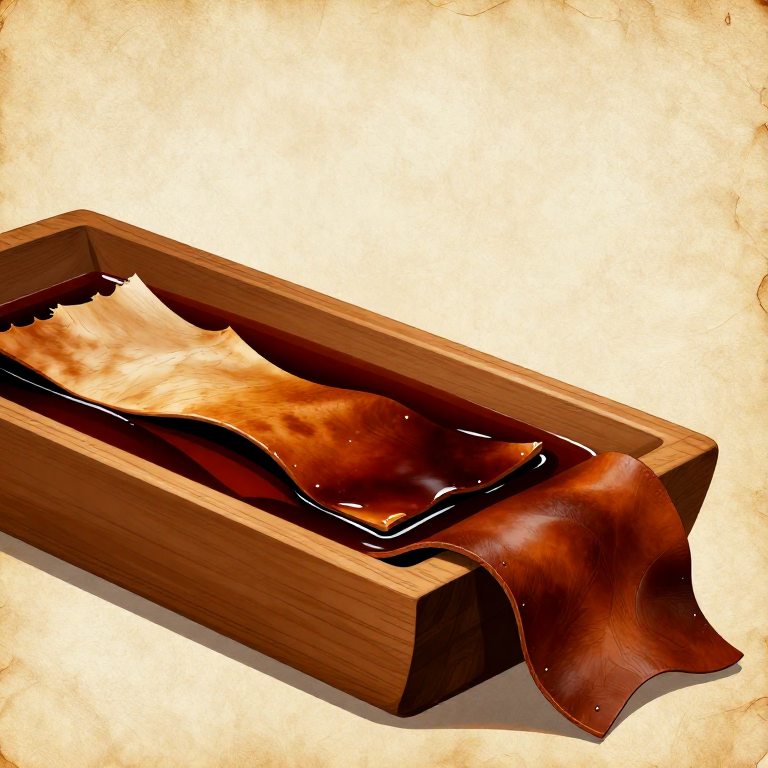
Test the hook by pressing the point into a piece of leather or hide — it should penetrate easily. Test the strength by flexing the bend gently — a good hook has slight spring but does not snap. For additional hardness, some prehistoric fishers heated bone hooks briefly over embers (not direct flame) until they turned light brown. This drives out remaining moisture and cross-links the collagen, increasing stiffness. Do not overheat — bone turns black and becomes brittle if charred. A single bone section can yield 3-5 hooks of various sizes.
सामग्री
3- 1 section, 5-8cm टुकड़ाप्लेसहोल्डर
- 1 flat piece टुकड़ाप्लेसहोल्डर
आवश्यक उपकरण
3- प्लेसहोल्डर
- प्लेसहोल्डर
- प्लेसहोल्डर
Related blueprints
Other builds that share materials, tools, or techniques with this one.
CC0 पब्लिक डोमेन
यह ब्लूप्रिंट CC0 के तहत जारी किया गया है। आप बिना अनुमति माँगे इस कार्य को किसी भी उद्देश्य के लिए कॉपी, संशोधित, वितरित और उपयोग करने के लिए स्वतंत्र हैं।
उनके ब्लूप्रिंट के माध्यम से उत्पाद खरीदकर मेकर का समर्थन करें जहाँ वे मेकर कमीशन कमाते हैं जो विक्रेताओं द्वारा निर्धारित होता है, या इस ब्लूप्रिंट का नया संस्करण बनाएँ और राजस्व साझा करने के लिए इसे अपने ब्लूप्रिंट में कनेक्शन के रूप में शामिल करें।