कला
सौंदर्य और कल्याण
हस्तशिल्प
संस्कृति और इतिहास
मनोरंजन
पर्यावरण
खाद्य और पेय
रिवर्स इंजीनियरिंग
विज्ञान
खेल
प्रौद्योगिकी
पहनने योग्य
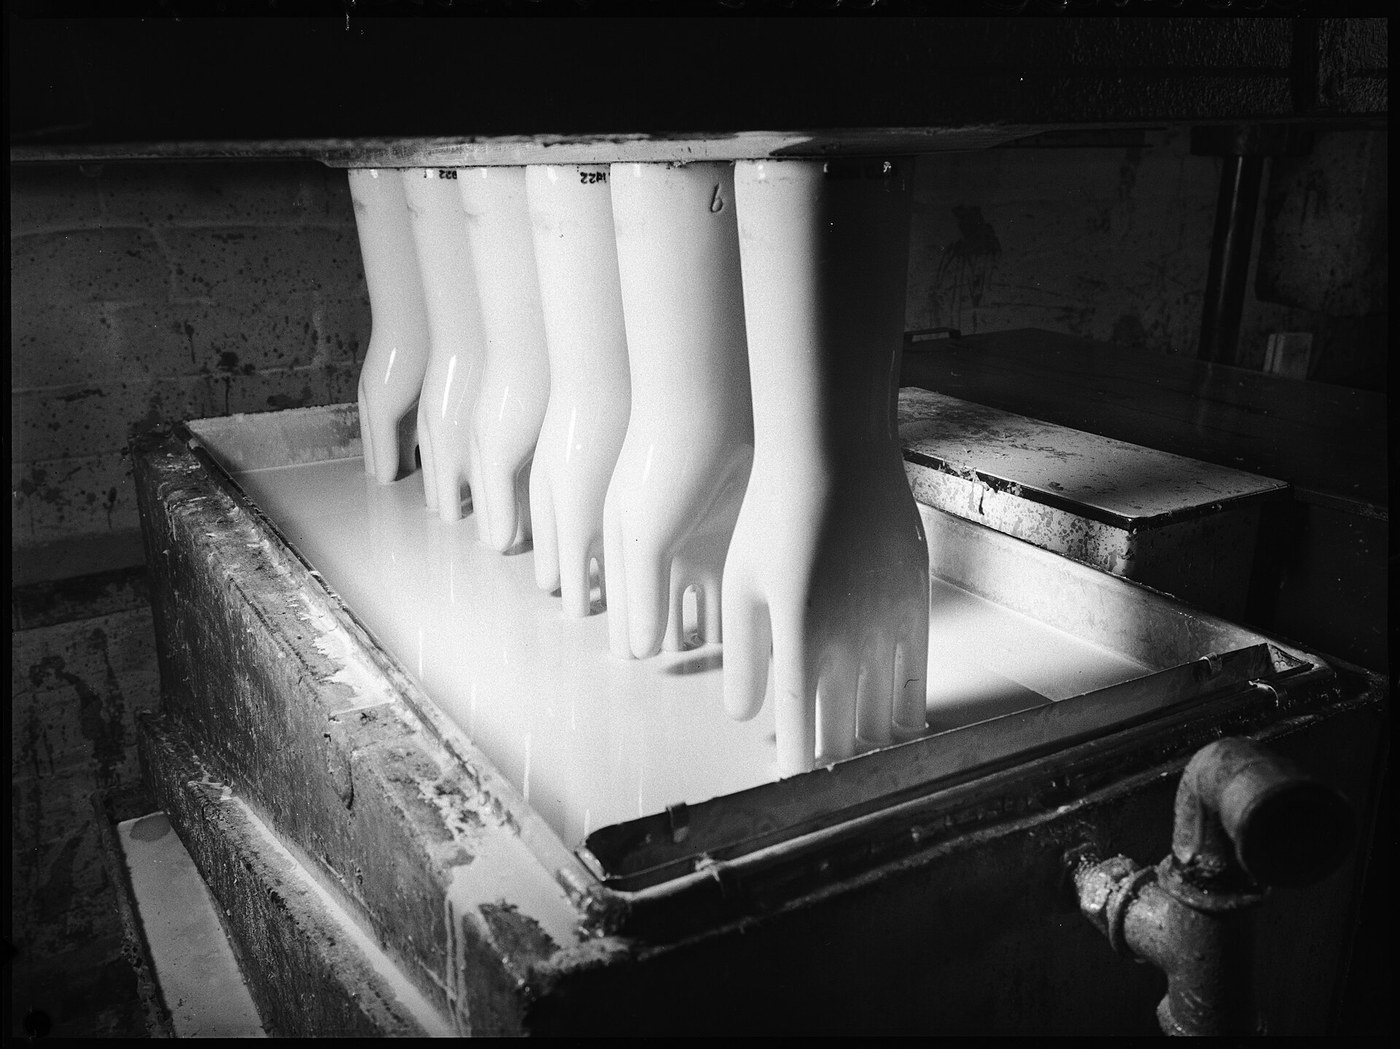


Rubber Gloves: Dipped on a Form, Lined and Turned Inside Out (Miller, 1915)
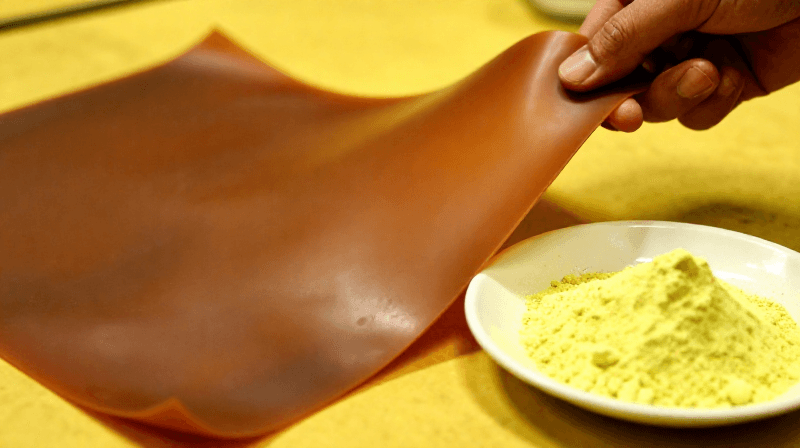
Seamless rubber gloves are made by dipping a hand-shaped form into a rubber solution, coat after coat. Thomas Miller of the Faultless Rubber Company added a cloth lining. After the glove is cured on the form, fabric is fixed to its outside. Peeling the glove off turns it inside out, so the lining ends up inside and the wrist trim outside.
Result: seamless rubber gloves lined with soft knitted fabric, whole or in parts, with a neat finishing strip at the wrist.
Source: T. W. Miller (Faultless Rubber Co.), US Patent 1,146,638 (1915). Unknown: the rubber solution and its solvent, how many dips, the drying and curing conditions, and sizes. Ours: the curing oven and the knife. Picture: Wikimedia Commons (glove forms, 1938).
मध्यवर्ती
2 days
निर्देश
1
1
Put the finishing strip on the form
Put the finishing strip on the form
Around the wrist of a glove form, put the finishing strip that will show on the outside of the finished glove. It can be a strip of rubber, a band of india ink stamped on, or a transfer, in a contrasting colour. A rubber strip also reinforces the wrist.
इस चरण के लिए सामग्री:
 रबर कंपाउंड1 finishing strip
आवश्यक उपकरण:
 दस्ताने का साँचा
2
2
Dip, dry and trim
Dip, dry and trim
Dip the form into the rubber solution, coat after coat, until the glove is as thick as you want, letting it dry in the usual way. Take each dip a little above the finishing strip. Then cut away the surplus beyond the strip, so the strip ends the glove at the wrist. Not given: the solution recipe and solvent, the number of dips and the drying time.
इस चरण के लिए सामग्री:
रबर कंपाउंड1 dipping solution अज्ञात सामग्री1 solvent
आवश्यक उपकरण:
दस्ताने का साँचा शिल्प चाकू
 अज्ञात माप
3
3
Vulcanize on the form
Vulcanize on the form
Vulcanize the glove while it is still on the form. Not given: the temperature and time. Ours: a curing oven.
आवश्यक उपकरण:
दस्ताने का साँचा क्योरिंग ओवन
4
4
Fix the lining
Fix the lining
Cover the outside of the glove with a somewhat elastic fabric such as stockinet. Fix it with rubber cement, or by frictioning one face of the fabric so it grips the rubber. You can line the whole glove or only parts: the wrist, the finger crotches or the finger tips. Fabric put on before vulcanizing holds most firmly; put on after, it can be given a short extra cure.
इस चरण के लिए सामग्री:
 अज्ञात कपड़ा1 stockinetरबर कंपाउंड1 as cement
आवश्यक उपकरण:
दस्ताने का साँचा5
5
Strip and turn
Strip and turn
Peel the glove off the form. Stripping turns it inside out, so the fabric is now the lining and the finishing strip is on the outside of the wrist.
आवश्यक उपकरण:
दस्ताने का साँचासामग्री
3- 1 as cementप्लेसहोल्डर
- 1 solventप्लेसहोल्डर
- 1 stockinetप्लेसहोल्डर
आवश्यक उपकरण
4- प्लेसहोल्डर
- प्लेसहोल्डर
- प्लेसहोल्डर
- प्लेसहोल्डर
कनेक्टेड ब्लूप्रिंट सामग्री
यह ब्लूप्रिंट बनाता है

CC0 पब्लिक डोमेन
यह ब्लूप्रिंट CC0 के तहत जारी किया गया है। आप बिना अनुमति माँगे इस कार्य को किसी भी उद्देश्य के लिए कॉपी, संशोधित, वितरित और उपयोग करने के लिए स्वतंत्र हैं।
उनके ब्लूप्रिंट के माध्यम से उत्पाद खरीदकर मेकर का समर्थन करें जहाँ वे मेकर कमीशन कमाते हैं जो विक्रेताओं द्वारा निर्धारित होता है, या इस ब्लूप्रिंट का नया संस्करण बनाएँ और राजस्व साझा करने के लिए इसे अपने ब्लूप्रिंट में कनेक्शन के रूप में शामिल करें।