همکاری
هنر
زیبایی و سلامت
صنایع دستی
فرهنگ و تاریخ
سرگرمی
محیط زیست
غذا و نوشیدنی
مهندسی معکوس
علوم
ورزش
فناوری
پوشیدنیها
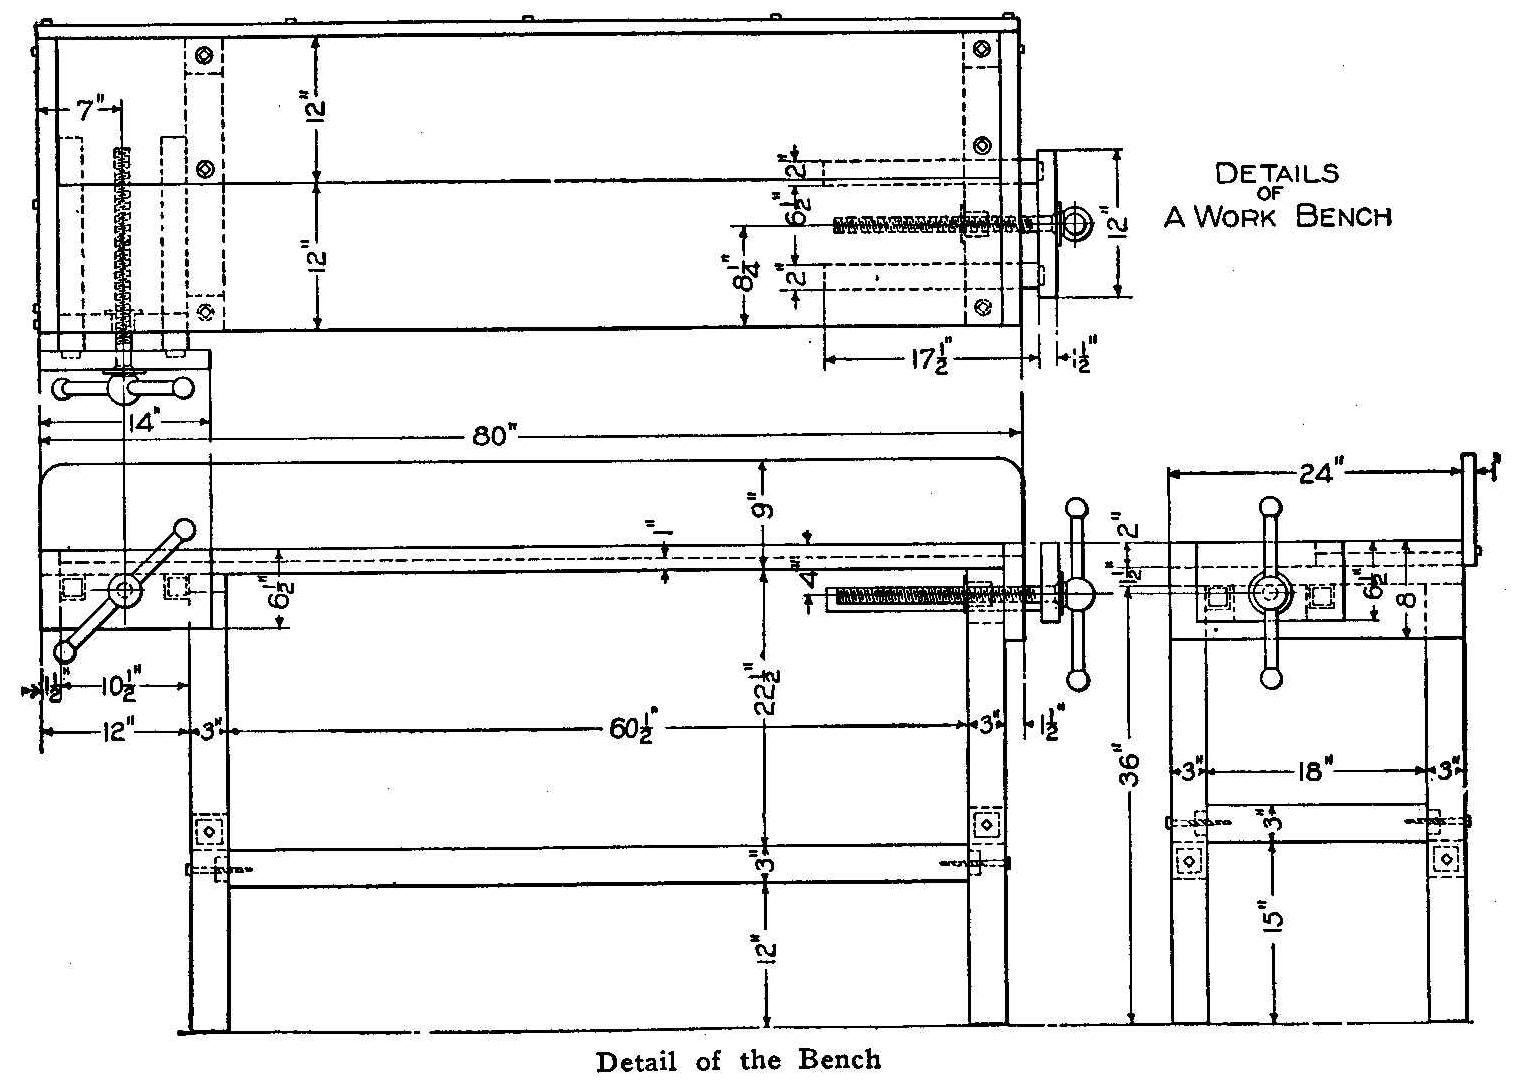


Workbench for the Amateur: Mortised Maple Frame, Two-Board Top, Side and End Vises (Boy Mechanic, 1913)
A full-size woodworking bench from The Boy Mechanic (Popular Mechanics, 1913), "suitable for the amateur woodworker" and made "by anyone who has a few sharp tools and a little spare time": a mortise-and-tenon frame of birch or maple bolted with lag screws, a top of a 2 in and a 1 in board, a side vise and an end vise on square slides, and a back board. All sizes are the book's.
It stands 36 in high, 80 in long and 24 in deep.
متوسط
About 2 days
دستورالعملها
1
1
Cutting list
Cutting list
در حال بارگذاری دفترچهٔ Jupyter…
2
2
Read The Boy Mechanic
Read The Boy Mechanic
"If the stock is purchased from the mill ready planed and cut to length, much of the hard labor will be saved."
3
3
Make the lower frame
Make the lower frame
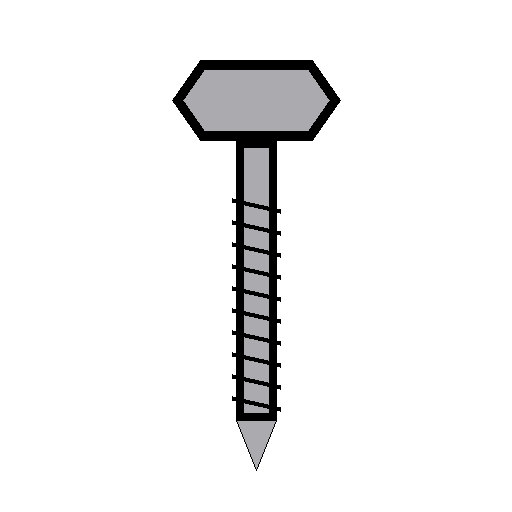
Cut tenons on the side and end rails and mortise the posts to take them. Fit them together and fasten them securely with 3/8 by 5 in lag screws through the posts into the rails, as the drawing shows.
مواد مورد نیاز این مرحله:
 چوب چهارتراش1 قطعه
 پیچ چوب سرششگوش (لاگ)1 قطعه
ابزارهای مورد نیاز:
 اره دونفره عرضبر
 اره پشتدار
 اسکنهٔ کامتراشی
 چکش چوبی
 گونیای ثابت
 دریل دستهٔ گردان با مته
 آچار فرانسه
 مداد
4
4
Fit the crosspieces and top
Fit the crosspieces and top
Screw the 1-1/2 by 3 by 24 in crosspieces to the tops of the posts, countersinking the heads (or bore the top boards to clear them). Fasten the front, 2 in top board to the crosspieces with lag screws from underneath; screw the 1 in top board down from the top.
مواد مورد نیاز این مرحله:
چوب چهارتراش1 قطعه الوار چوب سخت1 قطعه
 تختهٔ چوب سخت1 قطعهپیچ چوب سرششگوش (لاگ)1 قطعه
 پیچ چوب1 قطعه
ابزارهای مورد نیاز:
دریل دستهٔ گردان با مته ست مته خزینه
 مجموعه پیچگوشتیآچار فرانسه
5
5
Fit the end pieces and vise slides
Fit the end pieces and vise slides
Screw on the end pieces, countersinking the heads at the vise end. Cut 2 in square holes in the 1-1/2 by 4-1/2 by 10 in piece for the side vise slides and fit it in place, and cut square holes in one end piece for the end vise slides.
مواد مورد نیاز این مرحله:
تختهٔ چوب سخت1 قطعهپیچ چوب1 قطعهابزارهای مورد نیاز:
دریل دستهٔ گردان با مته اسکنههاچکش چوبیست مته خزینهمجموعه پیچگوشتی
6
6
Fit up the two vises
Fit up the two vises
Screw the 2 in square slides (guides) to the two clamp front pieces, countersinking the heads so they are clear of the hands. The clamp screws should be about 1-1/2 in diameter, bought at a hardware store. Fit a block under the crosspiece to hold the end vise's nut. With the slides in place, bore the holes for the clamp screws and fit them.
مواد مورد نیاز این مرحله:
چوب چهارتراش1 قطعهتختهٔ چوب سخت1 قطعه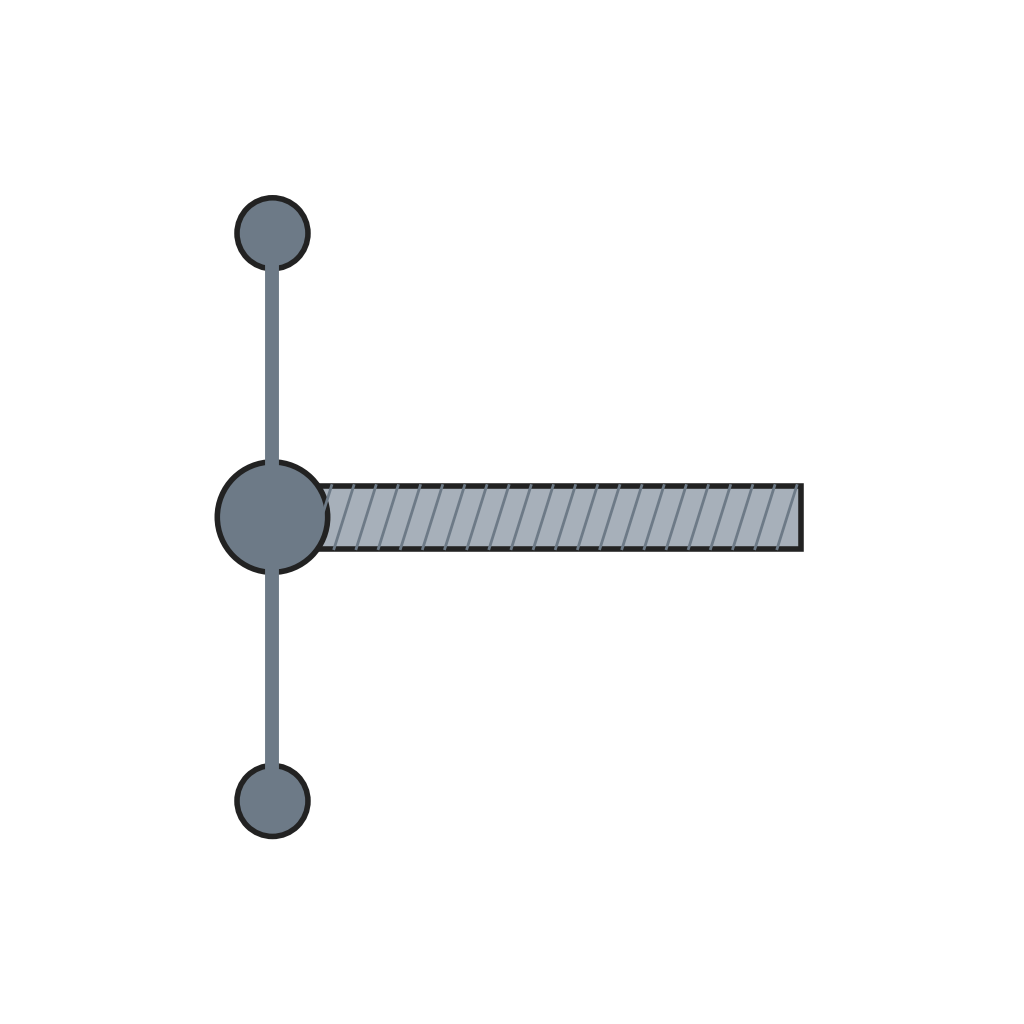 پیچ گیره با دستهٔ اهرمی لغزان2 قطعهپیچ چوب1 قطعه
ابزارهای مورد نیاز:
دریل دستهٔ گردان با متهست مته خزینهمجموعه پیچگوشتی7
7
Back board and finish
Back board and finish
Screw the back board to the back as the top view shows. Give the bench "a couple of coats of oil" to finish and preserve the wood (boiled linseed oil, ours).
مواد مورد نیاز این مرحله:
تختهٔ چوب سخت1 قطعهپیچ چوب1 قطعه روغن بزرک پخته1 قطعه
 پارچهٔ پنبهای1 قطعه
ابزارهای مورد نیاز:
مجموعه پیچگوشتی8
8
Troubleshooting
Troubleshooting
Workbench troubleshooting.
Flow
Loading...
9
9
History and honest limits
History and honest limits
From **The Boy Mechanic, Volume 1: 700 Things for Boys to Do**, edited by H. H. Windsor, Popular Mechanics, Chicago, 1913 (Project Gutenberg #12655), "A Workbench for the Amateur". All sizes and the fastening are the book's; it names no oil, so boiled linseed oil is ours, as are the metric figures.
مواد
8- 1 قطعهجایگزین
- 1 قطعهجایگزین
- 1 قطعهجایگزین
- 1 قطعهجایگزین
- 4 قطعهجایگزین
- جایگزین
- 1 قطعهجایگزین
- 1 قطعهجایگزین
ابزارهای لازم
11- جایگزین
- جایگزین
- جایگزین
- جایگزین
- جایگزین
- جایگزین
- جایگزین
- 1 vendor sell this, none ship to you yetجایگزین
- جایگزین
- جایگزین
- جایگزین
این نقشه میسازد

نقشههای مرتبط
این نقشهها دانش مشترکی دارند — تکنیکها، مواد یا اصول

CC0 مالکیت عمومی
این نقشه تحت مجوز CC0 منتشر شده است. شما آزاد هستید آن را کپی، ویرایش، توزیع و برای هر هدفی بدون نیاز به اجازه استفاده کنید.
با خرید محصولات از طریق نقشه از سازنده حمایت کنید و او کمیسیون سازنده تعیین شده توسط فروشندگان، دریافت میکند یا یک نسخه جدید از این نقشه ایجاد کنید و آن را به عنوان اتصال در نقشه خود قرار دهید تا درآمد به اشتراک گذاشته شود.