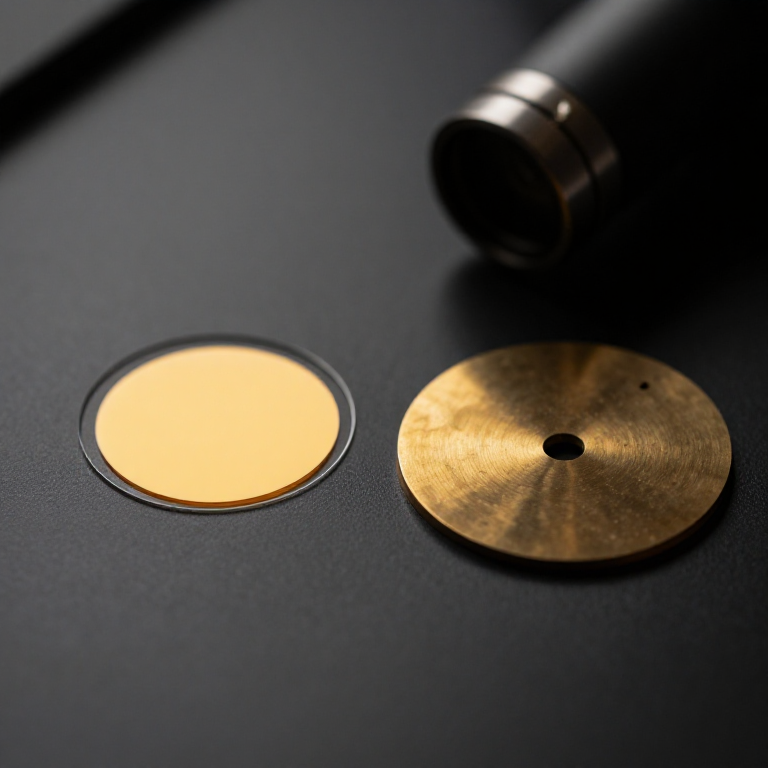


Condenser Microphone
دستورالعملها
Stretch a metallised diaphragm over a backplate
Stretch a metallised diaphragm over a backplate
Two conductors separated by an air gap — that is the whole transducer.
- Cut a disc of aluminised mylar about 25 mm across.
- Stretch it evenly over a ring former and clamp it — tension sets the resonance, so keep it even all round.
- Make a backplate from brass, faced flat, and drill it with a pattern of small holes.
- Mount the backplate a few hundredths of a millimetre behind the diaphragm using a thin insulating spacer.
- Bring a lead out from each.
The gap is the sensitivity. Capacitance rises as the gap shrinks, so a smaller gap gives more signal — but too small and the diaphragm touches the backplate on loud sounds, which sounds appalling and can weld the two together. A few tens of microns is the working band.
The holes in the backplate are not for lightness. They let air escape from behind the diaphragm as it moves, and their size and number damp the diaphragm's resonance — an acoustic filter machined into a piece of brass.مواد مورد نیاز این مرحله:
 پتوی اضطراری مایلار1 قطعه
 میلگرد گرد برنجی1 قطعه
 فویل آلومینیوم1 رول
ابزارهای مورد نیاز:
 دریل شارژی
 مجموعه مته
 مجموعه سوهان
 کولیس دیجیتال ۶ اینچی
 گیرهٔ رومیزی
Apply the polarising voltage
Apply the polarising voltage
A capacitor produces no signal on its own. It has to be charged first.
- Connect the capsule through a very high value resistor — several megohms — to a DC supply of 40 to 60 volts.
- Take the signal from the junction of capsule and resistor.
- Speak at the diaphragm and observe the tiny signal on an oscilloscope.
- Now remove the polarising voltage and try again.
With no polarising voltage there is no output at all. The charge on the capsule is held nearly constant by the huge resistor, so when the capacitance changes the VOLTAGE must change to compensate — that voltage change is the signal. This is a fundamentally different transduction from the carbon microphone, which modulates a current the battery is already pushing through it.
The high resistor is essential and counter-intuitive: it must be large enough that the charge cannot flow away during one cycle of the lowest frequency you care about. Too small and the bass disappears.مواد مورد نیاز این مرحله:
 جعبه مقاومت یکچهارم وات1 کیت
 منبع تغذیهٔ رومیزی قابل تنظیم1 قطعه
ابزارهای مورد نیاز:
 اسیلوسکوپ دیجیتال
 مولتیمتر دیجیتال درجهٔ آزمایشگاهیکولیس دیجیتال ۶ اینچی
Put an amplifier immediately beside the capsule
Put an amplifier immediately beside the capsule
The signal cannot travel even a short distance in this state.
- Wire a high-impedance buffer — a valve or a JFET — within centimetres of the capsule.
- Take the buffered output down the cable instead.
- Compare: connect a metre of cable directly to the capsule and listen to the difference.
The capsule's source impedance is in the gigohms, and any cable is a capacitance across it. A metre of screened cable has enough capacitance to swamp the capsule's own and lose most of the signal, with the treble going first. So the amplifier must sit inside the microphone body — which is exactly why condenser microphones are the ones that need power sent up the cable.
This is the reason phantom power exists. A dynamic microphone needs nothing; a condenser needs its polarising voltage AND its internal amplifier fed, and the elegant solution was to send both down the same two wires carrying the audio back.مواد مورد نیاز این مرحله:
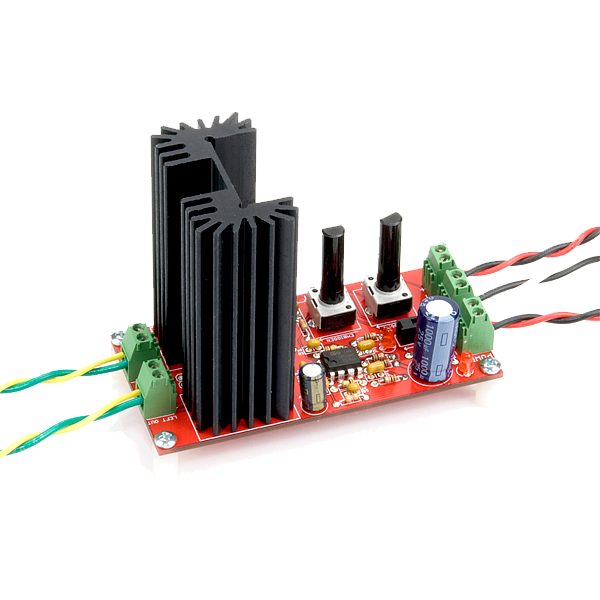 Audio Amplifier Kit - STA5401 کیت
 کیت خازن سرامیکی1 کیت
ابزارهای مورد نیاز:
اسیلوسکوپ دیجیتالمولتیمتر دیجیتال درجهٔ آزمایشگاهی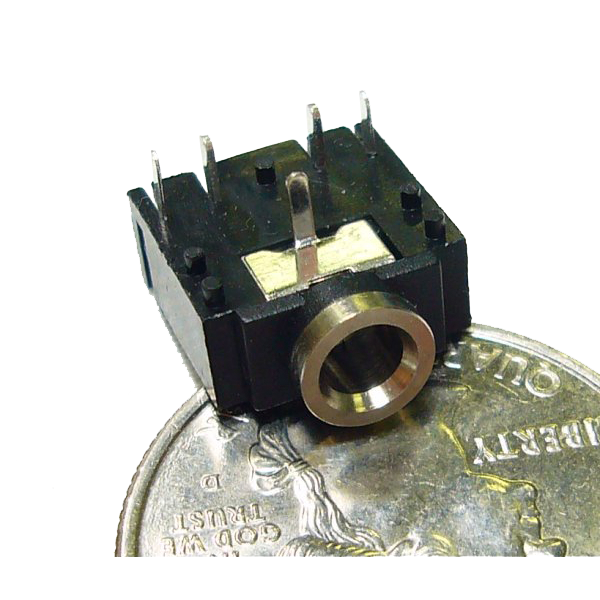 Audio Jack 3.5mm
Measure its response against the carbon microphone
Measure its response against the carbon microphone
The comparison that ended the carbon era in broadcasting.
- Drive a loudspeaker from a signal generator, sweeping from 50 Hz to 15 kHz.
- Record the output level of the condenser capsule at each frequency.
- Repeat with a carbon microphone at the same distance.
- Plot both response curves on one chart.
- Also compare the noise floor with no signal present.
مواد مورد نیاز این مرحله:
 کاغذ شطرنجی1 pad
ابزارهای مورد نیاز:
 مولد سیگنال DDSاسیلوسکوپ دیجیتالمولتیمتر دیجیتال درجهٔ آزمایشگاهی
The microphone that needed the valve, and history
The microphone that needed the valve, and history
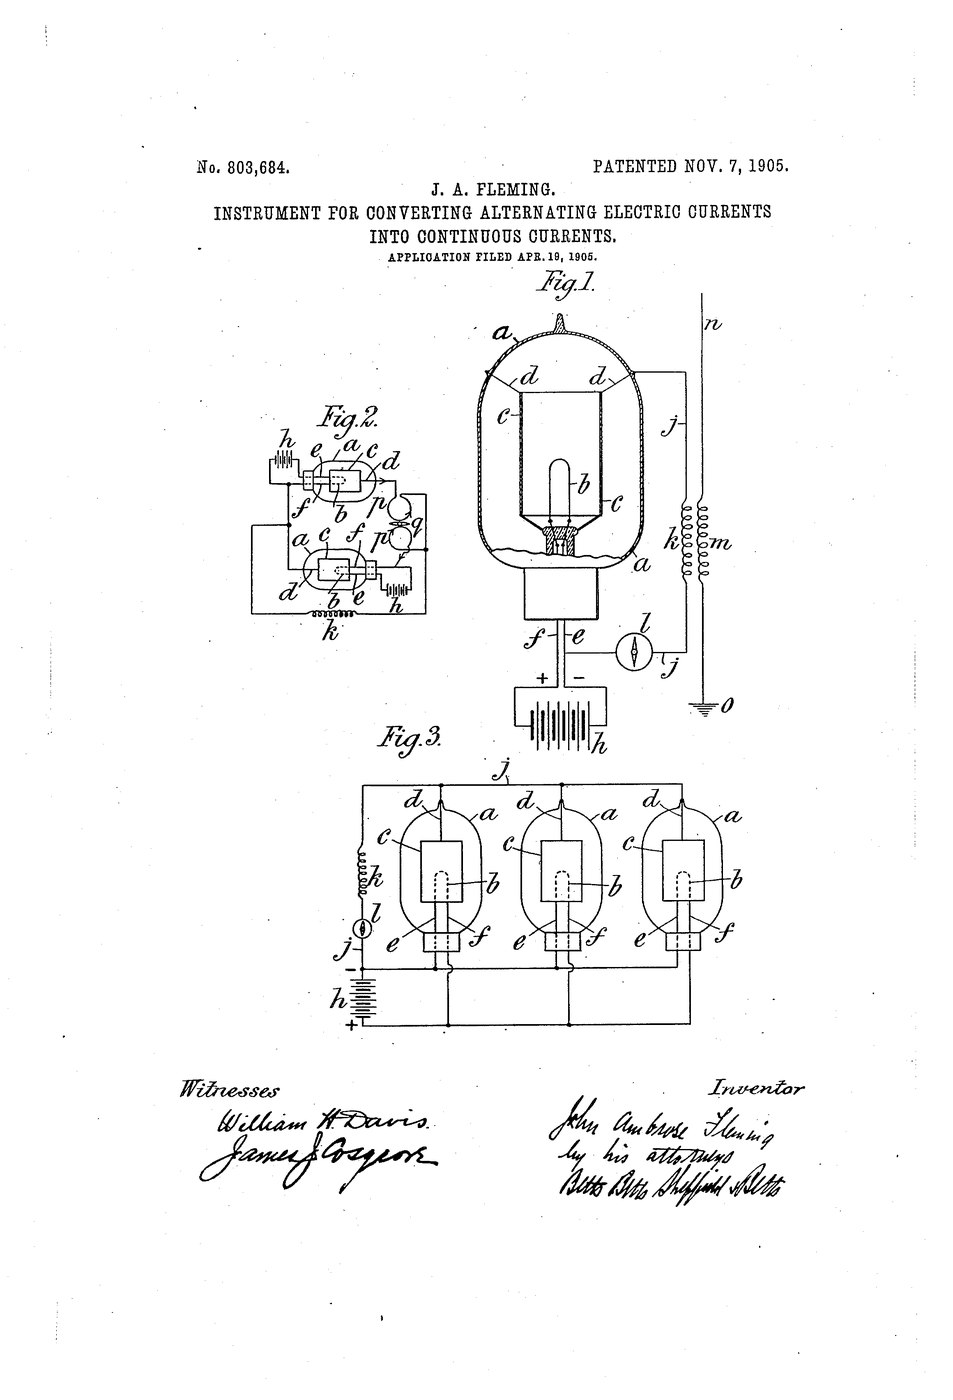
Edward Christopher Wente developed the condenser microphone at Western Electric in 1916, and it is no accident that this is the same decade the vacuum tube became practical. The capsule had been conceivable for years; what was missing was any way to amplify a signal of that size and impedance. The Fleming valve and its descendants made the microphone possible, not the other way round.
It also became a measuring instrument. Because a condenser capsule's response can be made genuinely flat and calculated from its physical dimensions, laboratory-standard condenser microphones are the reference against which other microphones are measured — the same role the McLeod gauge plays for vacuum. Wente's design was as important to acoustics as a science as it was to recording.
Against its siblings in this batch: the carbon microphone is loud, cheap and needs no power but is noisy and distorted. The moving-coil microphone next in this chain is rugged and needs nothing at all but has a heavier diaphragm and less extended treble. The condenser is the most accurate and the most demanding — it needs power, it dislikes humidity, and it is fragile. Studios own all three because the differences are useful rather than merely historical.
Its honest limits: the polarising supply and internal amplifier; sensitivity to moisture, which causes crackling as charge leaks across a damp insulator; overload on very loud sources unless the capsule is designed for it; and fragility. The electret variant later solved the power problem by permanently embedding the charge in the diaphragm material, which is why almost every phone and laptop microphone today is an electret condenser.
مواد
8- 1 قطعهجایگزین
- 1 قطعهجایگزین
- 1 رولجایگزین
- جایگزین
- جایگزین
- Audio Amplifier Kit - STA54010% کمیسیون1 کیت$26.69
- 1 کیتجایگزین
- 1 padجایگزین
ابزارهای لازم
9- 1 vendor sell this, none ship to you yetجایگزین
- جایگزین
- جایگزین
- جایگزین
- جایگزین
- 1 vendor sell this, none ship to you yetجایگزین
- Audio Jack 3.5mm10% کمیسیون$2.18
- جایگزین
نقشههای مرتبط
این نقشهها دانش مشترکی دارند — تکنیکها، مواد یا اصول


CC0 مالکیت عمومی
این نقشه تحت مجوز CC0 منتشر شده است. شما آزاد هستید آن را کپی، ویرایش، توزیع و برای هر هدفی بدون نیاز به اجازه استفاده کنید.
با خرید محصولات از طریق نقشه از سازنده حمایت کنید و او کمیسیون سازنده تعیین شده توسط فروشندگان، دریافت میکند یا یک نسخه جدید از این نقشه ایجاد کنید و آن را به عنوان اتصال در نقشه خود قرار دهید تا درآمد به اشتراک گذاشته شود.