
همکاری
هنر
زیبایی و سلامت
صنایع دستی
فرهنگ و تاریخ
سرگرمی
محیط زیست
غذا و نوشیدنی
مهندسی معکوس
علوم
ورزش
فناوری
پوشیدنی‌ها
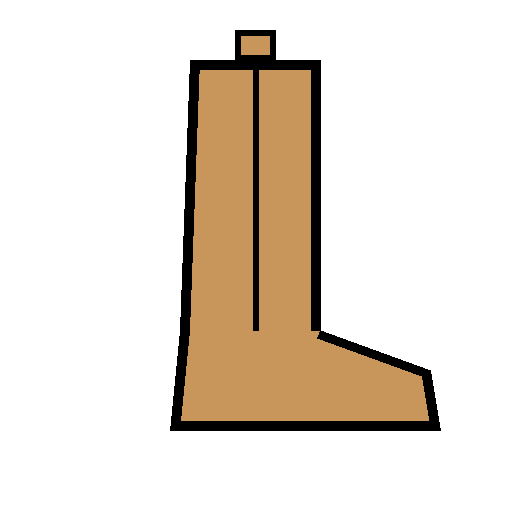
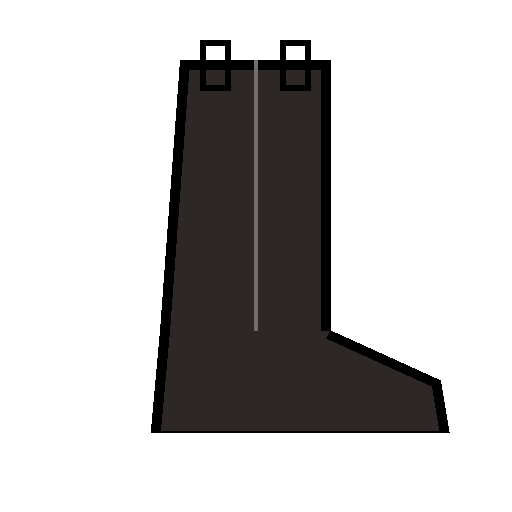
Wellington Boot Leg: Drafted, Lined and Closed With a Welt in the Side Seams (Leno, 1885)
Tex

ایجاد شده توسط

Tex

13. نوامبر 2026FO
۱۱
۰
۰
۰
۰

Wellington Boot Leg: Drafted, Lined and Closed With a Welt in the Side Seams (Leno, 1885)

The Wellington, a tall pull-on boot with a seam down each side, is the ancestor of the cowboy boot. From John Bedford Leno's The Art of Boot and Shoemaking (1885): how to draft the front and back from the customer's measures, line them, put on the counter, close the side seams with a leather welt in the clams, and finish the leg with its pull-on straps. "As it was cut at the time of its introduction, so it is cut now." This makes the upper; lasting and soling it into a boot are the next blueprints.
پیشرفته
About 2 days

دستورالعمل‌ها

1

The draft marks

در حال بارگذاری دفترچهٔ Jupyter…
2

Read The Art of Boot and Shoemaking, ch. IX

"As a rule the form and cut of the majority of boots and shoes undergo considerable variations. No such change has characterized the history of the Wellington."
3

Draft the front and back

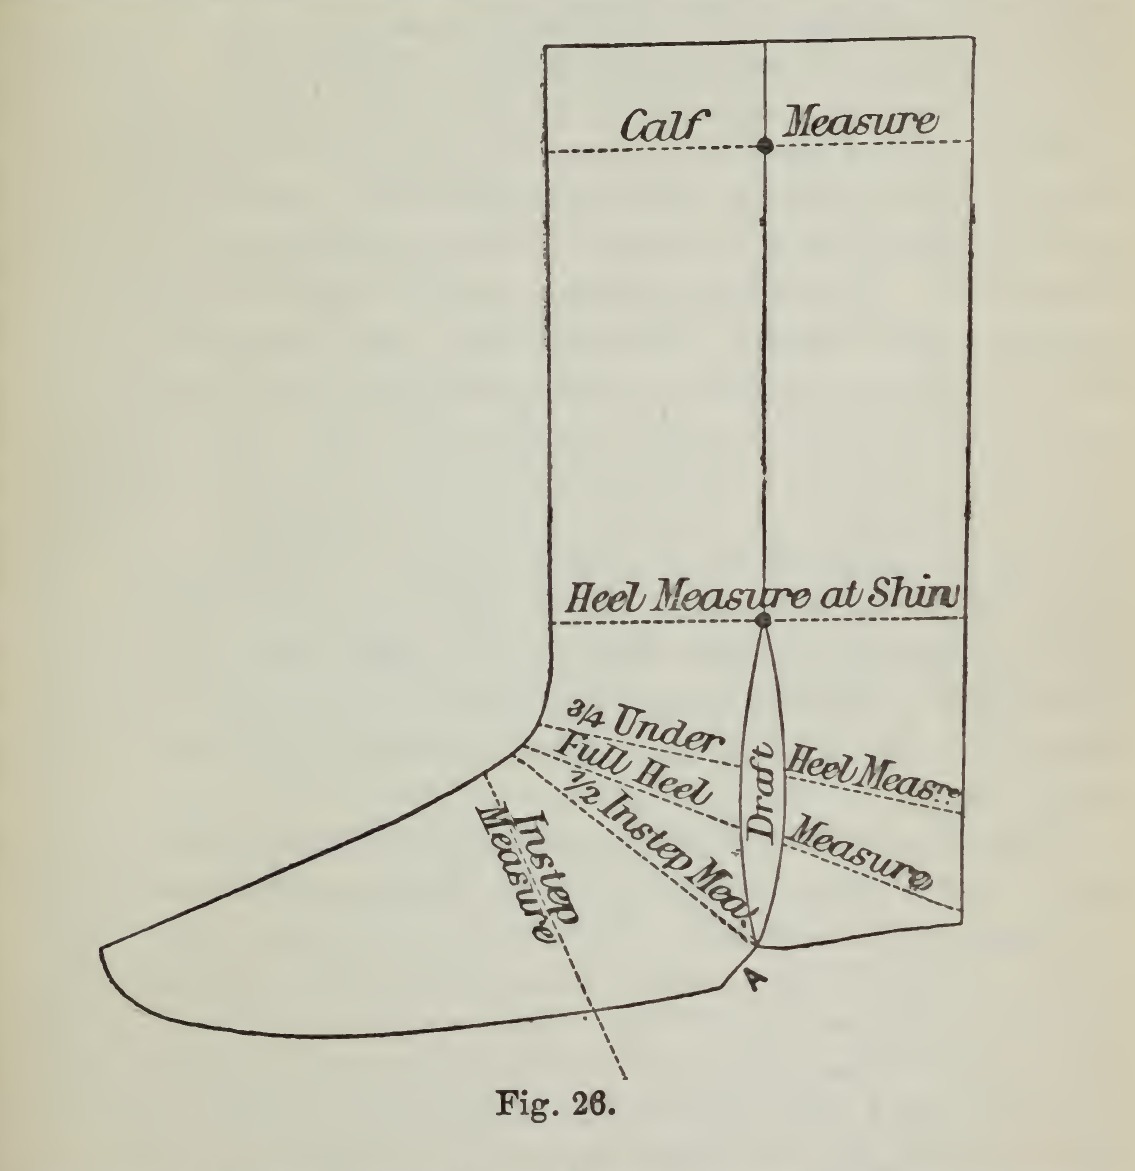
Cut the back at the bottom of the counter so the cut slopes up a quarter of an inch from the bottom of the draft, as his Fig. 26. Put front and back together as they will be when closed, front over back. Measure the calf and pierce through both with the awl at the centre of the measure; measure the shin, which should equal the heel measure, and pierce at its centre. Cut the front of the leg along a straight-edge through the awl marks, then the back the same way. Cut the corner off the front at A, at the bottom of the side seam, half the measure of instep.

مواد مورد نیاز این مرحله:

چرم گوسالهچرم گوساله1 قطعه

ابزارهای مورد نیاز:

متر نواریمتر نواری
درفشدرفش
خط‌کش صافیخط‌کش صافی
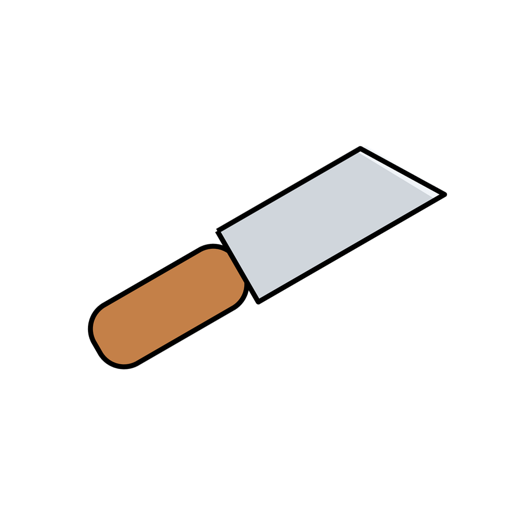
کارد چرم‌بریکارد چرم‌بری
4

Cut the draft

Mark the side half the depth of instep for the top of the draft. Overlap and measure at the top of the counter, three quarters of an inch less than the heel measure, and pierce at the centre. Measure from the throat to a quarter of an inch from the bottom of the counter for the full heel measure and pierce at half that distance. Cut the back from the top-draft mark in a semi-oval to the bottom of the counter, and the front the same, using the back as a guide. With the last laid on them, cut away the surplus round the bottom of the front, leaving half an inch to be sewn away. Cut the top lining and side linings and shape the counter to the back.

مواد مورد نیاز این مرحله:

چرم گوسالهچرم گوساله1 قطعه

ابزارهای مورد نیاز:

متر نواریمتر نواری
درفشدرفش
کارد چرم‌بریکارد چرم‌بری
5

Fit and paste the linings

Fit the side linings on the board held on your knees, then cut and skive them thin at the edges. If the front is brittle or harsh in the grain, rub it soft. Scrape the dirt off the grain on the vamp side with a blunt knife and paste the linings on. If front or back are light, paste strips of roan from the joint of the linings along their inside edges, the back's running from just below the counter up to the top lining.

مواد مورد نیاز این مرحله:

چرم گوسالهچرم گوساله1 قطعه
تیماج رنگی (روان)تیماج رنگی (روان)1 قطعه
چسب آرد گندمچسب آرد گندم1 قطعه

ابزارهای مورد نیاز:

تختهٔ کاجتختهٔ کاج
کارد چرم‌بریکارد چرم‌بری
چاقوی نازک‌کاری چرمچاقوی نازک‌کاری چرم
6

Fit the counter

Choose a counter that needs no stiffener; if it is light, put a stiffener between counter and back. Skive the counter thin and let it run over to the front, where it is held by a row or rows of stabbing, "commended for the support it gives to the boot". Fit the legs and, when the paste is dry, line the front.

مواد مورد نیاز این مرحله:

چرم گوسالهچرم گوساله1 قطعه
چسب آرد گندمچسب آرد گندم1 قطعه

ابزارهای مورد نیاز:

چاقوی نازک‌کاری چرمچاقوی نازک‌کاری چرم
کارد چرم‌بریکارد چرم‌بری
7

Whip the side linings and stitch the counter

Whip or hem the side linings on with awl or needle, leaving no thread marks outside, and not below the joints of the foot. The awl should have no thickness behind its point, no keenness at the side, and be slightly hooked. Stitch the counter on, with the two back counter rows holding counter and stiffener. Mark the holes with the pricker, teeth smooth, struck evenly.

مواد مورد نیاز این مرحله:

نخ کتاننخ کتان1 قطعه

ابزارهای مورد نیاز:

درفشدرفش
دو سوزن سراجیدو سوزن سراجی
قلم کوک چرمقلم کوک چرم
8

Close the side seams

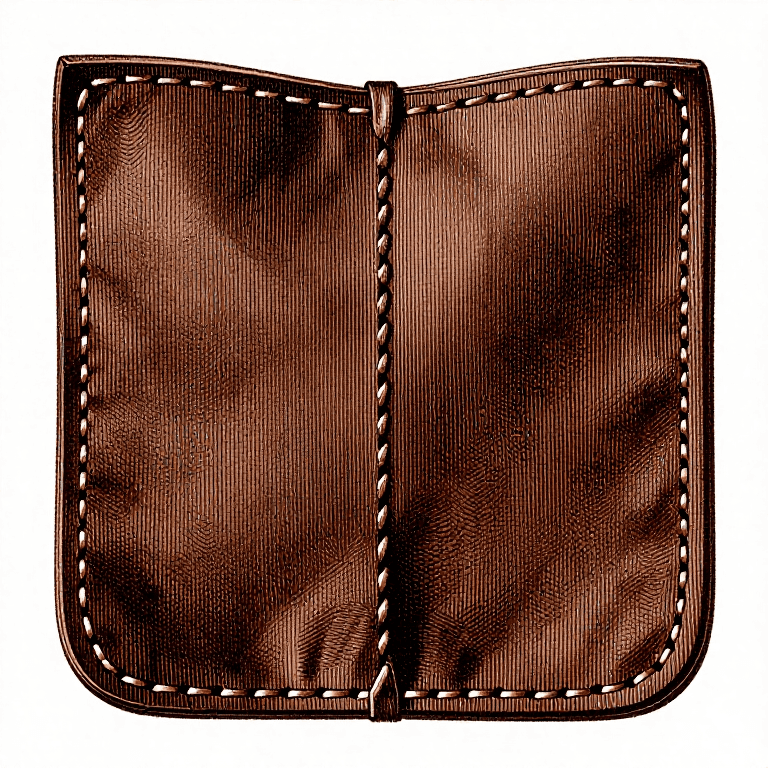
With flax thread suited to the leather, put the back in the clams grain side out, top toward you, the front held the same on the left side, and the small strip of leather that forms the welt between them; close up the sides. Keep the stitches regular and an equal distance from the edges; too many stitches weaken the upper. Insert the closer's block, wet the seam slightly and rub it smooth with the long stick.

مواد مورد نیاز این مرحله:

نخ کتاننخ کتان1 قطعه
چرم گوسالهچرم گوساله1 قطعه
آبآب1 قطعه

ابزارهای مورد نیاز:

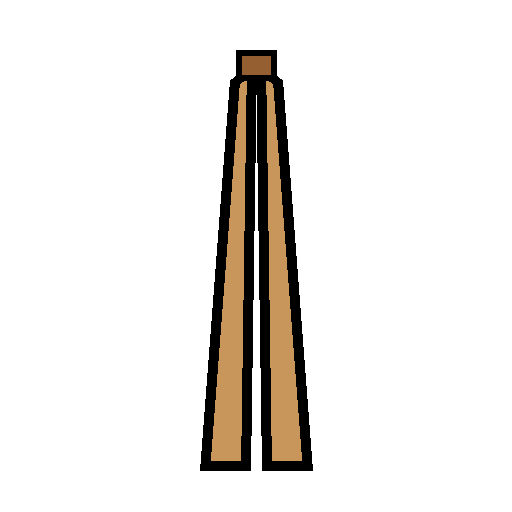
گیرهٔ چوبی دوختگیرهٔ چوبی دوخت
درفشدرفش
دو سوزن سراجیدو سوزن سراجی
قالب چوبی دوزندهقالب چوبی دوزنده
چوب مالشچوب مالش
9

Line the top and turn the leg

Cut the top lining to the size of the leg and whip it on front and back. Turn the boot, put the block in again and make the seam flat. Take the surplus of the welt away with the welt-cutter, carefully, "or the upper may suffer considerable damage", and set the welt up with the welt-setter.

مواد مورد نیاز این مرحله:

چرم گوسالهچرم گوساله1 قطعه
نخ کتاننخ کتان1 قطعه

ابزارهای مورد نیاز:

دو سوزن سراجیدو سوزن سراجی
قالب چوبی دوزندهقالب چوبی دوزنده
برش‌دهندهٔ نوار درزبرش‌دهندهٔ نوار درز
تنظیم‌کنندهٔ نوار درزتنظیم‌کنندهٔ نوار درز
10

Put in the straps and finish

Cut a slit in the top lining and insert the straps. Put the boot on the tree and leave it until dry; then stab the top and straps. Set up the welt with a solution of gum arabic and ink or water.

مواد مورد نیاز این مرحله:

چرم گوسالهچرم گوساله1 قطعه
نخ کتاننخ کتان1 قطعه
صمغ عربیصمغ عربی1 قطعه
مرکب هندیمرکب هندی1 قطعه

ابزارهای مورد نیاز:

قیچیقیچی
قالب نگهدارندهٔ چکمهقالب نگهدارندهٔ چکمه
درفشدرفش
دو سوزن سراجیدو سوزن سراجی
تنظیم‌کنندهٔ نوار درزتنظیم‌کنندهٔ نوار درز
11

Troubleshooting

Wellington leg troubleshooting.

Flow

Loading...
12

History and honest limits

From **The Art of Boot and Shoemaking** by John Bedford Leno, Crosby Lockwood, London, 1885 (archive.org artofbootshoemak00leno, an 1889 printing), chapter IX, "Fitting and Closing", pp. 66-69: "The Light Wellington" and "How to Cut and Draft a Wellington". For a stout Wellington he grooves the edges with the closer's plough; that tool is not used here. He names no leather for side linings or counter; calf is ours. The metric figures are ours. This blueprint makes the leg (the upper); lasting, welting, soling and heeling it are the next blueprints.

مواد

7

ابزارهای لازم

15

این نقشه می‌سازد

نقشه‌های مرتبط

این نقشه‌ها دانش مشترکی دارند — تکنیک‌ها، مواد یا اصول

CC0 مالکیت عمومی

این نقشه تحت مجوز CC0 منتشر شده است. شما آزاد هستید آن را کپی، ویرایش، توزیع و برای هر هدفی بدون نیاز به اجازه استفاده کنید.

با خرید محصولات از طریق نقشه از سازنده حمایت کنید و او کمیسیون سازنده تعیین شده توسط فروشندگان، دریافت می‌کند یا یک نسخه جدید از این نقشه ایجاد کنید و آن را به عنوان اتصال در نقشه خود قرار دهید تا درآمد به اشتراک گذاشته شود.

بحث و گفتگو

(0)

ورود برای شرکت در بحث

در حال بارگذاری نظرات...