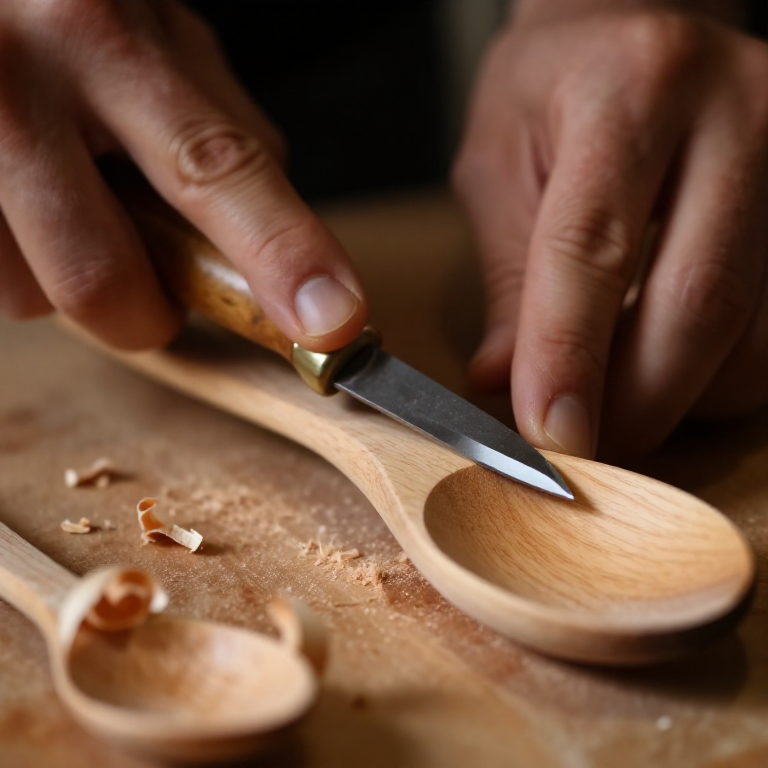
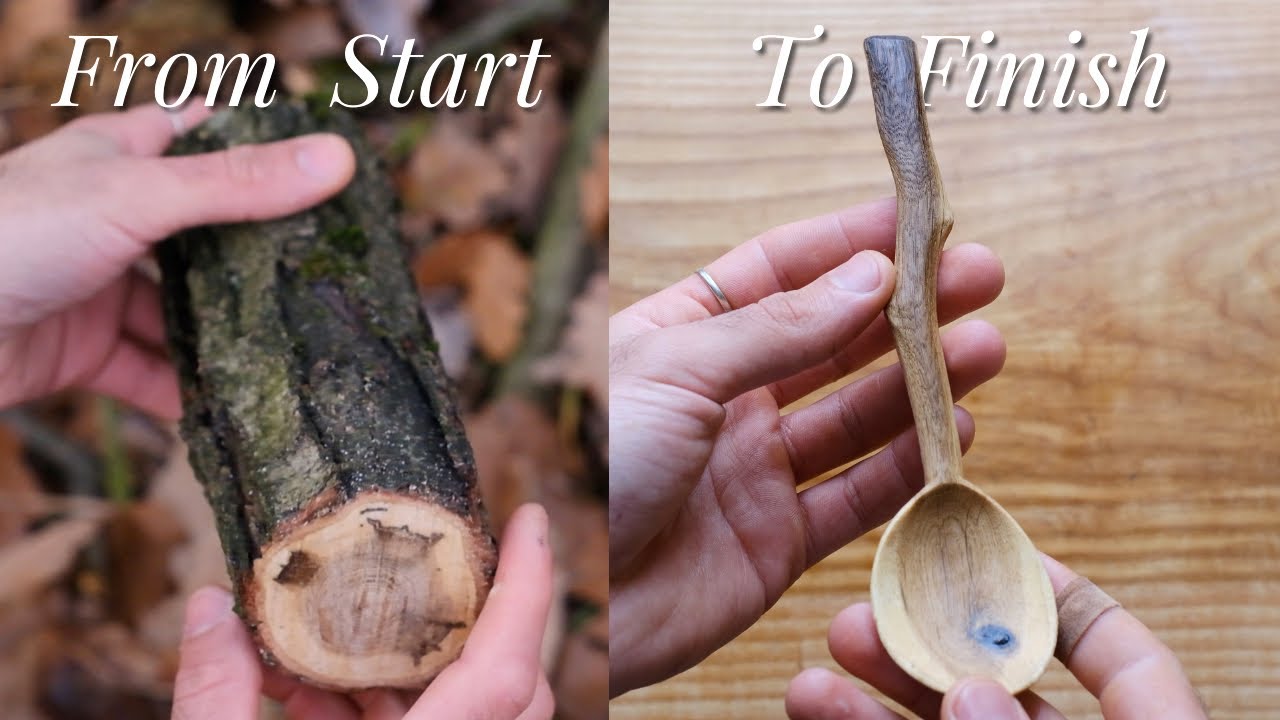
Carving a Wooden Spoon by Hand
دستورالعملها
Selecting and Preparing the Blank
Selecting and Preparing the Blank
Wood Selection
Choose a straight-grained hardwood or softwood suitable for food contact:
- Basswood (Tilia americana): Best for beginners. Very soft, carves like butter, minimal grain tearing. Doesn't impart flavor.
- Birch: Slightly harder than basswood. Traditional Scandinavian spoon wood.
- Cherry: Medium hardness, beautiful color, food-safe. Carves well when green.
- Walnut: Harder, rich dark color. More challenging to carve but extremely durable.
Avoid: Softwoods with resin (pine, spruce, cedar) — they taste awful and can leach into food. Also avoid toxic woods (yew, laburnum).
Grain Orientation
The grain should run along the length of the spoon (handle to bowl tip). Cross-grain spoons snap at the neck. Look at the end grain — the annual rings should run roughly parallel to the front face of the spoon for strength.
Drawing the Template
- Draw the top view (plan) on the widest face: oval bowl tapering into a handle.
- Draw the side view (profile) on the narrow face: curved bowl dipping down, handle with gentle taper.
- Keep the neck (where bowl meets handle) at least 15mm wide × 12mm thick — this is the weakest point.
مواد مورد نیاز این مرحله:
 Basswood carving block (approx. 2×3×8 inches)1 pc
ابزارهای مورد نیاز:
 Carving knife (sloyd knife or whittling knife)
 Hook knife (spoon knife or crook knife)
 Pencil
 Leather strop (or cardboard)
Roughing Out the Shape
Roughing Out the Shape
Removing Waste Wood
- Saw the outline: Use a coping saw or bandsaw to cut the top-view silhouette. This removes the most waste fastest. If no saw is available, you can axe or knife the waste off — it just takes longer.
- Shape the profile: With the spoon lying flat, use the carving knife to remove wood from the sides and back, establishing the side-view profile.
Knife Technique — Push Cut and Thumb Push
- Push cut: Knife in dominant hand, thumb on the back of the blade. Push the blade away from you through the wood. Best for long, sweeping cuts on the handle.
- Thumb push: Knife in dominant hand, thumb of the other hand on the back of the blade near the tip. Short, controlled cuts. Best for detail work around the bowl.
- ALWAYS cut away from your body. If the knife slips, it goes into air, not flesh.
Shaping the Back of the Bowl
Turn the spoon upside down. Carve the underside of the bowl first — it's easier to do this before hollowing. Create a smooth, convex curve. The walls should be roughly 5-7mm thick at this stage (you'll refine later).
مواد مورد نیاز این مرحله:
Basswood carving block (approx. 2×3×8 inches)1 pcHollowing the Bowl
Hollowing the Bowl
Using the Hook Knife
The hook knife is used across the grain in a scooping motion:
- Start at the center of the bowl. Place the hook knife at a shallow angle.
- Pull or push (depending on your hook knife style) in a sweeping arc from center to edge.
- Rotate the spoon and repeat from the other direction. Always cut from center to rim — cutting from rim to center digs in and tears grain.
- Work in thin, controlled passes. Don't try to take deep bites — the hook will dig in and lever, potentially breaking the bowl wall.
Checking Thickness
Hold the spoon up to a light source. You'll see the thinner areas glow. Aim for 3-4mm wall thickness — thin enough to feel elegant, thick enough to be strong. Pinch the wall between thumb and finger to gauge.
Common Mistakes
- Bowl too deep: Makes the spoon hard to use for eating. A gentle curve (5-8mm depth) is better than a deep cup.
- Walls uneven: One side thinner than the other. Rotate frequently and check from multiple angles.
- Tear-out at the rim: Caused by dull hook knife or cutting from rim to center. Strop the hook knife and always cut center-to-rim.
مواد مورد نیاز این مرحله:
Basswood carving block (approx. 2×3×8 inches)1 pcRefining and Sanding
Refining and Sanding
Knife Finish vs. Sanded Finish
You have two options for the final surface:
- Knife finish (traditional): Leave clean knife facets visible. Requires a very sharp knife and controlled cuts. The facets catch light beautifully and are a mark of craftsmanship.
- Sanded finish (smooth): Sand away all tool marks for a glass-smooth surface. More forgiving of imperfect knife work.
Sanding Process
- 120 grit: Remove all visible tool marks and scratches. Sand with the grain on flat surfaces. For the bowl interior, fold sandpaper around your thumb or a rounded stick.
- 220 grit: Smooth the surface left by 120. The wood should feel silky.
- Wet the spoon with water and let it dry completely. This raises the grain — tiny fibers stand up. Sand again with 220 to remove them. This prevents the grain from raising when the spoon gets wet during use.
- 400 grit (optional): Final polish. The surface should feel like glass.
Note on raised grain: Wetting and re-sanding is critical for a spoon that will contact liquids. Skip this and the spoon will feel fuzzy after its first wash.
مواد مورد نیاز این مرحله:
 Sandpaper assortment (120, 220, 400 grit)1 setBasswood carving block (approx. 2×3×8 inches)1 pc
Applying a Food-Safe Finish
Applying a Food-Safe Finish
Food-Safe Oil Options
| Oil | Drying? | Notes |
|---|---|---|
| Raw linseed oil (flaxseed oil) | Yes (slowly) | Traditional, food-safe, hardens over time. NOT boiled linseed oil. |
| Mineral oil (food grade) | No | Inexpensive, no taste, no color. Needs reapplication monthly with use. |
| Walnut oil | Yes (slowly) | Food-safe drying oil, slight nutty scent. Avoid if nut allergy is a concern. |
| Beeswax + mineral oil blend | N/A | Melted 1:4 beeswax:mineral oil. Creates water-resistant coating. |
Application
- Apply a generous coat of oil with a clean rag or your hands.
- Let it soak in for 15-20 minutes.
- Wipe off all excess — any oil left on the surface will become sticky/gummy.
- Let dry for 24 hours (drying oils) or use immediately (mineral oil).
- Apply 2-3 more coats over the next few days, with 24 hours between coats.
Long-Term Care
Wooden spoons last decades with minimal care: wash by hand (never dishwasher), re-oil when the wood looks dry/light, and never soak in water for extended periods.
مواد مورد نیاز این مرحله:
 Food-safe finish (raw linseed oil or mineral oil)1 bottle
مواد
3- 1 pieceجایگزین
- 1 setجایگزین
- 1 bottleجایگزین
Related blueprints
Other builds that share materials, tools, or techniques with this one.


CC0 مالکیت عمومی
این نقشه تحت مجوز CC0 منتشر شده است. شما آزاد هستید آن را کپی، ویرایش، توزیع و برای هر هدفی بدون نیاز به اجازه استفاده کنید.
با خرید محصولات از طریق نقشه از سازنده حمایت کنید و او کمیسیون سازنده تعیین شده توسط فروشندگان، دریافت میکند یا یک نسخه جدید از این نقشه ایجاد کنید و آن را به عنوان اتصال در نقشه خود قرار دهید تا درآمد به اشتراک گذاشته شود.