
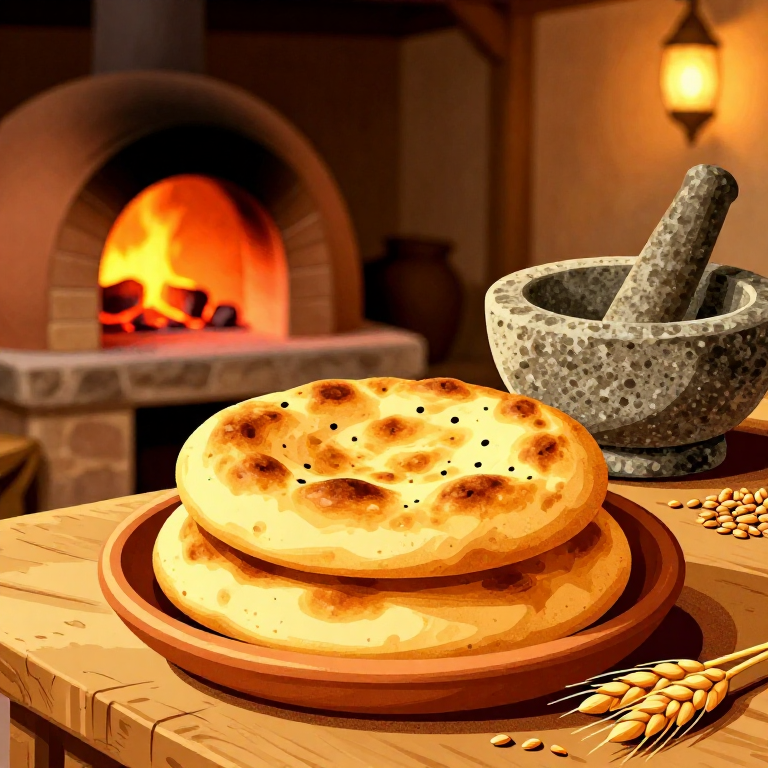
Maintaining and Baking with a Sourdough Starter — Medieval Leavening
دستورالعملها
Establish the Sourdough Starter (Days 1-7)
Establish the Sourdough Starter (Days 1-7)
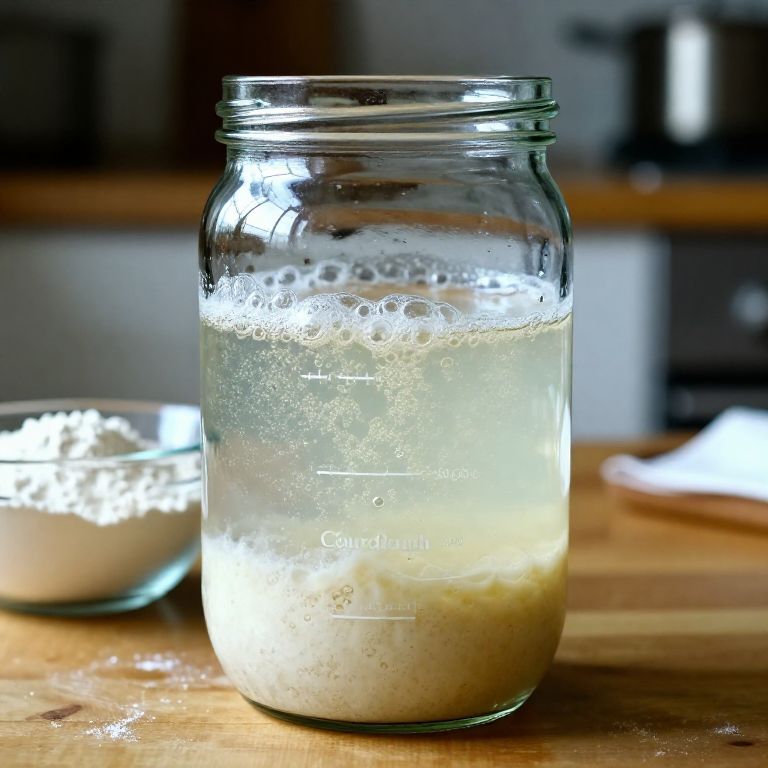
Day 1: Mix 50 grams of whole wheat or rye flour with 50 grams of water in a clean glass or ceramic jar. Stir vigorously, cover loosely, and leave at room temperature (20-25 degrees Celsius). Days 2-3: Discard half the mixture and add 50 grams flour and 50 grams water. Stir, cover, and wait. Some bubbling may appear — these are wild yeasts and bacteria from the flour and air colonising the mixture. Days 4-7: Continue daily feedings of discard-half, add 50 grams flour, 50 grams water. By day 5 to 7, the starter should be rising predictably to double its volume within 4 to 8 hours after each feeding, with a pleasantly sour, yeasty aroma. The dominant organisms will be Lactobacillus sanfranciscensis (or related species) and Saccharomyces cerevisiae or Kazachstania exigua. The starter is ready to use when it reliably doubles within 6 hours of feeding.
مواد مورد نیاز این مرحله:
 Rye Flour500 grams for starter, 500 grams for bread piece
 Bread Flour300 grams for bread piece
 Wateras needed piece
 Salt10 grams for bread piece
ابزارهای مورد نیاز:
 Mixing Bowl Set
 Oven
Oven Dutch Oven
 Lame or sharp knife for scoring
Mix the Bread Dough
Mix the Bread Dough
Combine 150 grams of active, recently-fed starter (at peak rise) with 350 grams white bread flour, 150 grams whole wheat flour, 10 grams salt, and approximately 280 ml water. Mix until no dry flour remains, then rest (autolyse) for 30 minutes. The autolyse allows the flour to fully hydrate and the gluten network to begin forming without kneading. After the rest, knead the dough for 10 to 15 minutes until smooth and elastic. Medieval bakers kneaded in large wooden troughs, and baking guild regulations specified minimum kneading times to ensure bread quality. Shape the dough into a ball, place in a lightly oiled bowl, cover with a damp cloth, and ferment at room temperature for 4 to 8 hours until roughly doubled in volume.
Shape and Proof the Loaf
Shape and Proof the Loaf
Gently deflate the risen dough and shape it into a tight round (boule) by folding the edges toward the centre and turning the dough seam-side down on a lightly floured surface. Use a bench scraper or your working surface to create surface tension by dragging the dough ball toward you. Place the shaped loaf seam-side up in a cloth-lined proofing basket (banneton) dusted with flour. Cover and proof at room temperature for 2 to 4 hours, or refrigerate overnight for a slow cold proof that develops more complex sour flavour. The loaf is ready to bake when it has risen by approximately 50 percent and a gentle finger poke leaves an indentation that springs back slowly but does not completely fill in.
Score and Bake
Score and Bake
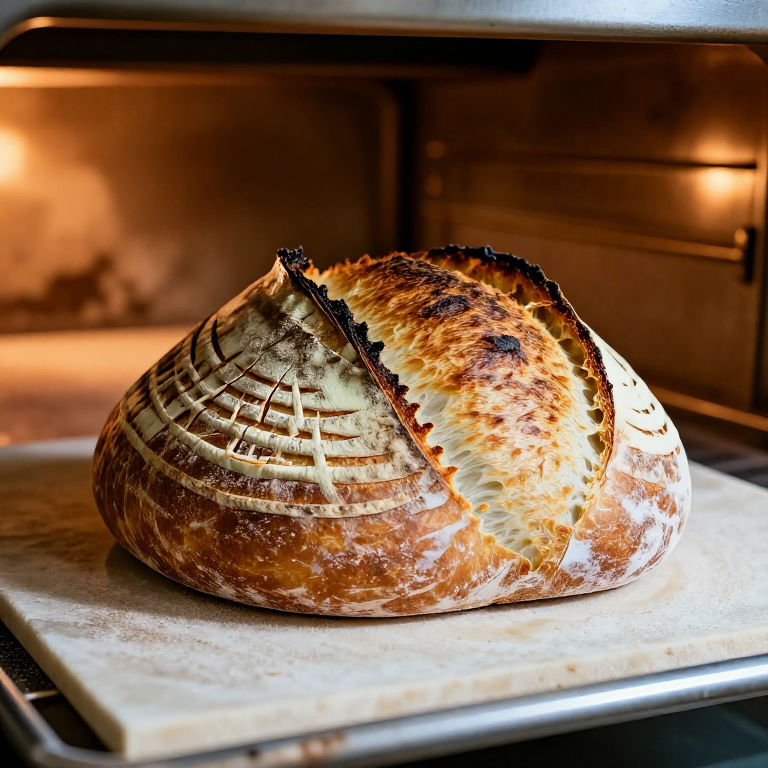
Preheat the oven to 230 degrees Celsius with a baking stone or Dutch oven inside. Turn the proofed loaf out of the basket onto a peel or parchment paper, seam-side down. Score the top with a sharp blade (lame) — a single deep slash or a cross pattern allows the loaf to expand during oven spring without tearing unpredictably. Transfer to the preheated baking stone or Dutch oven. If using a stone, create steam by pouring water into a preheated tray on the oven floor. If using a Dutch oven, the lid traps steam naturally. Bake covered for 20 minutes, then uncover and reduce heat to 210 degrees Celsius for another 20 to 25 minutes until the crust is deep golden-brown and the loaf sounds hollow when tapped on the bottom.
Cool and Store
Cool and Store
Remove the loaf from the oven and cool on a wire rack for at least one hour before cutting — the interior continues cooking from residual heat during this time, and cutting too early releases steam that would otherwise be reabsorbed, resulting in a gummy crumb. The finished loaf should have a thick, crackly crust, an open crumb with irregular holes, and a pleasantly tangy flavour from the lactic and acetic acids produced during fermentation. Sourdough bread keeps longer than commercial yeast bread because the acids lower the pH to approximately 3.8-4.2, inhibiting mould growth. A sourdough loaf will stay fresh for 4 to 5 days at room temperature, stored cut-side down on a wooden board. Continue maintaining your starter with daily feedings — medieval bakers kept their starters alive for generations, and the microbial community becomes more stable and flavourful with age.
مواد
4- 300 grams for bread pieceجایگزین
- 10 grams for bread pieceجایگزین
ابزارهای لازم
5- جایگزین
- جایگزین
- جایگزین
- جایگزین
Related blueprints
Other builds that share materials, tools, or techniques with this one.


CC0 مالکیت عمومی
این نقشه تحت مجوز CC0 منتشر شده است. شما آزاد هستید آن را کپی، ویرایش، توزیع و برای هر هدفی بدون نیاز به اجازه استفاده کنید.
با خرید محصولات از طریق نقشه از سازنده حمایت کنید و او کمیسیون سازنده تعیین شده توسط فروشندگان، دریافت میکند یا یک نسخه جدید از این نقشه ایجاد کنید و آن را به عنوان اتصال در نقشه خود قرار دهید تا درآمد به اشتراک گذاشته شود.