هنر
زیبایی و سلامت
صنایع دستی
فرهنگ و تاریخ
سرگرمی
محیط زیست
غذا و نوشیدنی
آینده سبز
مهندسی معکوس
علوم
ورزش
فناوری
پوشیدنیها
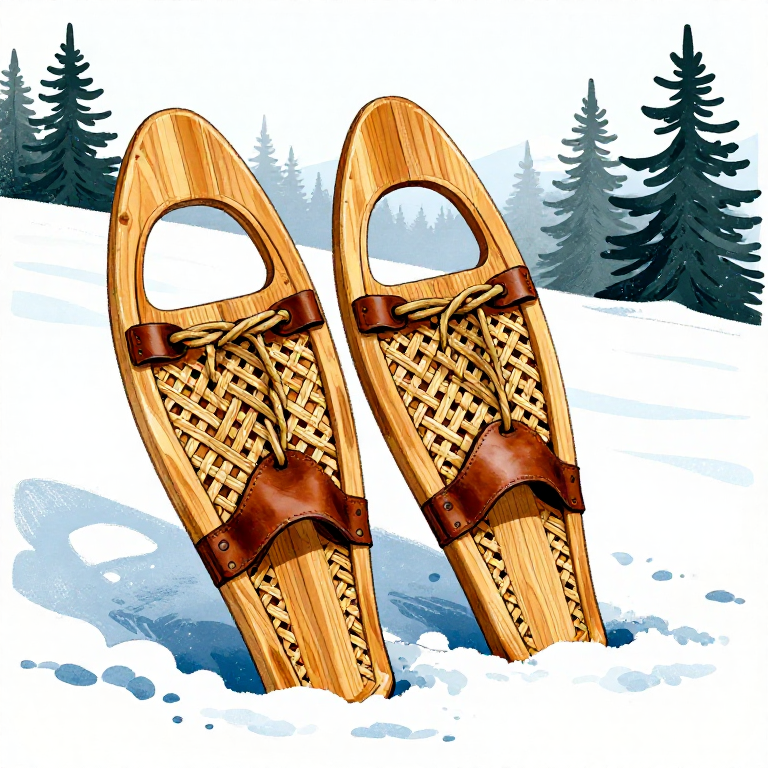
Making Snowshoes from Bent Wood and Rawhide Lacing — Winter Mobility
Snowshoes are one of humanity's oldest winter survival technologies, distributing a person's weight over a surface area large enough to walk on top of deep snow rather than sinking through it. Archaeological and ethnographic evidence places snowshoe use at least 4,000 to 6,000 years ago in Central Asia and North America, though the technology almost certainly predates this — any population living with deep winter snow would have discovered the principle independently. The physics are straightforward: a 75 kg person standing on two feet exerts approximately 250 g/cm2 of pressure on the snow surface. A pair of snowshoes increases the contact area by 4 to 6 times, reducing ground pressure to 40 to 60 g/cm2, which is below the threshold at which most packed snow compresses and collapses. The classic design uses a steam-bent hardwood frame (ash, birch, or white oak) laced with a dense web of rawhide strips. The rawhide lacing is ideal because it shrinks as it dries, pulling the webbing drum-tight without any fasteners. This blueprint teaches the bearpaw (oval) style — the simplest and most universal snowshoe pattern — suitable for wooded terrain with moderate to deep snow.
متوسط
6-10 hours
دستورالعملها
1
1
Select and Harvest Frame Wood
Select and Harvest Frame Wood
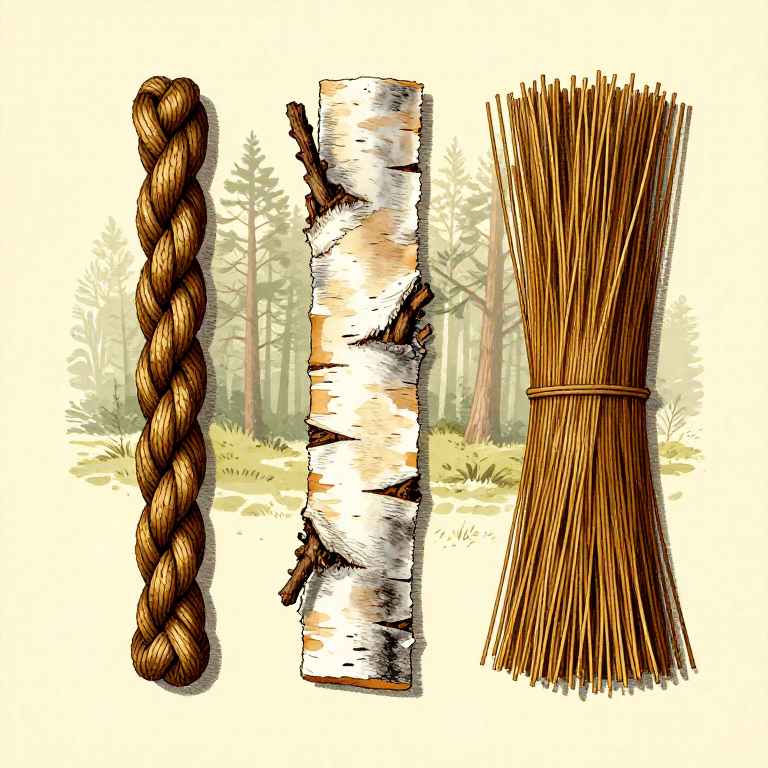
Choose two straight, knot-free ash, birch, or white oak saplings approximately 180 cm long and 2.5 to 3 cm in diameter. Green (freshly cut) wood is essential — seasoned wood snaps when bent. Ash is the traditional first choice because its long, straight grain bends predictably and is remarkably strong for its weight. Harvest in late autumn or winter when sap is down, as summer-cut wood tends to develop mould during the drying process. Strip the bark immediately with a flint knife to allow even drying later.
مواد مورد نیاز این مرحله:
 Hardwood Sapling2 piece
ابزارهای مورد نیاز:
 Flint Knife
2
2
Shave the Frame Blanks to Uniform Thickness
Shave the Frame Blanks to Uniform Thickness
Using a flint scraper or knife, shave each sapling to a uniform cross-section of approximately 2 cm wide and 1.5 cm thick along the entire length. The wood must be thin enough to bend without breaking but thick enough to support the wearer's weight. Taper the last 30 cm at each end to approximately 1 cm thickness — these thinner sections will form the toe and heel of the snowshoe where the tightest bends occur. Test flexibility by bending a section gently — it should flex smoothly without cracking or splintering.
ابزارهای مورد نیاز:
Flint Knife3
3
Steam-Bend the Frame into an Oval
Steam-Bend the Frame into an Oval
Heat water to boiling using hot stones in a bark trough or hollowed log. Submerge the frame blanks completely and soak for 2 to 3 hours, keeping the water at or near boiling temperature by continuously rotating hot stones. Once the wood is thoroughly saturated and flexible, remove one blank and immediately bend it into a teardrop or oval shape approximately 35 cm wide and 55 to 60 cm long. Cross the two tapered ends at the tail and bind them temporarily with rawhide strip. Hold the bent frame in shape by tying it to a wooden form or staking it to the ground. Repeat with the second blank. Allow both frames to dry in this shape for at least 48 hours — the wood must set completely before lacing.
مواد مورد نیاز این مرحله:
 Rawhide Strips2 metre
4
4
Install the Cross-Bars
Install the Cross-Bars
Each snowshoe needs two crossbars: one forward crossbar positioned about 15 cm back from the toe (front), and one rear crossbar positioned about 15 cm forward from the heel (back). Cut four crossbar pieces from the same hardwood, each the width of the frame interior (approximately 30 cm) and 1.5 cm square. Notch the inside of the frame at each crossbar position to create a shallow seat (approximately 5 mm deep). Fit the crossbars into these notches and lash them securely with wet rawhide strip, wrapping each joint at least 5 times. The crossbars define the foot opening — the space between them is where the toe binding attaches and where your foot pivots when walking.
مواد مورد نیاز این مرحله:
Hardwood Sapling2 pieceRawhide Strips3 metreابزارهای مورد نیاز:
Flint Knife5
5
Prepare Rawhide Lacing Strips
Prepare Rawhide Lacing Strips
Cut rawhide (deer, elk, moose, or cattle) into continuous strips approximately 5 to 6 mm wide for the main webbing and 3 to 4 mm wide for the fine toe and heel lacing. The rawhide must be fully de-haired but not tanned — tanned leather stretches when wet and loses the drum-tight tension that makes snowshoes work. Soak the cut strips in lukewarm water for 30 minutes until they are soft and pliable. You need approximately 15 to 20 metres of the wider strips and 8 to 10 metres of the narrow strips per pair of snowshoes.
مواد مورد نیاز این مرحله:
Rawhide Strips30 metreابزارهای مورد نیاز:
Flint Knife6
6
Lace the Toe Section
Lace the Toe Section
Starting at the forward crossbar, weave the wider rawhide strip in a hexagonal or diamond pattern filling the toe section (from the front crossbar to the tip of the frame). Wrap the strip around the frame and the crossbar at each anchor point, pulling it taut. The weave pattern crosses at approximately 45-degree angles, creating interlocking diamonds approximately 3 to 4 cm across. Keep even tension throughout — loose spots create sag pockets that collect snow. The toe section bears the most load during walking, so the lacing must be dense and tight. Leave the rawhide slightly damp while working; as it dries it will shrink by 5 to 10 percent, pulling the webbing even tighter.
7
7
Lace the Heel Section
Lace the Heel Section
Repeat the same diamond-pattern weave in the heel section (from the rear crossbar to the tail of the frame). The heel section can use slightly wider diamond openings — approximately 4 to 5 cm — since it bears less weight than the toe. Ensure the lacing wraps firmly around the tail joint where the two frame ends cross, reinforcing this natural weak point. Pull each wrap taut before moving to the next anchor.
8
8
Lace the Centre Foot Opening
Lace the Centre Foot Opening
The centre section between the two crossbars is the foot area — it needs a different lacing pattern. Use the narrower rawhide strips to create a fine mesh across this opening, but leave a rectangular gap approximately 10 cm wide and 20 cm long in the centre. This gap is the toe hole — your foot pivots through it with each step, and the ball of your foot drops below the frame plane on the forward swing. Lace the mesh tightly on both sides of the toe hole, anchoring to both crossbars and the frame sides.
9
9
Create the Toe Binding
Create the Toe Binding
The binding holds your foot to the snowshoe while allowing the toe to pivot freely. Cut a piece of rawhide approximately 3 cm wide and 60 cm long. Thread it through the front crossbar lacing, creating a loop that wraps over the ball of your foot just behind the toes. The binding must grip the foot firmly across the widest part (the metatarsal heads) without restricting blood flow. Bring the ends back and cross them behind the heel (over the boot or moccasin), then tie them at the front. The heel must be free to lift — only the toe stays attached. Test the binding by stepping into it and walking: the toe should drop through the toe hole on each forward step, and the snowshoe tail should drag slightly behind.
مواد مورد نیاز این مرحله:
Rawhide Strips2 metre10
10
Allow the Lacing to Dry Under Tension
Allow the Lacing to Dry Under Tension
Set the completed snowshoes on a flat surface in a warm, dry area (near a fire but not close enough to scorch the rawhide). As the rawhide lacing dries over 12 to 24 hours, it shrinks and hardens, pulling the webbing to a drum-tight tension that will support the wearer's full weight. Do not disturb the snowshoes during drying — any movement can loosen wraps before they set. Once fully dry, the rawhide lacing should feel rigid and produce a firm drum sound when tapped.
11
11
Apply Waterproofing to Preserve the Rawhide
Apply Waterproofing to Preserve the Rawhide
Untreated rawhide softens and stretches when wet, which defeats the purpose of snowshoes. Coat the entire lacing surface with a thin layer of rendered animal fat (tallow) or a mixture of pine resin and fat, rubbing it into every wrap and crossing point. This creates a water-resistant barrier that prevents the rawhide from absorbing moisture during use. Reapply after every few days of heavy use or whenever the lacing begins to feel soft underfoot.
مواد مورد نیاز این مرحله:
 Pine Resin50 g
12
12
Test Walk and Adjust
Test Walk and Adjust
Strap both snowshoes on and walk on flat, packed snow first to learn the gait — you must swing each foot in a slightly wider arc than normal walking to avoid stepping on the opposite snowshoe. The stride is a deliberate, rolling step: plant the toe, let the heel section drag, lift and swing forward. On deep powder, the snowshoes should keep you on the surface or sink no more than 5 to 10 cm. If one side sags noticeably, the lacing on that section may be too loose — re-wet it, pull it tighter, and let it dry again. Adjust the toe binding if it slips or cuts off circulation. A properly fitted snowshoe should feel like a natural extension of your foot within 15 to 20 minutes of practice.
مواد
3- 4 pieceجایگزین
- 37 metreجایگزین
- 50 gجایگزین
مواد نقشههای متصل
نقشههای مرتبط
این نقشهها دانش مشترکی دارند — تکنیکها، مواد یا اصول
Related blueprints
Other builds that share materials, tools, or techniques with this one.
Making a Waterskin from Animal Hide — Portable Water Containersurvival
Making Rope from Inner Bark — Twisted Bast Fibre Cordagesurvival
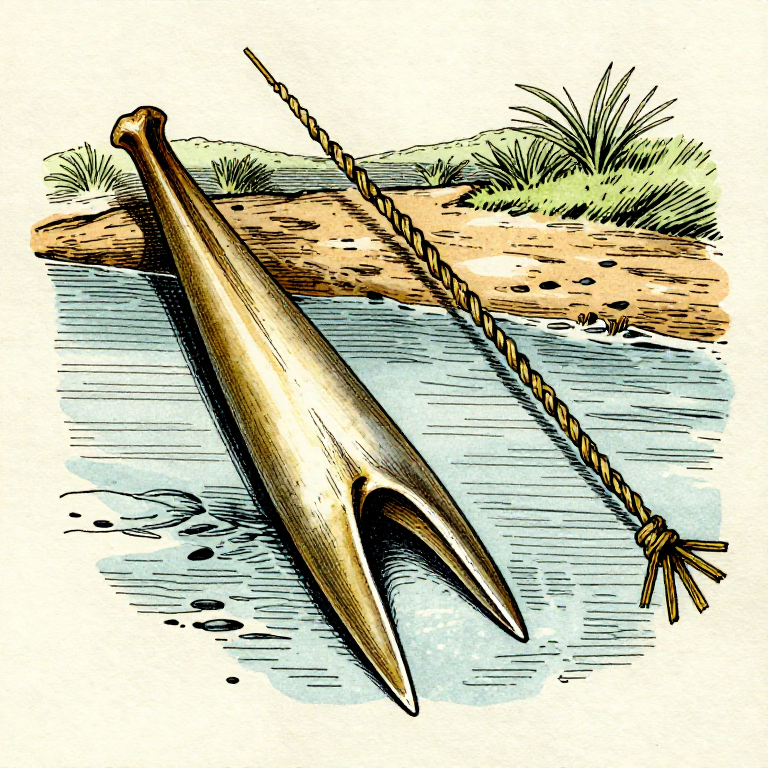
Making a Bone Fish Gorge — The Oldest Fishing Devicesurvival
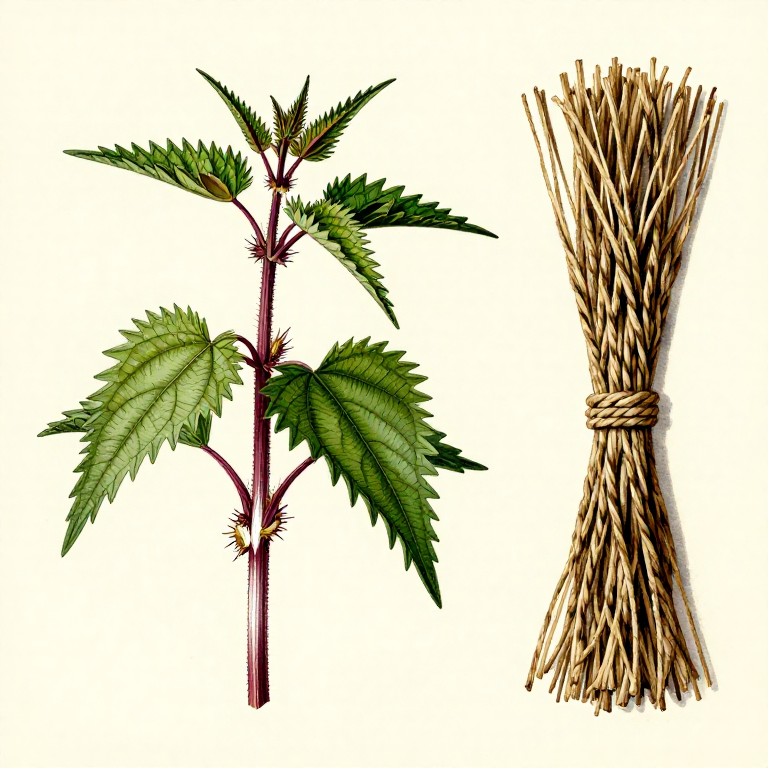
Making Rope from Stinging Nettle Fibre — Plant Bast Extraction and Reverse Twistsurvival
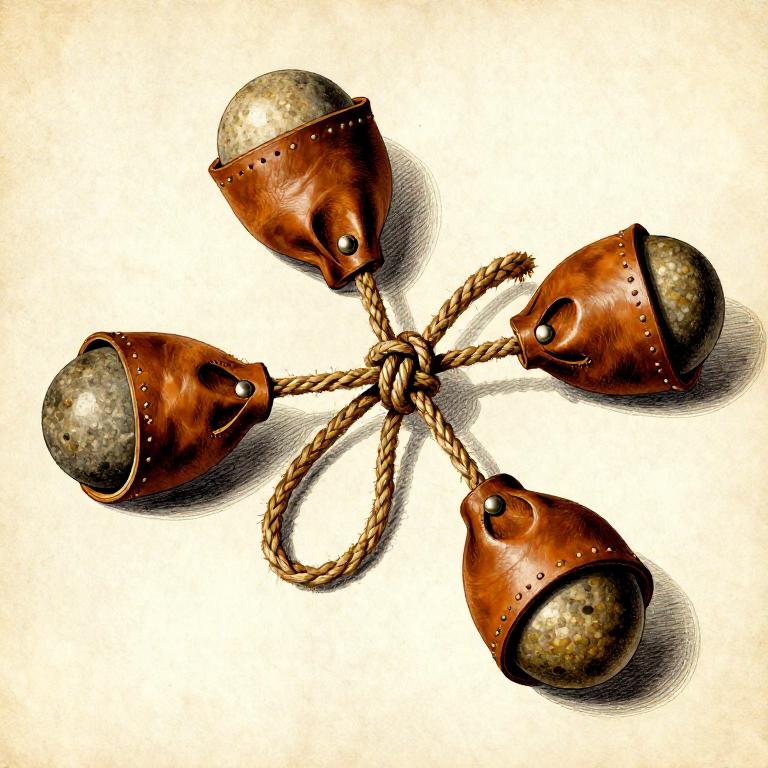
Making Bolas — Weighted Throwing Weapon for Huntingsurvival

Making a Leather Sling — The Shepherd's Projectile Weaponsurvival
CC0 مالکیت عمومی
این نقشه تحت مجوز CC0 منتشر شده است. شما آزاد هستید آن را کپی، ویرایش، توزیع و برای هر هدفی بدون نیاز به اجازه استفاده کنید.
با خرید محصولات از طریق نقشه از سازنده حمایت کنید و او کمیسیون سازنده تعیین شده توسط فروشندگان، دریافت میکند یا یک نسخه جدید از این نقشه ایجاد کنید و آن را به عنوان اتصال در نقشه خود قرار دهید تا درآمد به اشتراک گذاشته شود.