هنر
زیبایی و سلامت
صنایع دستی
فرهنگ و تاریخ
سرگرمی
محیط زیست
غذا و نوشیدنی
مهندسی معکوس
علوم
ورزش
فناوری
پوشیدنیها
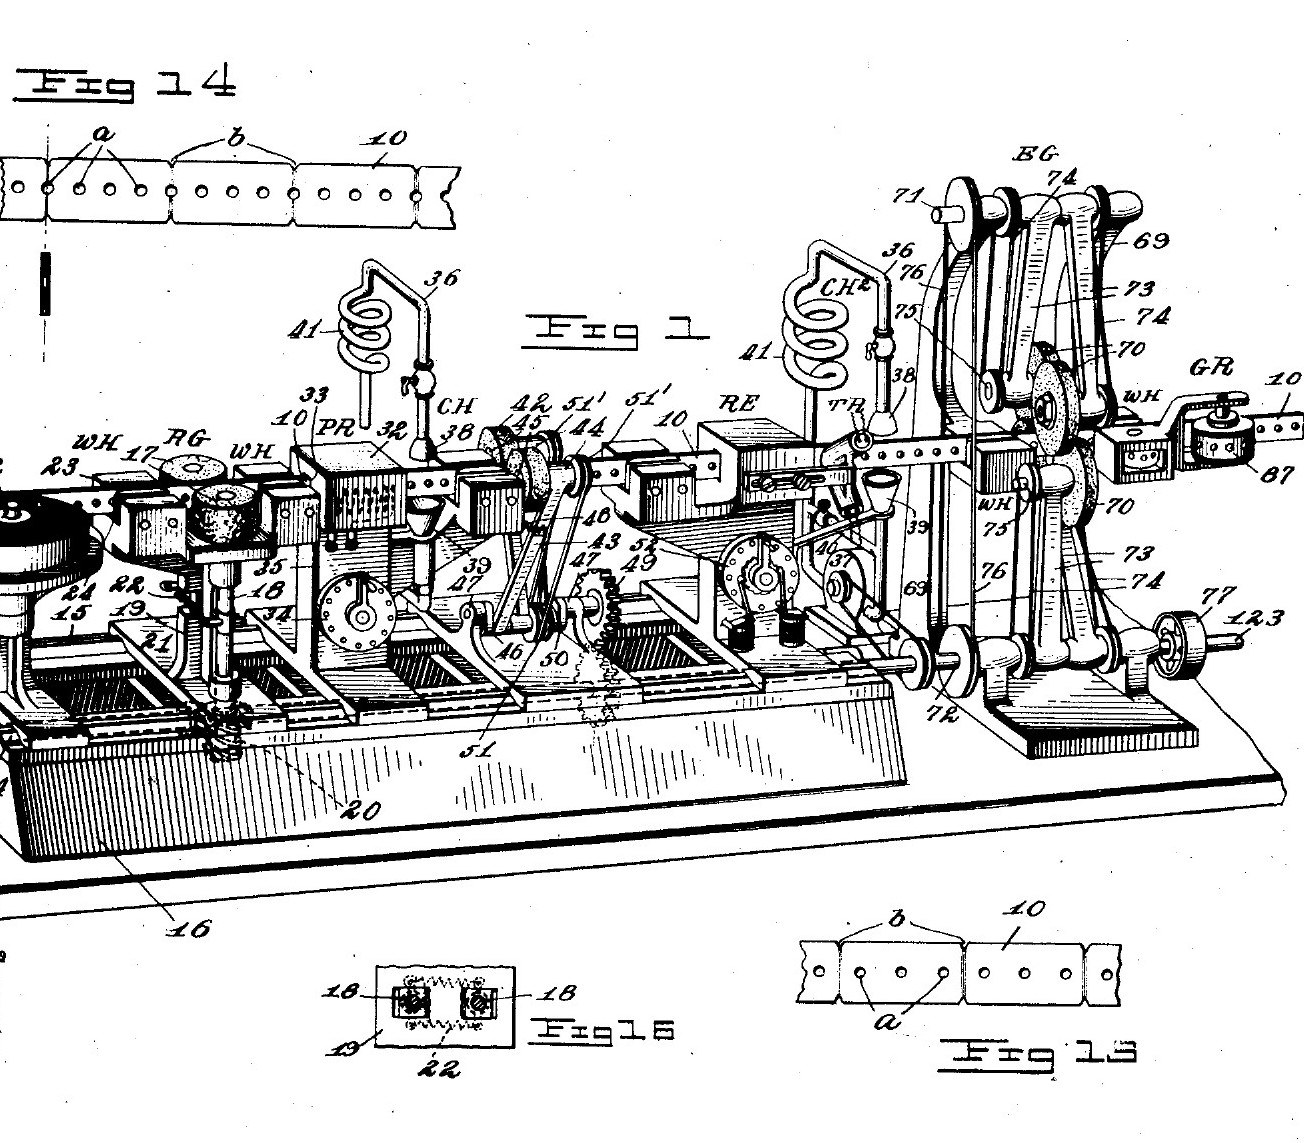
J. P. Tarbox · Public domain (US patent)


Razor Blades from a Continuous Steel Strip (Tarbox 1915)
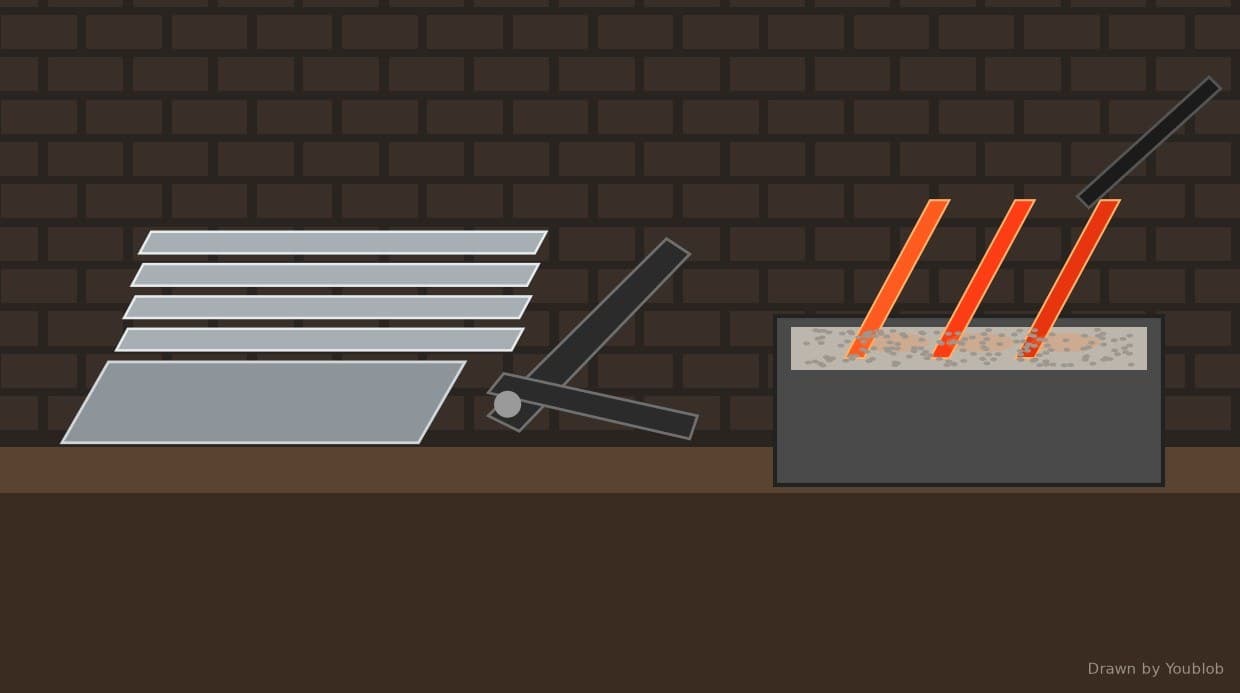
Safety razor blades are made without ever cutting the steel into loose pieces first. A long strip, blade-wide and blade-thick, is punched and notched at every blade length. It then runs through grinding, hardening, tempering, edge grinding, stropping and wrapping, and only at the end is it snapped apart into blades. John Tarbox's machine even set the temper itself, with a selenium cell that watched the colour of the steel.
Source: J. P. Tarbox, US 1,165,037 (1915). The patent gives no temperatures, steel grade or blade sizes. Picture: Tarbox's drawing of the whole line.
پیشرفته
Continuous line
دستورالعملها
1
1
Punch and weaken the strip
Punch and weaken the strip
Start from steel rolled into long strip as wide and as thick as the blade. Punch holes along it to suit the razor holder: a Gillette-type holder has three projections. At every blade length, weaken the strip by notching both edges, thinning it across, or punching a hole on the line.
مواد مورد نیاز این مرحله:
 نوار فولاد کربنی1 strip
ابزارهای مورد نیاز:
 پرس قالبزنی
2
2
Rough-grind the faces
Rough-grind the faces
Feed the strip by its holes between a pair of grinding wheels, one on each side, to remove the surface irregularities.
ابزارهای مورد نیاز:
 سنگ سنباده
3
3
Harden: heat and chill
Harden: heat and chill
Run it through an electric tunnel heater, then straight into a chilling bath of oil or water.
ابزارهای مورد نیاز:
 کورهٔ لولهای
 تشت آبدهی با روغن
4
4
Rub off the oxide
Rub off the oxide
Pass it between emery wheels to rub the oxide off the chilled strip, so its temper colour can be seen when it is reheated.
ابزارهای مورد نیاز:
سنگ سنباده5
5
Temper to straw colour
Temper to straw colour
Reheat it in a second, smaller tunnel heater and chill it again. Tarbox held the colour at the temper wanted, for example straw, by letting a selenium cell compare the strip with a coloured standard disk and adjust the heater.
ابزارهای مورد نیاز:
کورهٔ لولهایتشت آبدهی با روغن6
6
Grind and strop the edges
Grind and strop the edges
Grind both edges at once between four grinding wheels, hone if wanted, then pass the strip between strop wheels faced with stropping material.
ابزارهای مورد نیاز:
سنگ سنباده تسمهٔ چرمی تیزکاری
7
7
Wrap, break apart and pack
Wrap, break apart and pack
Wrap the strip spirally in paraffined paper. Then snap it at each weakened line over notched wheels, alternately from each side, and count and pack the blades.
ابزارهای مورد نیاز:
 کاغذ مومی
مواد
1- 1 stripجایگزین
این نقشه میسازد

نقشههای مرتبط
این نقشهها دانش مشترکی دارند — تکنیکها، مواد یا اصول
CC0 مالکیت عمومی
این نقشه تحت مجوز CC0 منتشر شده است. شما آزاد هستید آن را کپی، ویرایش، توزیع و برای هر هدفی بدون نیاز به اجازه استفاده کنید.
با خرید محصولات از طریق نقشه از سازنده حمایت کنید و او کمیسیون سازنده تعیین شده توسط فروشندگان، دریافت میکند یا یک نسخه جدید از این نقشه ایجاد کنید و آن را به عنوان اتصال در نقشه خود قرار دهید تا درآمد به اشتراک گذاشته شود.