هنر
زیبایی و سلامت
صنایع دستی
فرهنگ و تاریخ
سرگرمی
محیط زیست
غذا و نوشیدنی
مهندسی معکوس
علوم
ورزش
فناوری
پوشیدنیها


Rotational Moulding: No Pressure At All
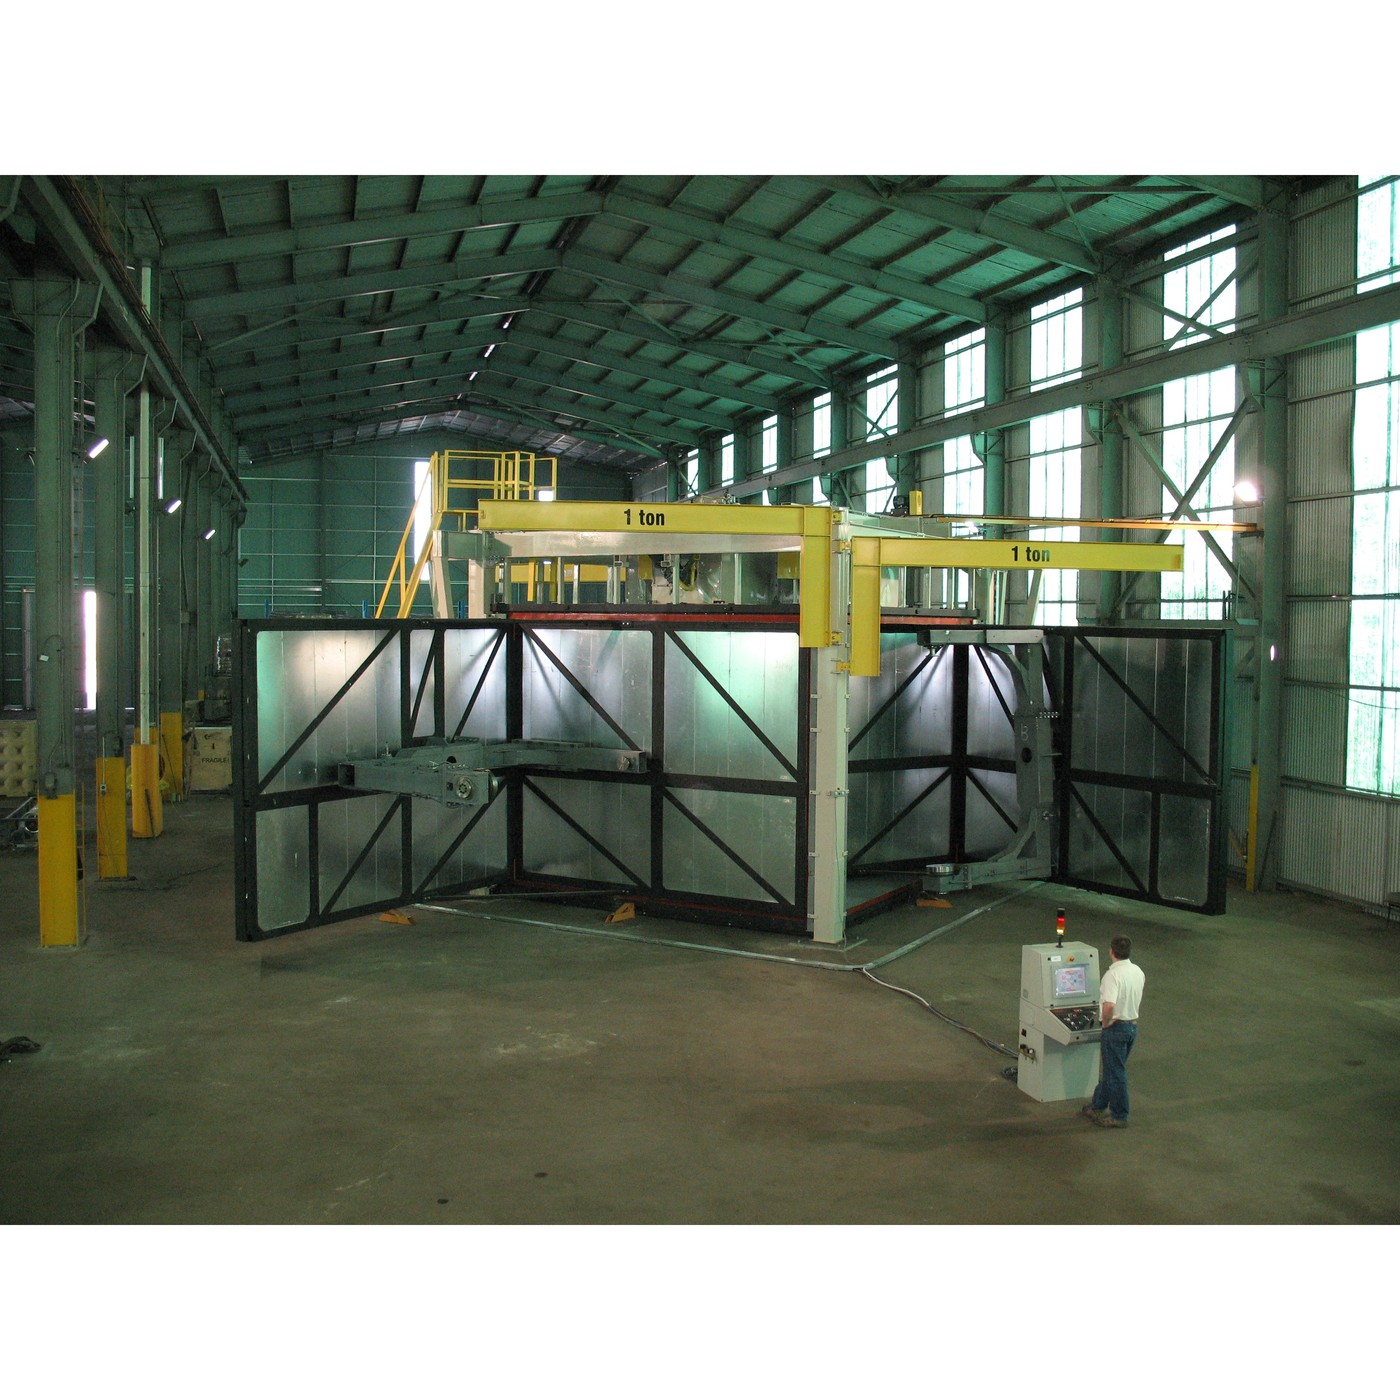
Every other process in this batch pushes polymer somewhere: a screw rams it, air inflates it, a haul-off drags it. Rotational moulding pushes nothing. Powder is weighed into a cold mould, the mould is closed and tumbled about two axes inside an oven, and the powder melts and sticks to the inside surface wherever it touches.
Because there is no pressure, there is no clamping force, no core, no ejection system and no injection unit — so the tool can be cast aluminium or fabricated sheet and costs a small fraction of an injection mould. Water tanks, kayaks, road barriers, playground equipment and fuel tanks are made this way, seamless and stress-free.
The price is time. This rung works out both sides of that bargain, and makes a small part with an oven and a hand-turned frame.
متوسط
About 3 hours
دستورالعملها
1
1
Find the signature of a rotomoulded part
Find the signature of a rotomoulded part
Rotomoulded parts announce themselves once you know what to look for. Find a water butt, a kayak, a wheelie bin, a road barrier or a large planter and examine it.
- **No parting line worth the name** across the body, and **no gate**. There is a mould split, but nothing was injected anywhere.
- **Generous radii everywhere.** Powder will not flow into a sharp internal corner; it bridges. A rotomoulded part has no sharp corners at all, and a designer who draws one gets a thin spot.
- **The wall is thicker at the corners**, which is the exact opposite of rung 3's blow moulding. Nothing was stretched, so powder simply collected where it had more surface to sit against.
- **A slightly textured or matt inside surface**, and often a faint pebbling, because the last powder to melt never fully levelled.
- **No internal stress.** Squeeze it, cut it, drill it — it does not spring or craze the way an injection moulding does, because nothing was forced anywhere.
Cut a sample if you can, and measure the wall at a flat, a corner and a boss. Write the three numbers down; step 4's arithmetic predicts the flat one from the charge weight.
ابزارهای مورد نیاز:
 کولیس دیجیتال ۶ اینچی
 میکرومتر
 چاقوی کاردستی
 میکروسکوپ رقمی
 خطکش
خطکش عینک ایمنی شفاف
 دفتر آزمایشگاه (با نسخهٔ کپی)
2
2
Rotomould something small
Rotomould something small
The process scales down honestly, and a small oven plus a hand-turned frame is enough to make a real part.
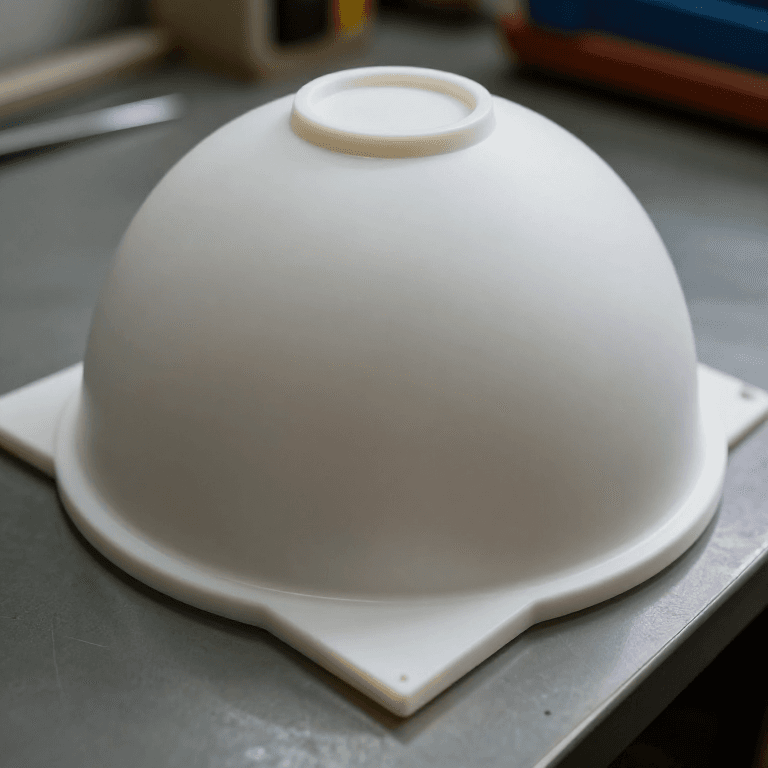
**The mould.** Two aluminium halves that clamp together — a simple sphere or a rounded box, 60–100 mm across — with a small vent hole so the air inside can expand and escape. Every rotomould has a vent; without one the pressure inside pushes the melt away from the wall and the part comes out thin and bubbled.
**The charge.** Weigh polyethylene powder into the mould. Step 4 gives the arithmetic; for a 80 mm sphere aiming at a 2 mm wall you want roughly 40 g. Use **powder**, not pellets: pellets do not melt evenly at these temperatures and leave a lumpy, porous wall. If you only have pellets, grind them cold.
**The rotation.** Two axes, slowly, at different speeds — a common ratio is about 4:1 between the major and minor axes, which is what stops the powder tracing the same path twice. A simple hand frame with two cranks is perfectly adequate for a small part, and turning it by hand for twenty minutes teaches you more about the process than any description.
**The heat.** Oven at about 250–280 °C for polyethylene, and the number that matters is the **internal air temperature** rather than the oven setting. Keep turning throughout. You are done when the inside surface has gone glossy — in a production machine an air probe reports this; on the bench, judge by time and then by the result.
**The cool.** Keep turning while it cools or the melt slumps to the bottom. Cool slowly with air; quenching a rotomoulded part warps it badly, because the wall is thick and the polymer is semi-crystalline.
An oven at 280 °C and a hot metal mould that must be handled while turning. Leather gloves rated for heat, a face shield, a stable frame, and ventilation — polyethylene above about 300 °C degrades and the fumes are genuinely harmful. Do not exceed the temperature and do not leave it unattended.
مواد مورد نیاز این مرحله:
 پودر پلیاتیلن برای قالبگیری چرخشی1 قطعه
 ورق آلومینیوم (6061-T6)1 قطعه
ابزارهای مورد نیاز:
 آون رومیزی
 دماسنج فروسرخ
 ترموکوپل نوع K با ماژول MAX6675
 ترازوی دیجیتال
 گیرهٔ رومیزی
 دریل ستونی
 سوهان (سوهان دستی)
 دستکش کار چرمی
 سپر صورتعینک ایمنی شفاف
 هود شیمیایی (کانالدار)
 کپسول آتشنشانی
 کرونومتردفتر آزمایشگاه (با نسخهٔ کپی)
3
3
Make the three classic faults happen
Make the three classic faults happen
Three faults account for most of what goes wrong, and each has an unmistakable appearance. Produce all three deliberately and keep the samples.
**Bubbles (under-cooked).** Take the part out early. The wall is full of trapped air between partly-fused powder grains, and it looks like frozen foam in section. This is the commonest real fault: the powder melted and stuck but never coalesced. The fix is more time at temperature, not more temperature.
**Degradation (over-cooked).** Leave one in too long. The inside surface goes yellow or brown and the part becomes brittle; it may smell. Polyethylene oxidises from the inside surface outward because that is where the hot air is. Note that the outside can look perfect.
**Warping (cooled wrong).** Quench one in cold water. It will distort, and it will keep distorting for hours as stresses relax. Compare with one air-cooled slowly on the frame.
Section all three plus a good one, and look at the wall under the microscope. The good part has a uniform, dense, slightly glossy inner face. The under-cooked one is porous. The over-cooked one is discoloured at the inner face specifically.
Then break each one. Under-cooked parts fail at a fraction of the load because every bubble is a void, and this is the reason rotomoulding is judged on internal air temperature rather than on the clock.
مواد مورد نیاز این مرحله:
پودر پلیاتیلن برای قالبگیری چرخشی1 قطعهابزارهای مورد نیاز:
آون رومیزیدماسنج فروسرخترموکوپل نوع K با ماژول MAX6675میکروسکوپ رقمیچاقوی کاردستی نیروسنج (ترازوی فنری)کرونومتردستکش کار چرمیسپر صورتعینک ایمنی شفافهود شیمیایی (کانالدار)دفتر آزمایشگاه (با نسخهٔ کپی)
4
4
Charge weight, wall thickness and where the energy goes
Charge weight, wall thickness and where the energy goes
در حال بارگذاری دفترچهٔ Jupyter…
ابزارهای مورد نیاز:
ترازوی دیجیتال5
5
History and context
History and context
**Attribution, stated honestly.** No patent is asserted here. Rotational moulding of hollow objects is very old — rotating a mould containing a liquid to coat its inside is how chocolate shells and hollow metal castings were already being made in the nineteenth century, and the catalogue's slip casting rung is the same idea in ceramics. The plastics version arrives with **polyethylene powder** in the 1950s, and the process was developed across the industry rather than by a single filing.
**What it is actually for.** Not speed, and not precision. Rotomoulding wins on three things nothing else offers together: **very low tool cost**, so short runs and large parts are affordable; **seamless, stress-free hollow parts** with no weld line and no ejection marks; and **uniform corners**, because powder collects rather than stretches. A 1,000 litre water tank is a rotomoulding because no other process could make one at all without joining pieces.
**The comparison worth holding.** Injection moulding puts the cost in the tool and almost none in the cycle. Rotational moulding puts almost none in the tool and all of it in the cycle. Step 4's energy split is why: most of the heat goes into the mould, and it all has to come out again before the part can be removed.
**Honest limits.** Cycle times of twenty minutes to an hour, so labour and energy per part are high. Tolerances are poor — plus or minus several per cent on wall — and wall thickness cannot be varied deliberately except by adding insulation to the mould. No sharp corners, no fine detail, no threads worth having. The polymer choice is narrow because the powder must sinter and flow at oven temperature without degrading, which in practice means polyethylene for the overwhelming majority of parts. And the process is genuinely hot and genuinely slow, which is why step 2 is written with as much space given to the gloves as to the powder.
مواد
2- جایگزین
- 1 قطعهجایگزین
ابزارهای لازم
20- جایگزین
- جایگزین
- جایگزین
- جایگزین
- جایگزین
- جایگزین
- دفتر آزمایشگاه (با نسخهٔ کپی)10% کمیسیونجایگزین
- جایگزین
- جایگزین
- جایگزین
- جایگزین
- جایگزین
- جایگزین
- جایگزین
- جایگزین
- جایگزین
- کپسول آتشنشانی10% کمیسیونجایگزین
- جایگزین
- جایگزین
نقشههای مرتبط
این نقشهها دانش مشترکی دارند — تکنیکها، مواد یا اصول


CC0 مالکیت عمومی
این نقشه تحت مجوز CC0 منتشر شده است. شما آزاد هستید آن را کپی، ویرایش، توزیع و برای هر هدفی بدون نیاز به اجازه استفاده کنید.
با خرید محصولات از طریق نقشه از سازنده حمایت کنید و او کمیسیون سازنده تعیین شده توسط فروشندگان، دریافت میکند یا یک نسخه جدید از این نقشه ایجاد کنید و آن را به عنوان اتصال در نقشه خود قرار دهید تا درآمد به اشتراک گذاشته شود.