
همکاری
هنر
زیبایی و سلامت
صنایع دستی
فرهنگ و تاریخ
سرگرمی
محیط زیست
غذا و نوشیدنی
مهندسی معکوس
علوم
ورزش
فناوری
پوشیدنی‌ها
Self-Watering Plant Station with ESP32 and OLED
Ed

ایجاد شده توسط

Ed

16. نوامبر 2026FI
۵
۰
۰
۰
۰

Self-Watering Plant Station with ESP32 and OLED

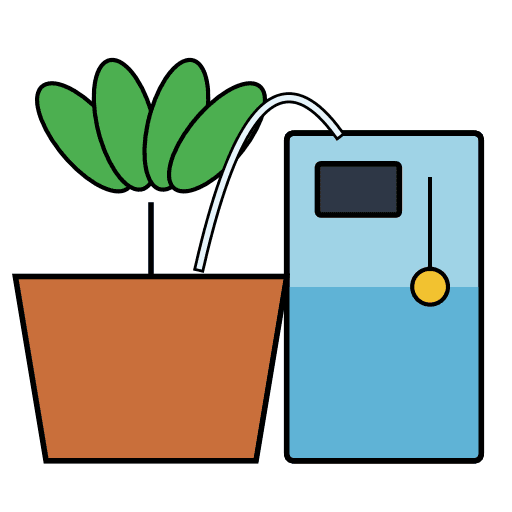
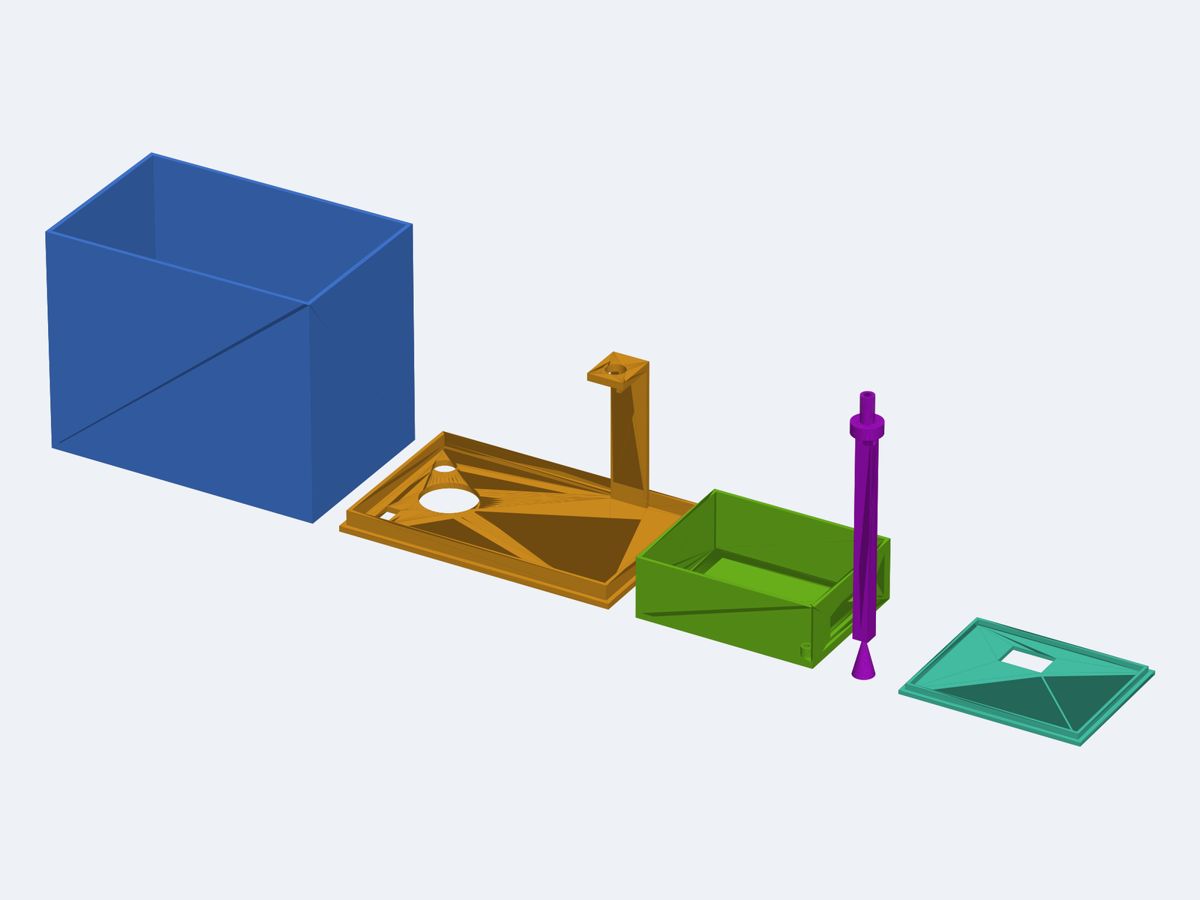
A watering unit that stands next to one houseplant. It has a printed water tank, and a lid on the tank carries the electronics box. An ESP32 reads a capacitive soil-moisture probe in the pot. When the soil is dry, it runs a small 5 V submersible pump in the tank through a logic-level MOSFET, and water goes up a silicone tube to a printed drip stake. A float switch in the tank blocks the pump when the water is low. A 0.96 in OLED shows soil moisture %, tank OK/LOW and pump state. Power comes from a 5 V USB-C adapter.

دستورالعمل‌ها

1

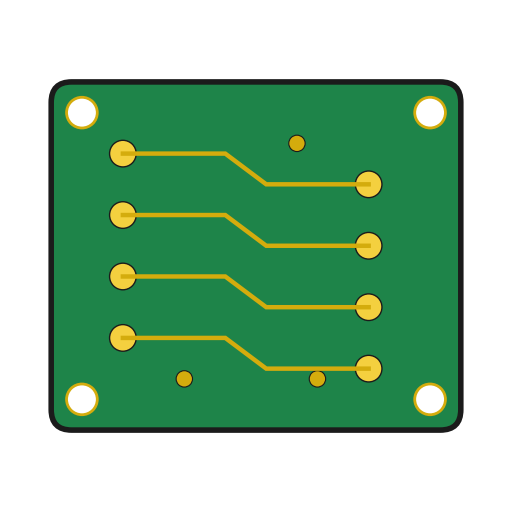
Circuit board

بارگذاری نمایشگر KiCanvas...

نمایشگر حرفه‌ای طراحی PCB

2

Schematic

بارگذاری نمایشگر KiCanvas...

نمایشگر حرفه‌ای طراحی PCB

3

Print the enclosure base

فایل طراحیSTL69.0 KBCC0 - Free
4

Print the enclosure lid

فایل طراحیSTL3.2 KBCC0 - Free
5

Print the water tank

فایل طراحیSTL1.4 KBCC0 - Free
6

Print the tank lid

فایل طراحیSTL30.8 KBCC0 - Free
7

Print the drip stake

فایل طراحیSTL53.3 KBCC0 - Free
8

Firmware

firmware.inoarduino
// Self-watering controller - ESP32 DevKit (38-pin)
// Soil sensor AOUT -> GPIO34 (ADC1), float switch -> GPIO27 (internal pull-up, other side GND),
// pump MOSFET gate (via 330R) -> GPIO26, SSD1306 128x64 OLED on I2C (SDA 21, SCL 22, addr 0x3C).
// No external libraries required: a tiny SSD1306 driver and 5x7 font are included below.

#include <Wire.h>

// ---------------- user settings ----------------
const int PIN_SOIL  = 34;
const int PIN_FLOAT = 27;
const int PIN_PUMP  = 26;
const uint8_t OLED_ADDR = 0x3C;

// Float switch wiring: true = contact CLOSED when there is enough water (recommended, fail-safe:
// a broken wire reads as LOW tank and blocks the pump). Set false if your switch closes when empty.
const bool FLOAT_CLOSED_MEANS_OK = true;

// Soil sensor calibration (raw 12-bit ADC). Measure your sensor in dry air and in a glass of water.
const int RAW_DRY = 3000;
const int RAW_WET = 1300;

const int  START_BELOW_PCT   = 35;     // start watering below this moisture
const int  STOP_ABOVE_PCT    = 45;     // stop watering at/above this moisture
const unsigned long PUMP_MAX_MS  = 5000;   // max run per watering burst
const unsigned long SOAK_MS      = 60000;  // wait after a burst so water can soak in
const unsigned long TANK_DEBOUNCE_MS = 500;

// ---------------- SSD1306 driver ----------------
uint8_t fb[1024];

void oledCmd(uint8_t c) {
  Wire.beginTransmission(OLED_ADDR);
  Wire.write(0x00);
  Wire.write(c);
  Wire.endTransmission();
}

void oledInit() {
  const uint8_t init[] = {0xAE, 0xD5, 0x80, 0xA8, 0x3F, 0xD3, 0x00, 0x40, 0x8D, 0x14,
                          0x20, 0x00, 0xA1, 0xC8, 0xDA, 0x12, 0x81, 0xCF, 0xD9, 0xF1,
                          0xDB, 0x40, 0xA4, 0xA6, 0xAF};
  for (uint8_t i = 0; i < sizeof(init); i++) oledCmd(init[i]);
}

void oledShow() {
  oledCmd(0x21); oledCmd(0); oledCmd(127);
  oledCmd(0x22); oledCmd(0); oledCmd(7);
  for (int i = 0; i < 1024; i += 16) {
    Wire.beginTransmission(OLED_ADDR);
    Wire.write(0x40);
    Wire.write(&fb[i], 16);
    Wire.endTransmission();
  }
}

// 5x7 font, columns LSB = top. Only the characters used.
struct Glyph { char c; uint8_t d[5]; };
const Glyph FONT[] = {
  {' ', {0x00,0x00,0x00,0x00,0x00}}, {'%', {0x23,0x13,0x08,0x64,0x62}},
  {'-', {0x08,0x08,0x08,0x08,0x08}}, {'.', {0x00,0x60,0x60,0x00,0x00}},
  {'/', {0x20,0x10,0x08,0x04,0x02}}, {':', {0x00,0x36,0x36,0x00,0x00}},
  {'!', {0x00,0x00,0x5F,0x00,0x00}},
  {'0', {0x3E,0x51,0x49,0x45,0x3E}}, {'1', {0x00,0x42,0x7F,0x40,0x00}},
  {'2', {0x42,0x61,0x51,0x49,0x46}}, {'3', {0x21,0x41,0x45,0x4B,0x31}},
  {'4', {0x18,0x14,0x12,0x7F,0x10}}, {'5', {0x27,0x45,0x45,0x45,0x39}},
  {'6', {0x3C,0x4A,0x49,0x49,0x30}}, {'7', {0x01,0x71,0x09,0x05,0x03}},
  {'8', {0x36,0x49,0x49,0x49,0x36}}, {'9', {0x06,0x49,0x49,0x29,0x1E}},
  {'A', {0x7E,0x11,0x11,0x11,0x7E}}, {'B', {0x7F,0x49,0x49,0x49,0x36}},
  {'C', {0x3E,0x41,0x41,0x41,0x22}}, {'D', {0x7F,0x41,0x41,0x22,0x1C}},
  {'E', {0x7F,0x49,0x49,0x49,0x41}}, {'F', {0x7F,0x09,0x09,0x09,0x01}},
  {'G', {0x3E,0x41,0x49,0x49,0x7A}}, {'H', {0x7F,0x08,0x08,0x08,0x7F}},
  {'I', {0x00,0x41,0x7F,0x41,0x00}}, {'J', {0x20,0x40,0x41,0x3F,0x01}},
  {'K', {0x7F,0x08,0x14,0x22,0x41}}, {'L', {0x7F,0x40,0x40,0x40,0x40}},
  {'M', {0x7F,0x02,0x0C,0x02,0x7F}}, {'N', {0x7F,0x04,0x08,0x10,0x7F}},
  {'O', {0x3E,0x41,0x41,0x41,0x3E}}, {'P', {0x7F,0x09,0x09,0x09,0x06}},
  {'Q', {0x3E,0x41,0x51,0x21,0x5E}}, {'R', {0x7F,0x09,0x19,0x29,0x46}},
  {'S', {0x46,0x49,0x49,0x49,0x31}}, {'T', {0x01,0x01,0x7F,0x01,0x01}},
  {'U', {0x3F,0x40,0x40,0x40,0x3F}}, {'V', {0x1F,0x20,0x40,0x20,0x1F}},
  {'W', {0x3F,0x40,0x38,0x40,0x3F}}, {'X', {0x63,0x14,0x08,0x14,0x63}},
  {'Y', {0x07,0x08,0x70,0x08,0x07}}, {'Z', {0x61,0x51,0x49,0x45,0x43}},
};

const uint8_t *glyph(char c) {
  if (c >= 'a' && c <= 'z') c -= 32;
  for (unsigned i = 0; i < sizeof(FONT) / sizeof(FONT[0]); i++)
    if (FONT[i].c == c) return FONT[i].d;
  return FONT[0].d;
}

void setPixel(int x, int y) {
  if (x < 0 || x > 127 || y < 0 || y > 63) return;
  fb[x + (y / 8) * 128] |= (1 << (y & 7));
}

void drawText(int x, int y, const char *s, int scale) {
  for (; *s; s++) {
    const uint8_t *g = glyph(*s);
    for (int col = 0; col < 5; col++)
      for (int row = 0; row < 7; row++)
        if (g[col] & (1 << row))
          for (int dx = 0; dx < scale; dx++)
            for (int dy = 0; dy < scale; dy++)
              setPixel(x + col * scale + dx, y + row * scale + dy);
    x += 6 * scale;
  }
}

void drawBar(int x, int y, int w, int h, int pct) {
  for (int i = 0; i < w; i++) { setPixel(x + i, y); setPixel(x + i, y + h - 1); }
  for (int j = 0; j < h; j++) { setPixel(x, y + j); setPixel(x + w - 1, y + j); }
  int fill = (w - 4) * pct / 100;
  for (int i = 0; i < fill; i++)
    for (int j = 2; j < h - 2; j++) setPixel(x + 2 + i, y + j);
}

// ---------------- application ----------------
bool tankOk = false;
bool tankRaw = false;
unsigned long tankChangeMs = 0;
bool pumpOn = false;
unsigned long pumpStartMs = 0;
unsigned long soakUntilMs = 0;
int moisturePct = 0;
int moistureRaw = 0;

void pump(bool on) {
  if (on && !tankOk) on = false;       // hard interlock: never run with a low tank
  digitalWrite(PIN_PUMP, on ? HIGH : LOW);
  if (on && !pumpOn) pumpStartMs = millis();
  pumpOn = on;
}

int readMoistureRaw() {
  long sum = 0;
  for (int i = 0; i < 16; i++) { sum += analogRead(PIN_SOIL); delay(2); }
  return sum / 16;
}

bool readTankOkRaw() {
  bool closed = (digitalRead(PIN_FLOAT) == LOW);
  return FLOAT_CLOSED_MEANS_OK ? closed : !closed;
}

void setup() {
  pinMode(PIN_PUMP, OUTPUT);
  digitalWrite(PIN_PUMP, LOW);
  pinMode(PIN_FLOAT, INPUT_PULLUP);
  Serial.begin(115200);
  analogReadResolution(12);
  analogSetPinAttenuation(PIN_SOIL, ADC_11db);
  Wire.begin(21, 22);
  Wire.setClock(400000);
  oledInit();
  tankRaw = readTankOkRaw();
  tankOk = false;                      // start with pump blocked until the reading is stable
  tankChangeMs = millis();
}

void loop() {
  unsigned long now = millis();

  // tank: a LOW reading blocks the pump immediately, OK needs to be stable for the debounce time
  bool r = readTankOkRaw();
  if (r != tankRaw) { tankRaw = r; tankChangeMs = now; }
  if (!r) tankOk = false;
  else if (now - tankChangeMs >= TANK_DEBOUNCE_MS) tankOk = true;
  if (!tankOk && pumpOn) pump(false);

  moistureRaw = readMoistureRaw();
  long p = (long)(RAW_DRY - moistureRaw) * 100 / (RAW_DRY - RAW_WET);
  moisturePct = constrain(p, 0, 100);

  if (pumpOn) {
    if (moisturePct >= STOP_ABOVE_PCT || now - pumpStartMs >= PUMP_MAX_MS) {
      pump(false);
      soakUntilMs = now + SOAK_MS;
    }
  } else if (tankOk && moisturePct < START_BELOW_PCT && (long)(now - soakUntilMs) >= 0) {
    pump(true);
  }

  // display
  memset(fb, 0, sizeof(fb));
  char buf[24];
  drawText(0, 0, "SOIL", 2);
  snprintf(buf, sizeof(buf), "%3d%%", moisturePct);
  drawText(128 - 4 * 12, 0, buf, 2);
  drawBar(0, 18, 128, 10, moisturePct);
  drawText(0, 32, "TANK", 2);
  drawText(tankOk ? 128 - 2 * 12 : 128 - 3 * 12, 32, tankOk ? "OK" : "LOW", 2);
  drawText(0, 54, pumpOn ? "PUMP: ON" : "PUMP: OFF", 1);
  if (!tankOk) drawText(64, 54, "REFILL!", 1);
  oledShow();

  static unsigned long lastLog = 0;
  if (now - lastLog > 2000) {
    lastLog = now;
    Serial.printf("raw=%d moisture=%d%% tank=%s pump=%s\n", moistureRaw, moisturePct,
                  tankOk ? "OK" : "LOW", pumpOn ? "ON" : "OFF");
  }
  delay(100);
}
9

Solder resistors and diodes

Fit R1 330 Ohm (gate), R2 10 kOhm (gate pull-down), R3 and R4 5.1 kOhm (USB-C CC pull-downs). Fit D1 1N4007 across the pump terminal with its band to +5 V, and D2 Schottky blocking diode from +5 V to VIN with its band toward VIN. Solder them and trim the leads.

مواد مورد نیاز این مرحله:

برد مدار چاپیبرد مدار چاپی1 قطعه
مقاومت ۳۳۰ اهممقاومت ۳۳۰ اهم1 قطعه
مقاومت ۱۰ کیلواهممقاومت ۱۰ کیلواهم1 قطعه
مقاومت لایهٔ کربنیمقاومت لایهٔ کربنی2 قطعه
دیود یکسوساز 1N4007دیود یکسوساز 1N40071 قطعه
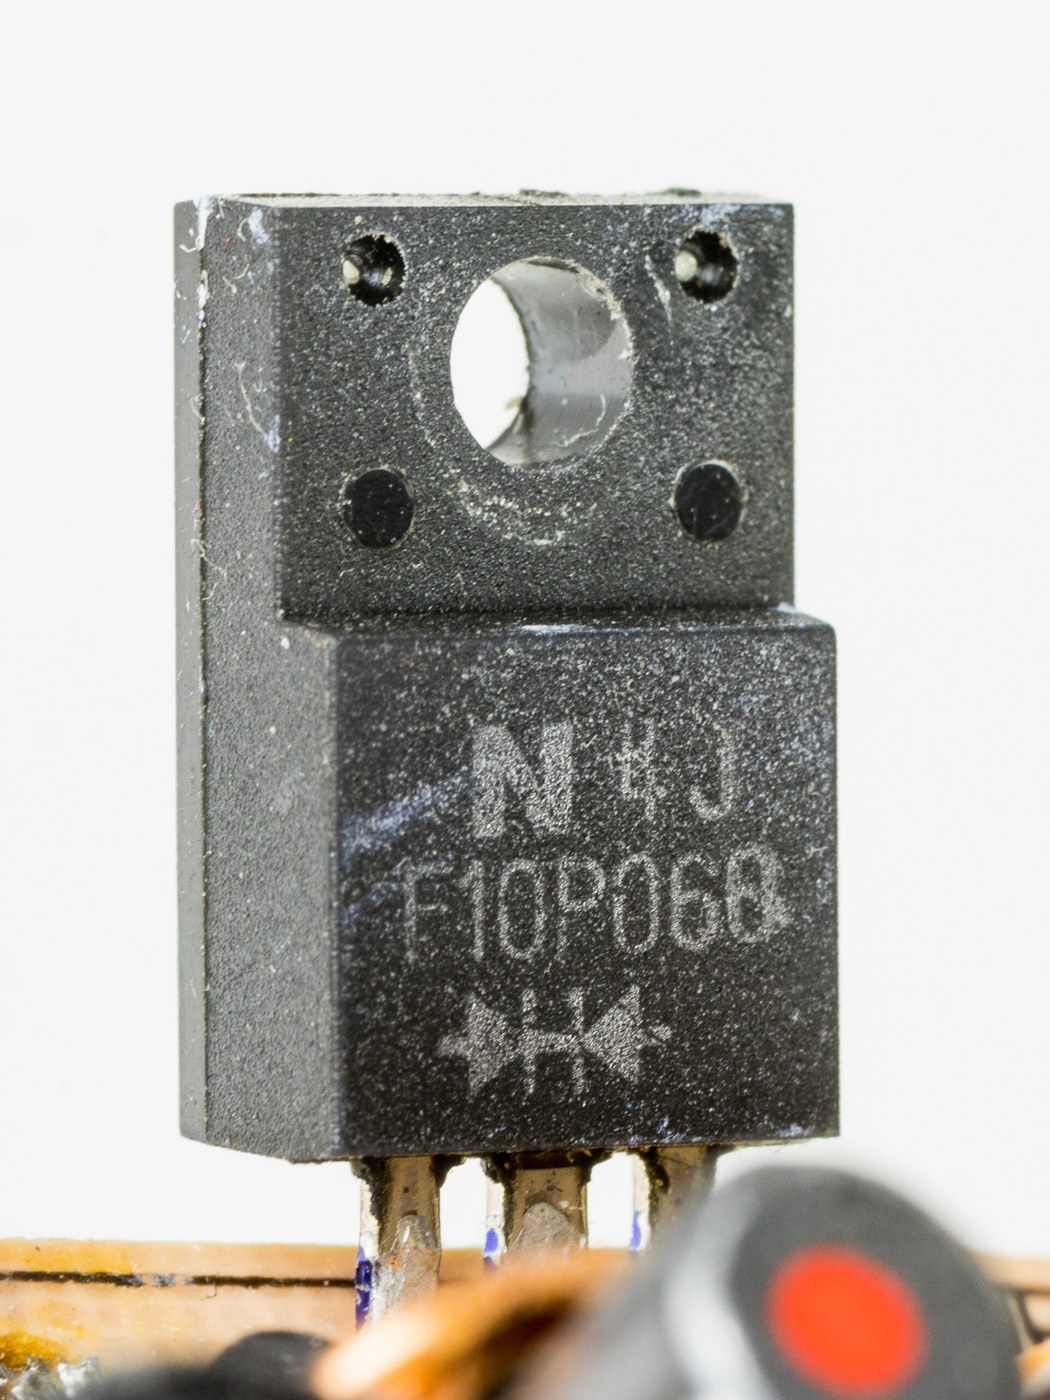
دیود بازدارنده (شاتکی)دیود بازدارنده (شاتکی)1 قطعه
سیم لحیمسیم لحیم1 قطعه

ابزارهای مورد نیاز:

هویههویه
سیم‌چینسیم‌چین
10

Solder USB-C socket and capacitor

Solder the USB-C receptacle J1 on the left edge, including its shell tabs. Fit the 470 uF 10 V electrolytic capacitor C1 with its minus stripe to GND and solder it.

مواد مورد نیاز این مرحله:

سوکت USB-Cسوکت USB-C1 قطعه
خازن الکترولیتیخازن الکترولیتی1 قطعه
سیم لحیمسیم لحیم1 قطعه

ابزارهای مورد نیاز:

هویههویه
11

Solder MOSFET, sockets and terminals

Solder the IRLZ44N Q1 upright with its tab facing the way shown on the silkscreen. Then solder the two 1x19 female sockets for the ESP32, the 1x4 female socket for the OLED, and the screw terminals J4 (pump), J5 (soil probe) and J6 (float switch). Their openings face the board edge.

مواد مورد نیاز این مرحله:

ماسفت سطح منطقی IRLZ44Nماسفت سطح منطقی IRLZ44N1 قطعه
هدر پینهدر پین3 قطعه
ترمینال پیچیترمینال پیچی3 قطعه
سیم لحیمسیم لحیم1 قطعه

ابزارهای مورد نیاز:

هویههویه
12

Check the board for shorts

With no modules plugged in, measure the resistance between +5 V and GND, and between 3V3 and GND. Neither should read as a short. Check the polarity of D1, D2 and C1 against the silkscreen.

ابزارهای مورد نیاز:

مولتی‌مترمولتی‌متر
13

Mount the board in the enclosure

Plug the ESP32 DevKit into the sockets with its antenna end at pin 1, as marked on the board. Plug the OLED into its 4-pin socket after checking that its pin order is GND, VCC, SCL, SDA. Screw the board onto the 5 mm standoffs of the printed enclosure base.

مواد مورد نیاز این مرحله:

برد توسعهٔ ESP32برد توسعهٔ ESP321 قطعه
نمایشگر OLEDنمایشگر OLED1 قطعه
پیچ خودکارپیچ خودکار4 قطعه

ابزارهای مورد نیاز:

مجموعه پیچ‌گوشتیمجموعه پیچ‌گوشتی
14

Flash and calibrate the firmware

Connect the soil probe to J5 (1 = GND, 2 = 3V3, 3 = AOUT), using hookup wire where its leads are too short. Unplug USB-C and connect the ESP32's own USB port to the computer. Upload firmware.ino for the esp32:esp32:esp32 board. In the serial monitor at 115200 baud, note the raw reading with the probe in dry air and again with it in a glass of water up to the line marked on the probe. Enter these as RAW_DRY and RAW_WET, then upload again.

مواد مورد نیاز این مرحله:

حسگر خازنی رطوبت خاکحسگر خازنی رطوبت خاک1 قطعه
سیم اتصالسیم اتصال1 قطعه

ابزارهای مورد نیاز:

رایانه با Arduino IDEرایانه با Arduino IDE
کابل دادهٔ USBکابل دادهٔ USB
مجموعه پیچ‌گوشتیمجموعه پیچ‌گوشتی
سیم‌لخت‌کنسیم‌لخت‌کن
15

Leak-test the water tank

Fill the printed PETG tank to the brim and stand it on paper towel overnight. If the paper is wet, reprint the tank with more walls and test again.

ابزارهای مورد نیاز:

حولهٔ کاغذیحولهٔ کاغذی
آبآب
16

Fit the pump, tube and float switch

Cut the silicone tube long enough to reach the pot. Push the silicone tube onto the pump outlet and set the pump on the tank floor under the 12 mm lid hole. Fix the vertical float switch through the 10.5 mm hole in the lid arm tab with its nut, so the float hangs below the tab and drops when the water is low. Lead the tube through the 12 mm hole. Lead the pump and float wires through the cable slot.

مواد مورد نیاز این مرحله:

پمپ آب غوطه‌ورپمپ آب غوطه‌ور1 قطعه
کلید شناورکلید شناور1 قطعه
لولهٔ سیلیکونیلولهٔ سیلیکونی1 m

ابزارهای مورد نیاز:

کاترکاتر
مجموعه پیچ‌گوشتیمجموعه پیچ‌گوشتی
17

Wire the pump, probe and float switch

Stick the enclosure base to the flat lid area beside the holes with double-sided tape. Extend the leads with hookup wire where they are too short, and insulate the joints with heat shrink. Pump to J4 (1 = +5 V, the red pump wire; 2 = drain). Float switch to J6. Bring the wires in through the slot in the side wall, then push the enclosure lid on.

مواد مورد نیاز این مرحله:

نوار دوطرفهنوار دوطرفه1 قطعه
سیم اتصالسیم اتصال1 قطعه
لولهٔ حرارتی جمع‌شوندهلولهٔ حرارتی جمع‌شونده1 قطعه
سیم لحیمسیم لحیم1 قطعه

ابزارهای مورد نیاز:

سیم‌لخت‌کنسیم‌لخت‌کن
هویههویه
سشوار صنعتیسشوار صنعتی
مجموعه پیچ‌گوشتیمجموعه پیچ‌گوشتی
18

Place the probe and drip stake

Push the soil probe into the pot up to its marked line, keeping the electronics end dry. Push the tube onto the drip stake spigot and push the stake into the soil. Set the tank lower than the pot so that the full water line sits below the soil surface. Otherwise water can siphon from the tank into the pot after the pump stops.

ابزارهای مورد نیاز:

گلدانگلدان
19

Power up and test

Fill the tank and plug in the USB-C adapter and cable. Check the OLED shows soil % and tank OK. Lift the probe into air: the pump should run for at most 5 s and then wait 60 s. Empty the tank until the float drops: the display should show LOW and the pump must not run. Measure the 5 V rail while the pump runs and check that it stays above about 4.5 V.

مواد مورد نیاز این مرحله:

آداپتور برق USB-Cآداپتور برق USB-C1 قطعه
کابل USB-Cکابل USB-C1 قطعه

ابزارهای مورد نیاز:

مولتی‌مترمولتی‌متر
آبآب

مواد

24

ابزارهای لازم

12

فایل‌های طراحی

5
  • cus_ai_ed_electronics_01-pcb-prodjob_01M7JF9J0992HT4DPFFBR6HWMQ-pcb-1-4ae5c860.stlSTLCC0
    69.0 KB
  • cus_ai_ed_electronics_01-pcb-prodjob_01M7JF9J0992HT4DPFFBR6HWMQ-pcb-2-bba1cabe.stlSTLCC0
    3.2 KB
  • cus_ai_ed_electronics_01-product-prodjob_01M7JF9J0992HT4DPFFBR6HWMQ-1-bf47bc6c.stlSTLCC0
    1.4 KB
  • cus_ai_ed_electronics_01-product-prodjob_01M7JF9J0992HT4DPFFBR6HWMQ-2-e11cea1f.stlSTLCC0
    30.8 KB
  • cus_ai_ed_electronics_01-product-prodjob_01M7JF9J0992HT4DPFFBR6HWMQ-3-bea0de92.stlSTLCC0
    53.3 KB

CC0 مالکیت عمومی

این نقشه تحت مجوز CC0 منتشر شده است. شما آزاد هستید آن را کپی، ویرایش، توزیع و برای هر هدفی بدون نیاز به اجازه استفاده کنید.

با خرید محصولات از طریق نقشه از سازنده حمایت کنید و او کمیسیون سازنده تعیین شده توسط فروشندگان، دریافت می‌کند یا یک نسخه جدید از این نقشه ایجاد کنید و آن را به عنوان اتصال در نقشه خود قرار دهید تا درآمد به اشتراک گذاشته شود.

بحث و گفتگو

(0)

ورود برای شرکت در بحث

در حال بارگذاری نظرات...