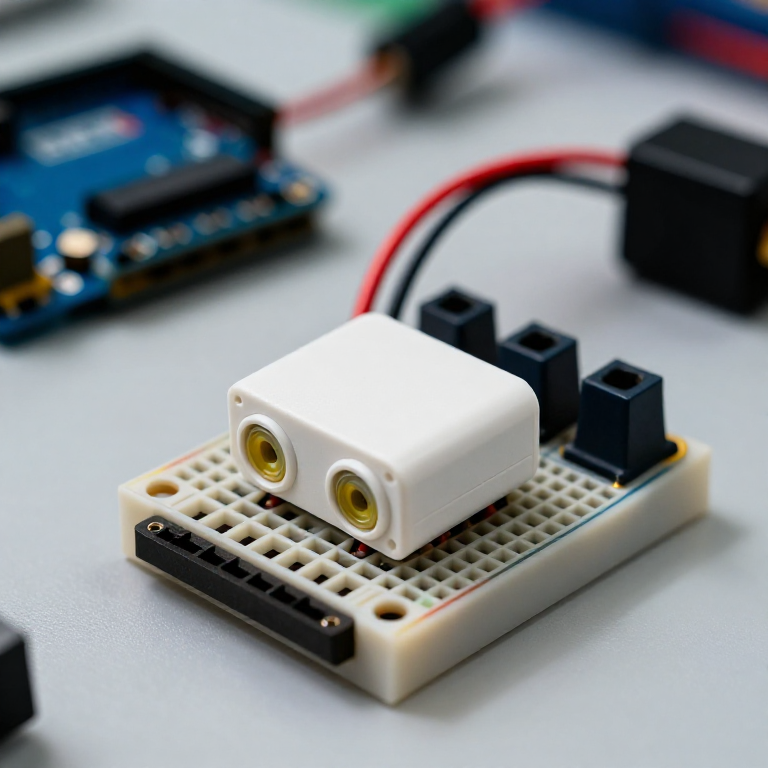


Building an Ultrasonic Parking Sensor
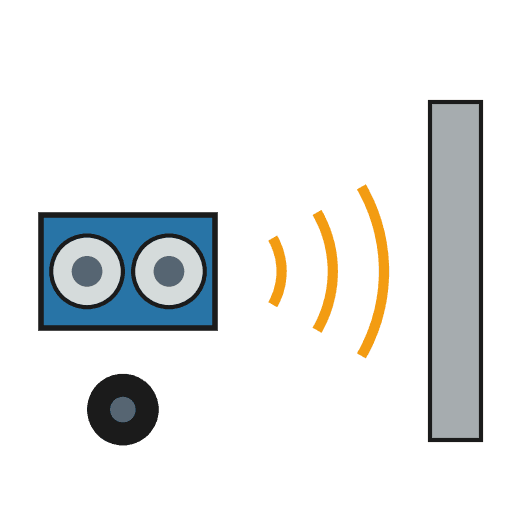
Measure distance with sound. An HC-SR04 ultrasonic sensor sends out a pulse of sound and times its echo, and the Arduino turns that into a distance in centimetres. Wire it to a buzzer that beeps faster as something gets closer — a car parking sensor, a reversing aid, or a doorway proximity alarm.
Leiðbeiningar
Wire the sensor and buzzer
Wire the sensor and buzzer
Push the HC-SR04 and the active buzzer into the breadboard. Wire the sensor: VCC to Arduino 5V, GND to GND, Trig to pin 9, Echo to pin 10. Wire the buzzer: + to pin 8, - to GND.
Efni fyrir þetta skref:
 Arduino Uno R31 stykki
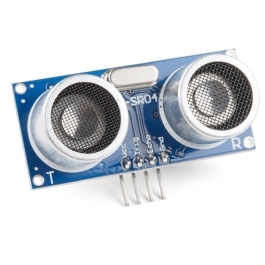 HC-SR04 Ultrasonic Distance Sensor (5-Pack)1 stykki
 Virkur suðeining1 stykki
 Tengibretti1 stykki
 Tengivírar1 pakki
Connect and open the IDE
Connect and open the IDE
Plug the Arduino into your computer with the USB cable, open the Arduino IDE, and select Arduino Uno and its serial port.
Nauðsynleg verkfæri:
 Tölva með Arduino IDE
 USB-B-snúra
Upload the parking-sensor sketch
Upload the parking-sensor sketch
Paste this sketch and upload. It measures the distance and beeps faster the closer an object is. Open the Serial Monitor to see the distance in centimetres.
Test and set the range
Test and set the range
Move your hand toward the sensor — the buzzer beeps faster as you get closer and nearly solid when very near. Change the 50 in the sketch to set how far away it starts reacting, and the * 6 to change how quickly the beeping speeds up.
Mount it
Mount it
Fix the sensor facing outward on a bracket or in a small box and power the Arduino from a USB power bank or a 9 V adapter. Aim it at your parking spot, garage wall or doorway.
Efni
5- frá$27.30
- Ultrasonic Sensor - HC-SR0410% þóknun1 stykki$4.20
- 1 stykkiStaðgengill
- frá$9.59
- frá$1.63
Nauðsynleg verkfæri
3- Staðgengill
- USB-B-snúra10% þóknunMagento Legacy Storeships internationallyStaðgengill
- Tengibretti10% þóknunMagento Legacy Storeships internationallyStaðgengill
Þessi teikning býr til
Tengd Blueprint
Þessi blueprint deila þekkingu — tækni, efni eða meginreglur


CC0 opinbert ríki
Þessi teikning er gefin út undir CC0. Þér er frjálst að afrita, breyta, dreifa og nota þetta verk í hvaða tilgangi sem er, án þess að biðja um leyfi.
Studdu smiðinn með því að kaupa vörur í gegnum teikningu hans þar sem hann fær þóknun smiða sem seljendur ákvarða, eða búðu til nýja endurskoðun á þessari teikningu og tengdu hana sem tengingu í þinni eigin teikningu til að deila tekjum.