Samvinna
LIST
FEGURÐ OG VELLÍÐAN
HANDVERK
MENNING OG SAGA
SKEMMTUN
UMHVERFI
MATUR OG DRYKKUR
ÖFUGVERKFRÆÐI
VÍSINDI
ÍÞRÓTTIR
TÆKNI
KLÆÐANLEG TÆKNI
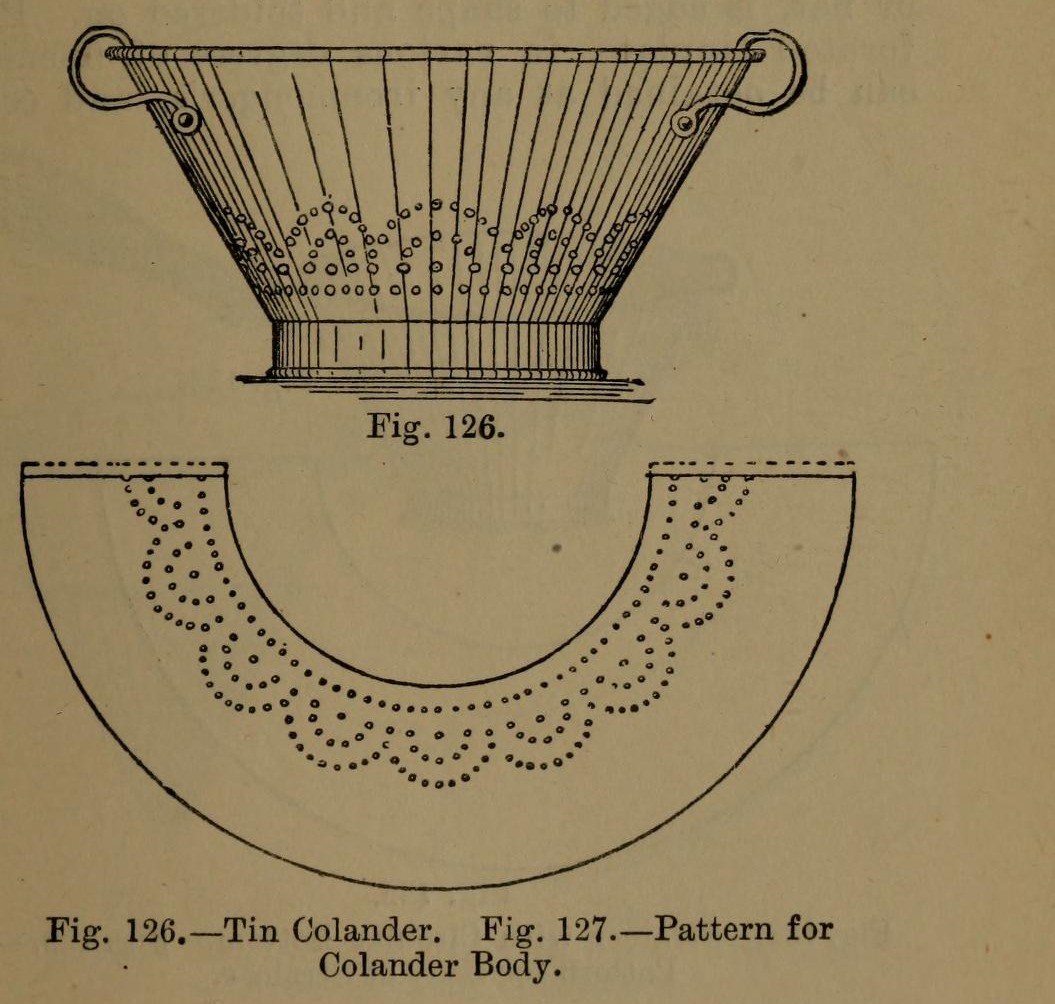


Colander: a Tinplate Colander with Perforated Body and Bottom (Hasluck, 1907)
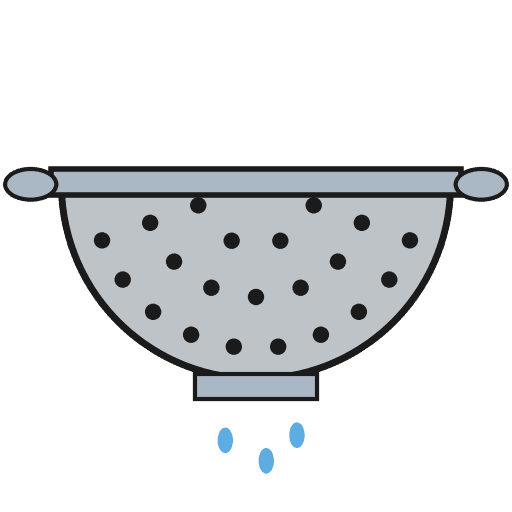
A tinsmith's colander for straining: a tapered tinplate body and a hollowed bottom, both punched full of holes, standing on a wired hoop, with two bow handles.
The body pattern is a ring segment: outer radius = top diameter, inner radius = bottom diameter, which gives sides at 60 degrees.
Source: Paul N. Hasluck, Tinplate Work (1907), pp. 50-51. Unknown: sizes, solder. Picture: Figs. 126-127 of the book.
Miðlungs
Unknown
Leiðbeiningar
1
1
Set out the body pattern
Set out the body pattern
Choose the top and bottom diameters. On tinplate, strike an arc with radius equal to the top diameter and, from the same centre, one equal to the bottom diameter (Fig. 127); the sides then slope at 60 degrees. Mark the rows of holes, add edges for a grooved seam and the wire, and cut it out.
Efni fyrir þetta skref:
 Blikkplata1 body
Nauðsynleg verkfæri:
 Passari
 Rissnál
 Plötuklippur
2
2
Break, punch and planish the body
Break, punch and planish the body
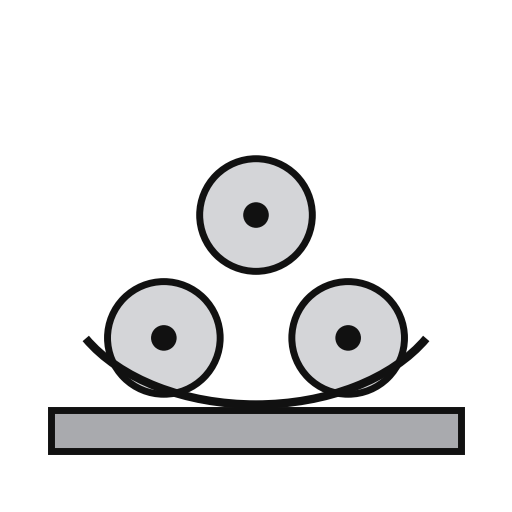
'Break' the pattern through the rollers, turning it the opposite way each pass, so it won't crease when bent. Punch the holes on a hardwood block, then flatten and planish the burrs.
Nauðsynleg verkfæri:
 Plötubeygjuvalsar
 Gatstimpill fyrir þynnu
 Harðviðarkubbur
 Sléttihamar
3
3
Seam and wire the body
Seam and wire the body
Set off the edges for a grooved seam, bend the body to shape and seam it. Solder the seam inside. Set off an edge on the wide end and wire it with No. 10 B.W.G. wire. If you like, raise a swage about 1 1/2 in below the wired edge: it stiffens the colander and looks better.
Efni fyrir þetta skref:
 Járnvír1 No. 10 B.W.G.
 Tin-blý lóðmálmur1 seam
Nauðsynleg verkfæri:
 Trésleggja
 Hæll
 Rafmagnslóðbolti
 Lóðfeiti
4
4
Make and fit the bottom
Make and fit the bottom
Cut out the bottom, hollow it and edge it to fit the small end. Inside, mark circles from 1 in across at the centre, each 1 in wider than the last, out to the edge. Punch holes at short intervals round them and flatten the burrs on an upturned hollowing hammer. Solder the bottom on.
Efni fyrir þetta skref:
Blikkplata1 bottomTin-blý lóðmálmur1 bottomNauðsynleg verkfæri:
PassariPlötuklippurGatstimpill fyrir þynnuSléttihamarRafmagnslóðboltiLóðfeiti5
5
Add the hoop and handles
Add the hoop and handles
Cut a strip 1 1/2 in wide, as long as the circumference of the bottom. Wire it with No. 10 B.W.G., round it, seam it and solder it on as the foot. Rivet a pair of bow handles opposite each other at the top.
Efni fyrir þetta skref:
Blikkplata1 hoopJárnvír1 hoopTin-blý lóðmálmur1 hoop Skaft2 bow handles
 Járnhnoð1 number not given
Nauðsynleg verkfæri:
PlötuklippurRafmagnslóðboltiLóðfeiti Hnoðhamar
6
6
Clean and scald
Clean and scald
Clean with turpentine and whiting, then polish with dry whiting. Before first use, steep it a short time in boiling water, as for any metal article for the kitchen.
Nauðsynleg verkfæri:
 Terpentína
 Kalsíumkarbónat (kalkhvíta)
 Vatn
Efni
5- 1 hoopStaðgengill
- 1 hoopStaðgengill
- 1 hoopStaðgengill
- 2 bow handlesStaðgengill
- 1 number not givenStaðgengill
Nauðsynleg verkfæri
15- Staðgengill
- Staðgengill
- Staðgengill
- Staðgengill
- Staðgengill
- Staðgengill
- Staðgengill
- Staðgengill
- Staðgengill
- Staðgengill
- Staðgengill
- Staðgengill
- Staðgengill
- Staðgengill
- Staðgengill
Efni úr tengdum teikningum


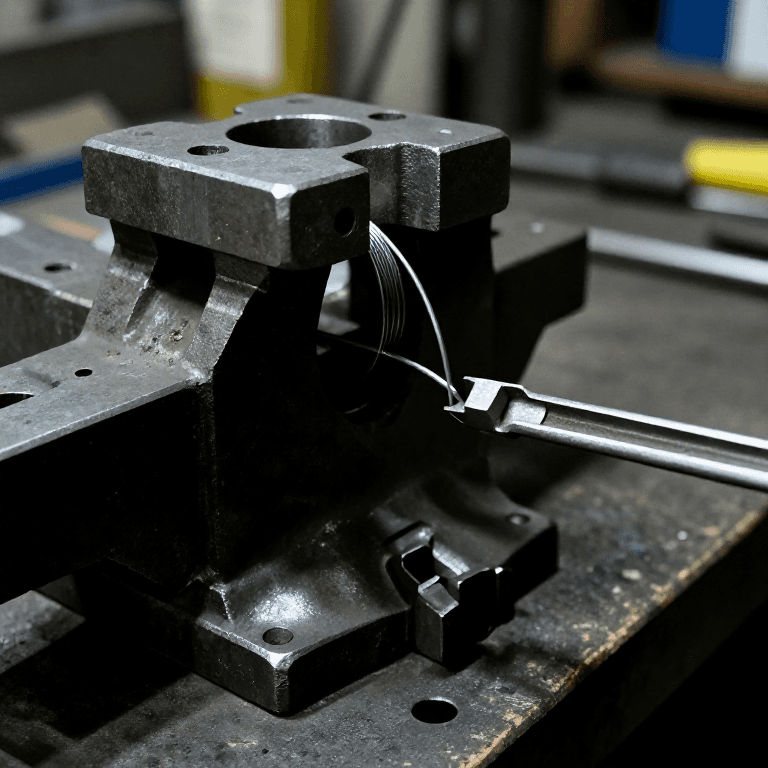
Þessi teikning býr til
CC0 opinbert ríki
Þessi teikning er gefin út undir CC0. Þér er frjálst að afrita, breyta, dreifa og nota þetta verk í hvaða tilgangi sem er, án þess að biðja um leyfi.
Studdu smiðinn með því að kaupa vörur í gegnum teikningu hans þar sem hann fær þóknun smiða sem seljendur ákvarða, eða búðu til nýja endurskoðun á þessari teikningu og tengdu hana sem tengingu í þinni eigin teikningu til að deila tekjum.