LIST
FEGURÐ OG VELLÍÐAN
HANDVERK
MENNING OG SAGA
SKEMMTUN
UMHVERFI
MATUR OG DRYKKUR
ÖFUGVERKFRÆÐI
VÍSINDI
ÍÞRÓTTIR
TÆKNI
KLÆÐANLEG TÆKNI
Youblob · CC0


Telephoto Lens
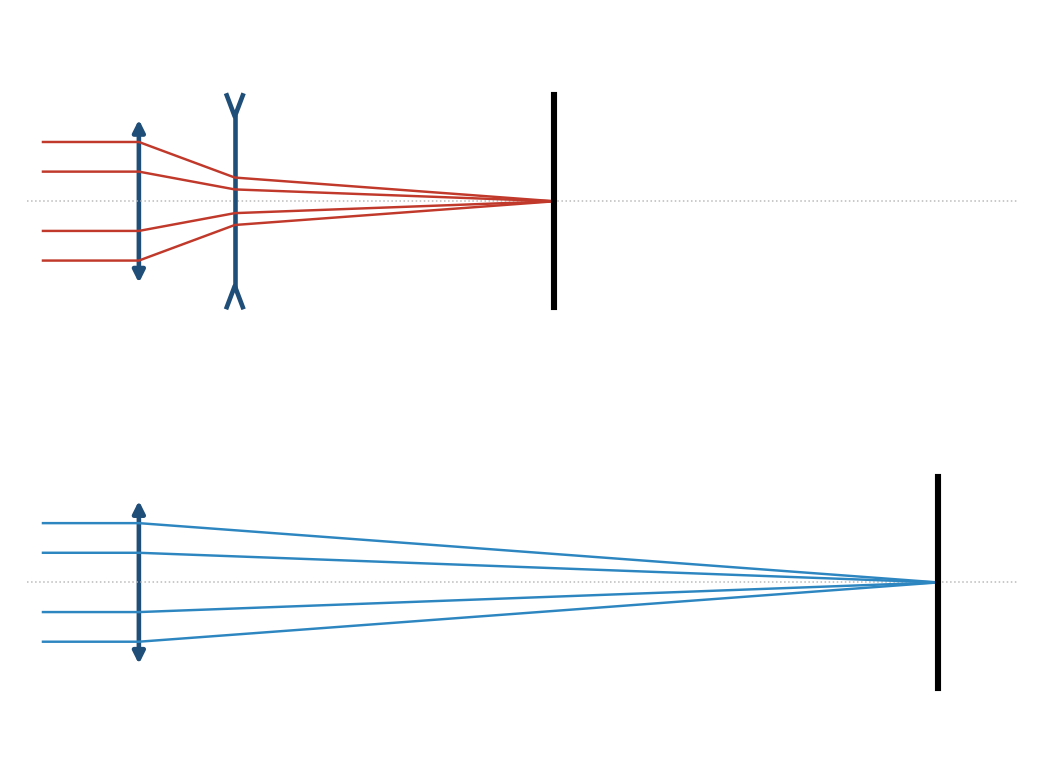
To photograph a distant subject large, you need a long focal length - and a long lens means a long camera. In 1891 Thomas Rudolphus Dallmeyer in London, and Adolf Miethe in Germany, independently put a negative lens behind a positive one. The pair acts like a single lens of much longer focal length, yet it is physically shorter than that focal length. That is what 'telephoto' means, and nearly every long camera lens since uses it.
**No patent number is cited here**: Dallmeyer patented it in Britain, and no US patent for his design was verified, so none is claimed.
**You build one on an optical bench**, measure its focal length from the size of a distant image, and let a ray-trace notebook redesign it.
Byrjandi
90 minutes
Leiðbeiningar
1
1
Know your lenses
Know your lenses
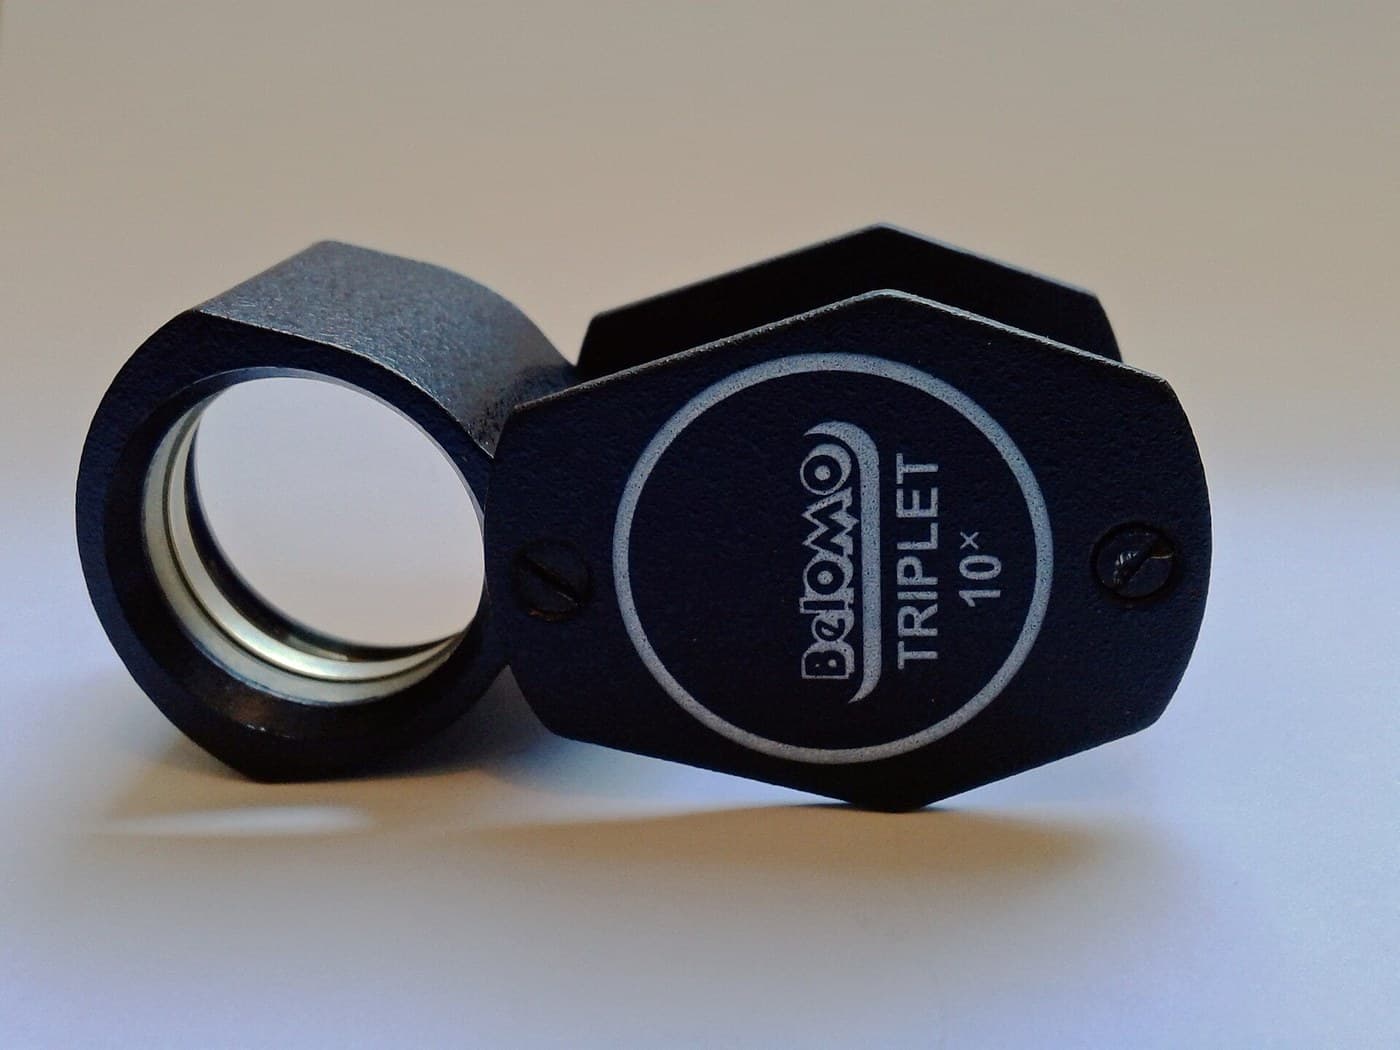
Focus a distant window onto paper with each convex lens; the lens-to-paper distance is its focal length. Pick one about 100 mm. Take a concave lens about half that (its label gives it; it will not focus alone).
Efni fyrir þetta skref:
 Safn safnlinsa1 sett
 Íhvolf linsa1 stykki
Nauðsynleg verkfæri:
 Reglustika
2
2
Set up the bench
Set up the bench
Mount the convex lens in a holder at one end of the bench, pointing out of a window at something far away. Tape tracing paper to a holder as the screen.
Efni fyrir þetta skref:
 Rúlla af sniðapappír1 plata
Nauðsynleg verkfæri:
 Ljósfræðibekkur og braut
 Linsuhaldarasett
 Málningarlímband
3
3
Image with one lens
Image with one lens
Slide the screen until the far scene is sharp. Measure the height of one chosen feature on the screen - a window, a chimney.
Nauðsynleg verkfæri:
Reglustika4
4
Add the negative lens
Add the negative lens
Put the concave lens 60 mm behind the convex one. The image is now far behind; move the screen back until it is sharp again and measure the same feature. Try 55 and 65 mm spacing too.
Nauðsynleg verkfæri:
 Málband
5
5
Design it on paper
Design it on paper
Hleð Jupyter-vinnubók…
6
6
History & Context
History & Context
**What the 1891 designs did:** a positive front group and a negative rear group, spaced so the system focal length exceeds its length. **Modern build (derived):** two stock lenses on a bench.
Early telephoto attachments screwed behind ordinary lenses; modern long lenses build the idea in. Its limits: spacing is critical, the negative group adds distortion (pincushion), and the image is dimmer at the same aperture diameter because the focal length grew.
Efni
3- 1 settStaðgengill
- 1 stykkiStaðgengill
- 1 plataStaðgengill
Nauðsynleg verkfæri
5- Staðgengill
- Staðgengill
- Staðgengill
- Staðgengill
Tengd Blueprint
Þessi blueprint deila þekkingu — tækni, efni eða meginreglur
CC0 opinbert ríki
Þessi teikning er gefin út undir CC0. Þér er frjálst að afrita, breyta, dreifa og nota þetta verk í hvaða tilgangi sem er, án þess að biðja um leyfi.
Studdu smiðinn með því að kaupa vörur í gegnum teikningu hans þar sem hann fær þóknun smiða sem seljendur ákvarða, eða búðu til nýja endurskoðun á þessari teikningu og tengdu hana sem tengingu í þinni eigin teikningu til að deila tekjum.