LIST
FEGURÐ OG VELLÍÐAN
HANDVERK
MENNING OG SAGA
SKEMMTUN
UMHVERFI
MATUR OG DRYKKUR
ÖFUGVERKFRÆÐI
VÍSINDI
ÍÞRÓTTIR
TÆKNI
KLÆÐANLEG TÆKNI
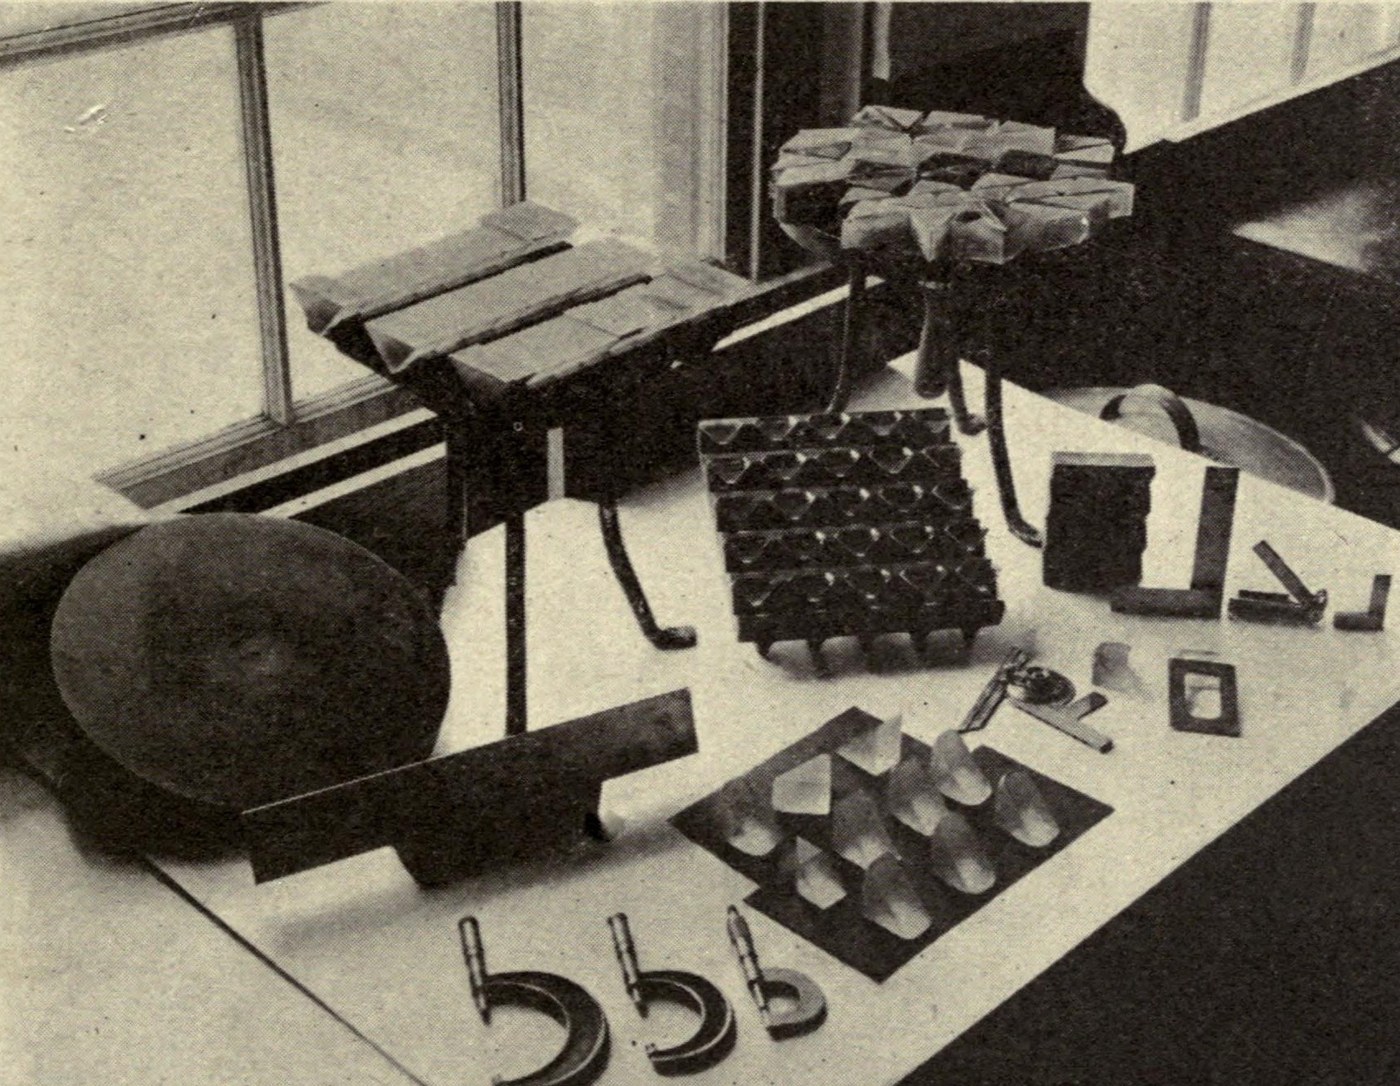


Equilateral Glass Prism: Sawn, Ground and Pitch-Polished
A prism splits white light into its colours, so its faces must be optically flat and its angles true. This is how the US arsenals ground prisms in 1918, as F. E. Wright recorded for the Ordnance Department in 1921: saw a blank from optical glass, rough-grind it on iron disks, set a batch of prisms in plaster, fine-grind, and polish on pitch with rouge. Wright's worked example is a right-angle prism; an equilateral prism has three 60° angles, made the same way.
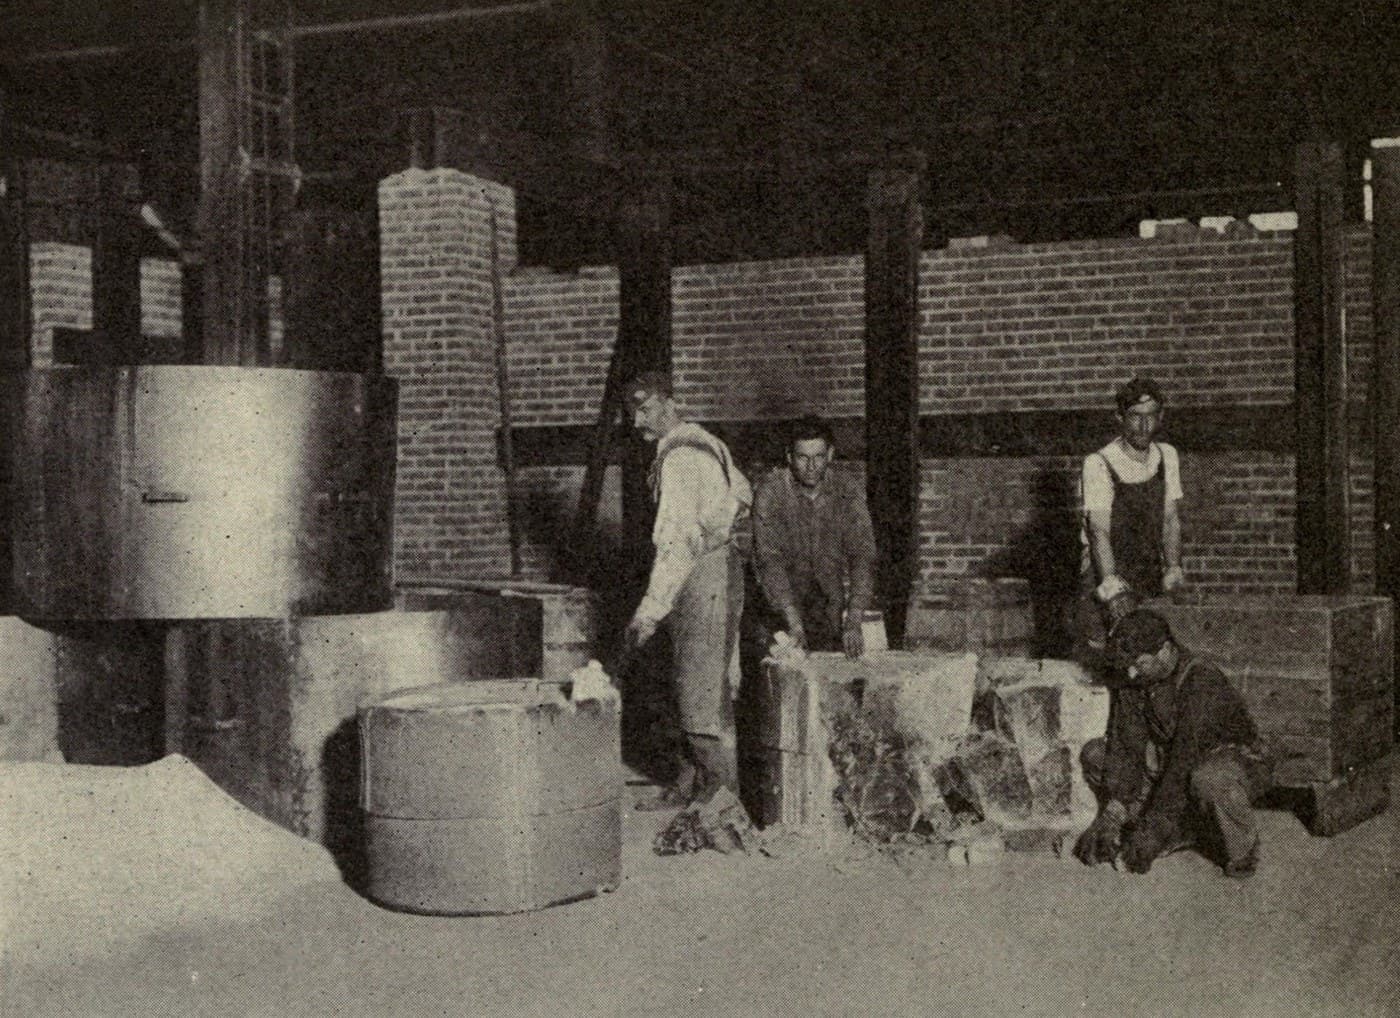
The picture: blocking prisms for rough grinding at Frankford Arsenal (Wright 1921, Fig. 77, public domain).
Lengra kominn
2-3 days
Leiðbeiningar
1
1
Saw out the blank
Saw out the blank
Saw a triangular blank from a block of optical glass with a diamond saw, using kerosene as lubricant. Leave several millimetres extra on each face for grinding.
Efni fyrir þetta skref:
 Sjóngler1 as required
Nauðsynleg verkfæri:
 Demantssög
 Steinolía
 Stafrænn skífmælir 6 tommur
 Öryggisgleraugu
2
2
Rough-grind the faces
Rough-grind the faces
Grind one triangular end flat on a rotating iron disk with 90 or 150 mesh grit. Then rough out the three side faces at right angles to it, checking the 60° angles with an angle gauge.
Nauðsynleg verkfæri:
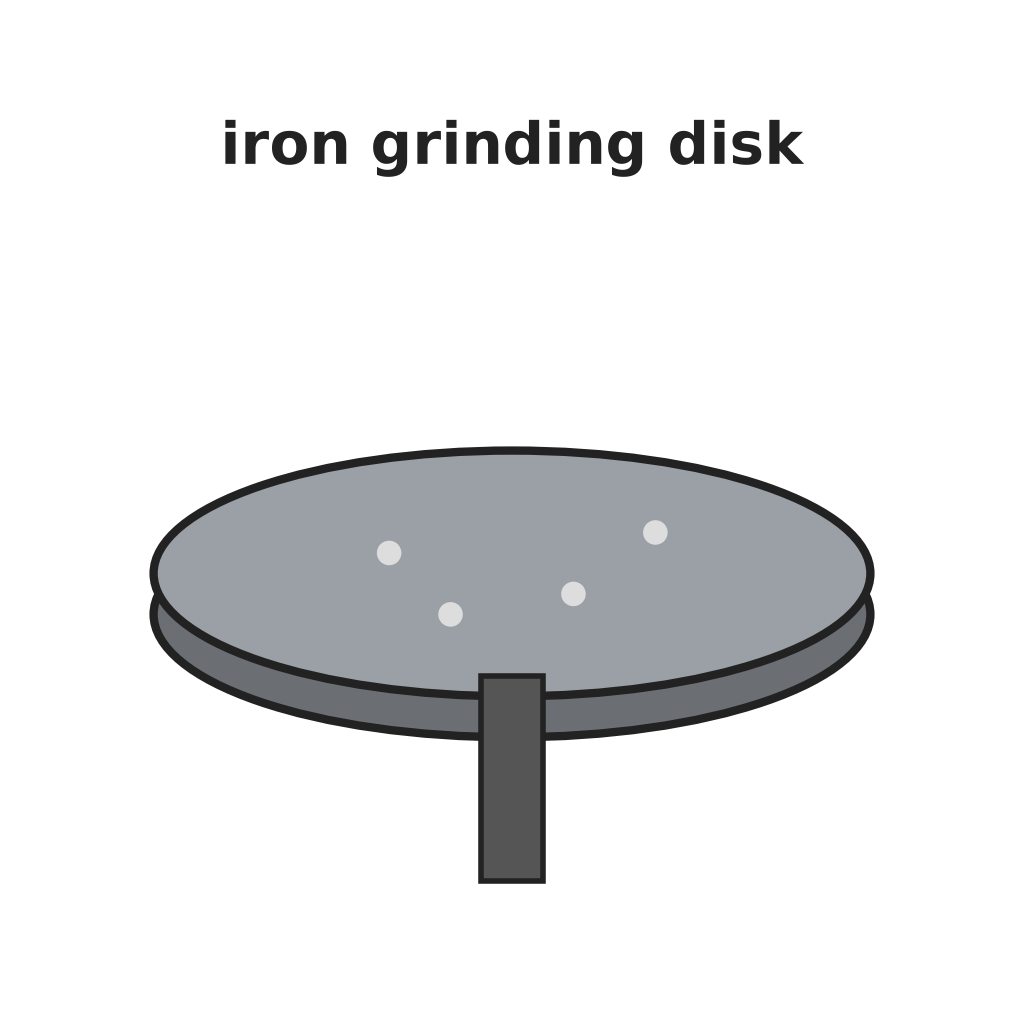 Járnslípskífa
 Sett af kísilkarbíð-slípikornum
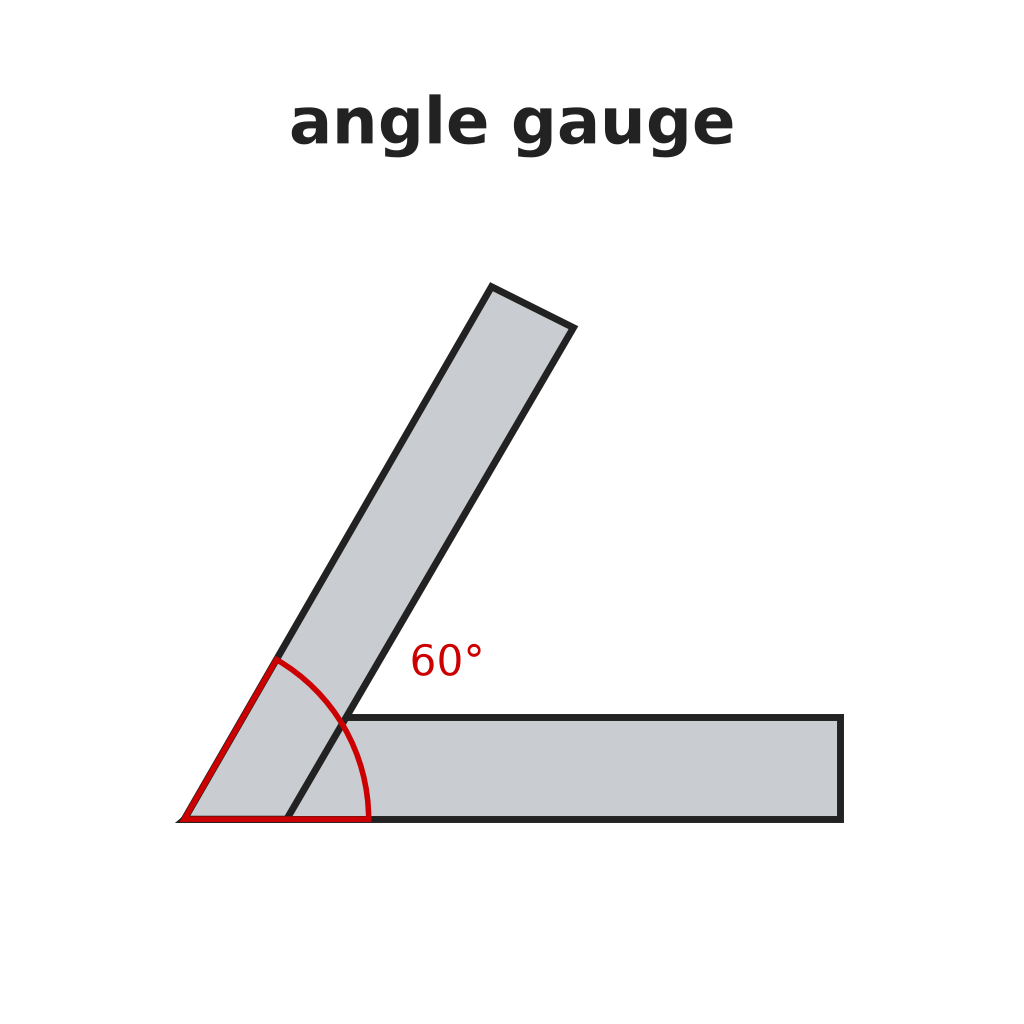 Hornamál
3
3
Grind the ends in a batch
Grind the ends in a batch
Wax 20 or more prisms by their ground ends onto a heated iron disk and grind the other ends together: 90, 150, then 220 mesh, then smoothing grit. Change grit only when the surface is free of scratches. Regrind to the set thickness.
Nauðsynleg verkfæri:
JárnslípskífaSett af kísilkarbíð-slípikornum Paraffín
 Býflugnavax
 HitaplataStafrænn skífmælir 6 tommur
4
4
Block the prisms in plaster
Block the prisms in plaster
Set the prisms face down in melted paraffin on a flat iron disk and coat their backs with beeswax. Clamp a ring round them, fill with plaster of Paris and a little Portland cement (10 : 1), and let it harden about 16 hours. Cut the plaster back 1/8 in from the prisms and give it two coats of shellac.
Nauðsynleg verkfæri:
HitaplataParaffínBýflugnavax Gifs (Parísargifs)
 Portlandsement
 Býflugnavaxkúlur
5
5
Fine-grind
Fine-grind
Grind the block on a slightly convex plate with wet flour emery (the part that settles out of water between 10 and 60 minutes). After five minutes check with a magnifier: the faces should have an even velvet finish, slightly hollow by less than 0.001 in.
Nauðsynleg verkfæri:
JárnslípskífaSett af kísilkarbíð-slípikornum Stækkunarlúpa
6
6
Polish on pitch
Polish on pitch
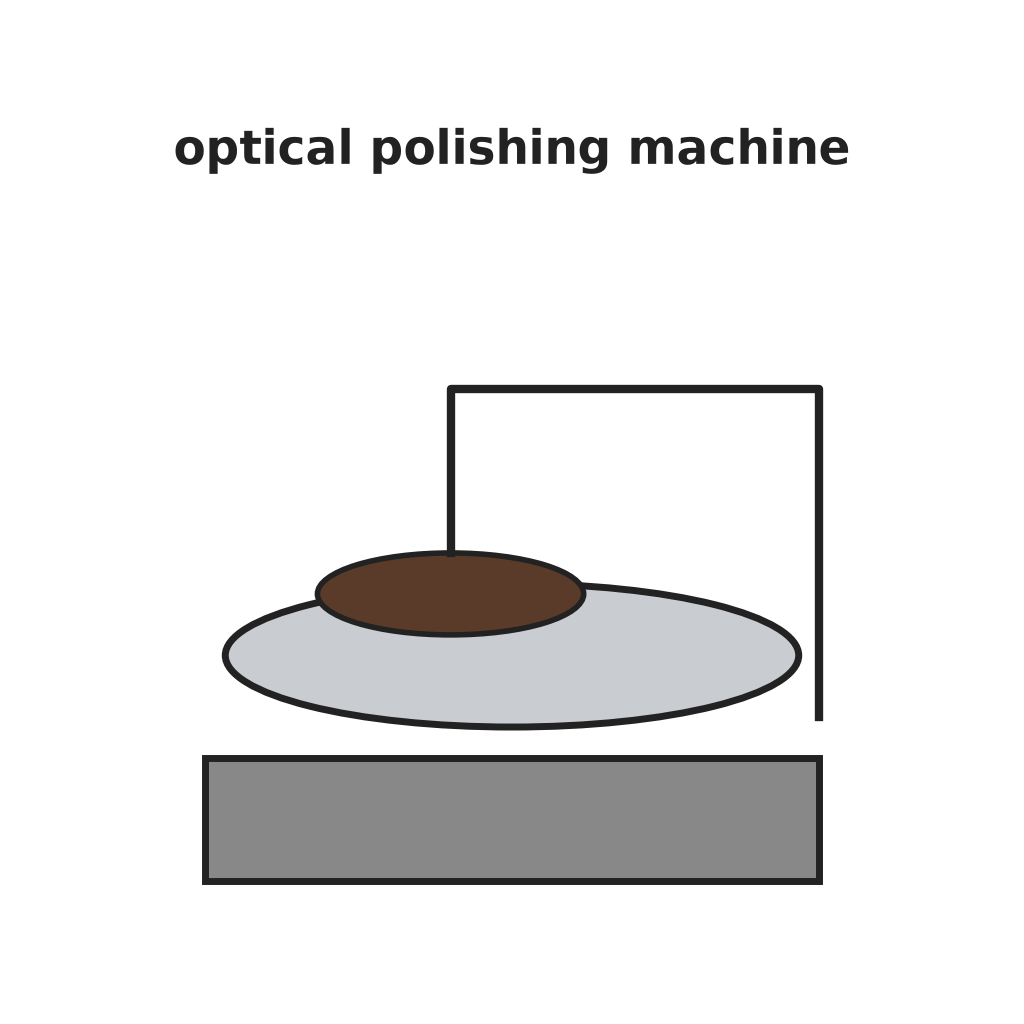
Pour strained pitch with a little rosin 1/4 in deep on an iron tool and cut crossed grooves 1/8 in wide, 1 in apart. Press it true with a rouge-wetted flat. Polish the block with creamy rouge and water on the machine, usually 4–8 hours, running nearly dry at the end.
Nauðsynleg verkfæri:
 Viðartjörubik
 Furuharpix
 Gullsmiðarautt
 Sjónglerfægivél
7
7
Test for flatness
Test for flatness
Lay an optical flat on each face and look at the Newton colours in sodium light (salt in a Bunsen flame). Straight bands to the edge, or one colour over the whole face, mean it is flat.
Nauðsynleg verkfæri:
 Ljósflötur (viðmið)
 Bunsenbrennari
 SaltStækkunarlúpa
8
8
Free, clean, check the angle, repeat
Free, clean, check the angle, repeat
Break the plaster away, clean the prisms with benzene and check each angle with the angle gauge. Correct by hand on a flat tool with smoothing grit. Repeat blocking and polishing for every face, smallest face first.
Nauðsynleg verkfæri:
 Hamar
 BensenHornamálJárnslípskífaSett af kísilkarbíð-slípikornum
Nauðsynleg verkfæri
23- Staðgengill
- Staðgengill
- Staðgengill
- Staðgengill
- Staðgengill
- Staðgengill
- Staðgengill
- Staðgengill
- Staðgengill
- Staðgengill
- Staðgengill
- Staðgengill
- Staðgengill
- Staðgengill
- Staðgengill
- Staðgengill
- Staðgengill
- Staðgengill
- Staðgengill
- Staðgengill
- Staðgengill
- Staðgengill
- Staðgengill
Þessi teikning býr til

Tengd Blueprint
Þessi blueprint deila þekkingu — tækni, efni eða meginreglur
CC0 opinbert ríki
Þessi teikning er gefin út undir CC0. Þér er frjálst að afrita, breyta, dreifa og nota þetta verk í hvaða tilgangi sem er, án þess að biðja um leyfi.
Studdu smiðinn með því að kaupa vörur í gegnum teikningu hans þar sem hann fær þóknun smiða sem seljendur ákvarða, eða búðu til nýja endurskoðun á þessari teikningu og tengdu hana sem tengingu í þinni eigin teikningu til að deila tekjum.