
Samvinna
LIST
FEGURÐ OG VELLÍÐAN
HANDVERK
MENNING OG SAGA
SKEMMTUN
UMHVERFI
MATUR OG DRYKKUR
ÖFUGVERKFRÆÐI
VÍSINDI
ÍÞRÓTTIR
TÆKNI
KLÆÐANLEG TÆKNI
Hand-Sewn Welted Boot: Last, Welt, Sole, Heel and Finish (Hasluck, Boot Making and Mending, 1898)
Tex

Búin til af

Tex

13. nóvember 2026FO
0
0
0
0
0

Hand-Sewn Welted Boot: Last, Welt, Sole, Heel and Finish (Hasluck, Boot Making and Mending, 1898)

How a closed boot upper becomes a hand-sewn welted boot, from Paul N. Hasluck's Boot Making and Mending (1898): measure the foot and fit up the last, block and feather the insole, last the upper tight, sew in the welt and the seat, fill and lay the sole, round it, channel and stitch it to the welt, build and sew the heel, then knife, iron, ink and heel-ball the edges. All sizes are his. The upper here is the Wellington leg from Leno's book (the previous blueprint).
Lengra kominn
About 1 week

Leiðbeiningar

1

Sizes, lasts and heel

Hleð Jupyter-vinnubók…
2

Read Boot Making and Mending, ch. IV

"In choosing the materials, it should be remembered that a boot, like a house, depends upon the foundation, for which reason the leather should be good of its class, and every care exercised to fit it properly."
3

Measure the foot

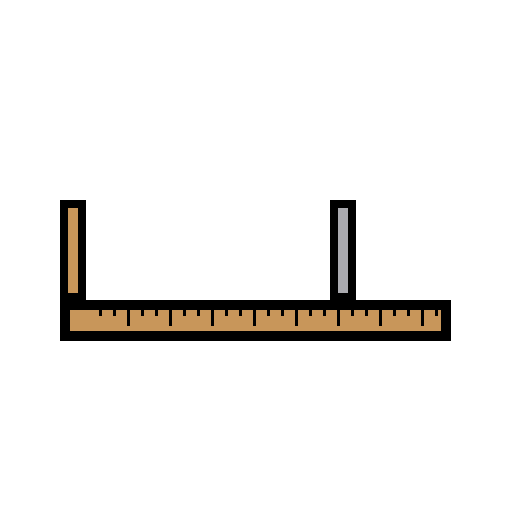
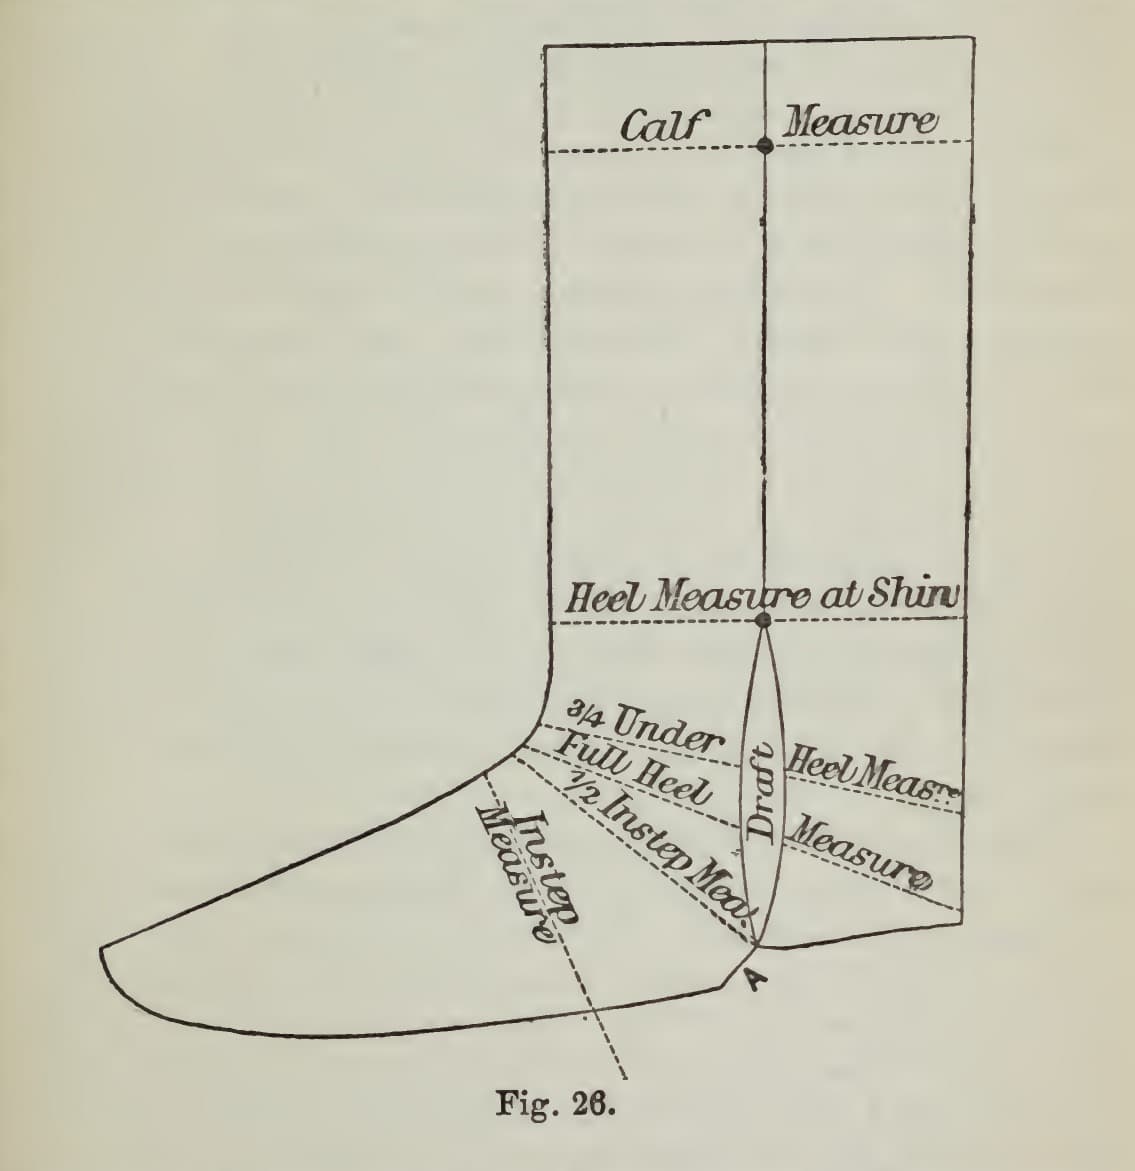
Have the person stand full weight on a sheet of paper and draw round the foot with the pencil quite upright, then the lines of the waist. Take the length on the drawing. With a tape take, in inches and only just tight: the joint (under the foot, over the great-toe joint and little-toe knuckle), the second joint round the ball, the instep, the heel measure (round the heel, under the ankle bone, across the throat) and the leg about 1½ in above the ankle bone. Mark each on the drawing.

Efni fyrir þetta skref:

Ferkantað pappírsblaðFerkantað pappírsblað1 stykki

Nauðsynleg verkfæri:

BlýanturBlýantur
MálbandMálband
SkónúmerastikaSkónúmerastika
4

Fit up the last

Choose a last whose toe is nearest the shape wanted; set it on the drawing and check the lines and girths. Rasp off any surplus so the bottom is shaped as his Fig. 69, leaving room for the great toe. If it is too small, make fittings from wetted, stretched flank leather (long leather, joint, toe-pin, heel-pin), skive them thin to the edge, tack them on wet and let each dry before blocking and trimming. Peg bunion pieces with fine ½ in pegs in holes made with the peg awl. An old shoe worn to the foot is "the safest guide": put the last in it to see where it is short.

Efni fyrir þetta skref:

AktygjaleðurAktygjaleður1 stykki
TrétapparTrétappar1 stykki
StrekkisaumurStrekkisaumur1 stykki

Nauðsynleg verkfæri:
SkóleisturSkóleistur
RaspRasp
ÞynningarhnífurÞynningarhnífur
PinnaalurPinnaalur
KlóhamarKlóhamar
5

Prepare the stuff

Soak insoles, outer soles, stiffeners, lifts and top-pieces in clean water. Mark the welts down the centre with compasses, cut them to equal widths and put them in the water too; they are used wet. Dry the rest in a draught, not near a fire. When the soles are just mellow, buff off the grain lightly and skive the flesh off the back; do the same to lifts and top-pieces. Hammer them evenly all over on the lap iron, grain down, from the centre; the lifts less hard than soles and top-pieces.

Efni fyrir þetta skref:

SólaleðurSólaleður1 stykki
Leðurkantur (welt)Leðurkantur (welt)1 stykki
VatnVatn1 stykki

Nauðsynleg verkfæri:

PassariPassari
LeðurhnífurLeðurhnífur
Skafhnífur skósmiðsSkafhnífur skósmiðs
KjöltujárnKjöltujárn
KlóhamarKlóhamar
6

Block, feather and hole the insole

Mark the insole to the last, cut it out, buff the grain and tack it grain down with four tacks in the middle; stretch the sides with pincers and tack it tight till nearly dry (blocking). Round it to the last, narrower in the waist. Rub with soap, draw a margin ¼ to ⅓ in from the edge with compasses, wider at the waist, cut it about one-third through with the knife upright, open it with the prick-stitch and cut away the strip to leave the feather. Gauge a second line the same distance in and pass the sewing awl from it to the edge of the feather. Take the sharp edge off the grain side.

Efni fyrir þetta skref:

SólaleðurSólaleður1 stykki
StrekkisaumurStrekkisaumur1 stykki
SápustykkiSápustykki1 stykki

Nauðsynleg verkfæri:

SkóleisturSkóleistur
LeðurhnífurLeðurhnífur
StrekkitöngStrekkitöng
PassariPassari
SporamerkiSporamerki
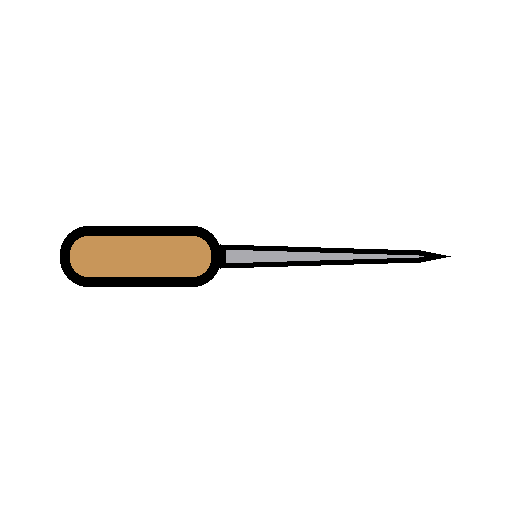
SaumaalurSaumaalur
7

Stiffeners and side linings

Cut the stiffeners from good leather, used wet; a gentleman's 1¾ in high at the back. Skive them all round on both sides, little on the grain side, the top to a feather edge, the bottom to half its substance. Cut side linings, best of oil-dressed calf.

Efni fyrir þetta skref:

SólaleðurSólaleður1 stykki
KálfsleðurKálfsleður1 stykki

Nauðsynleg verkfæri:

ÞynningarhnífurÞynningarhnífur
8

Last the upper

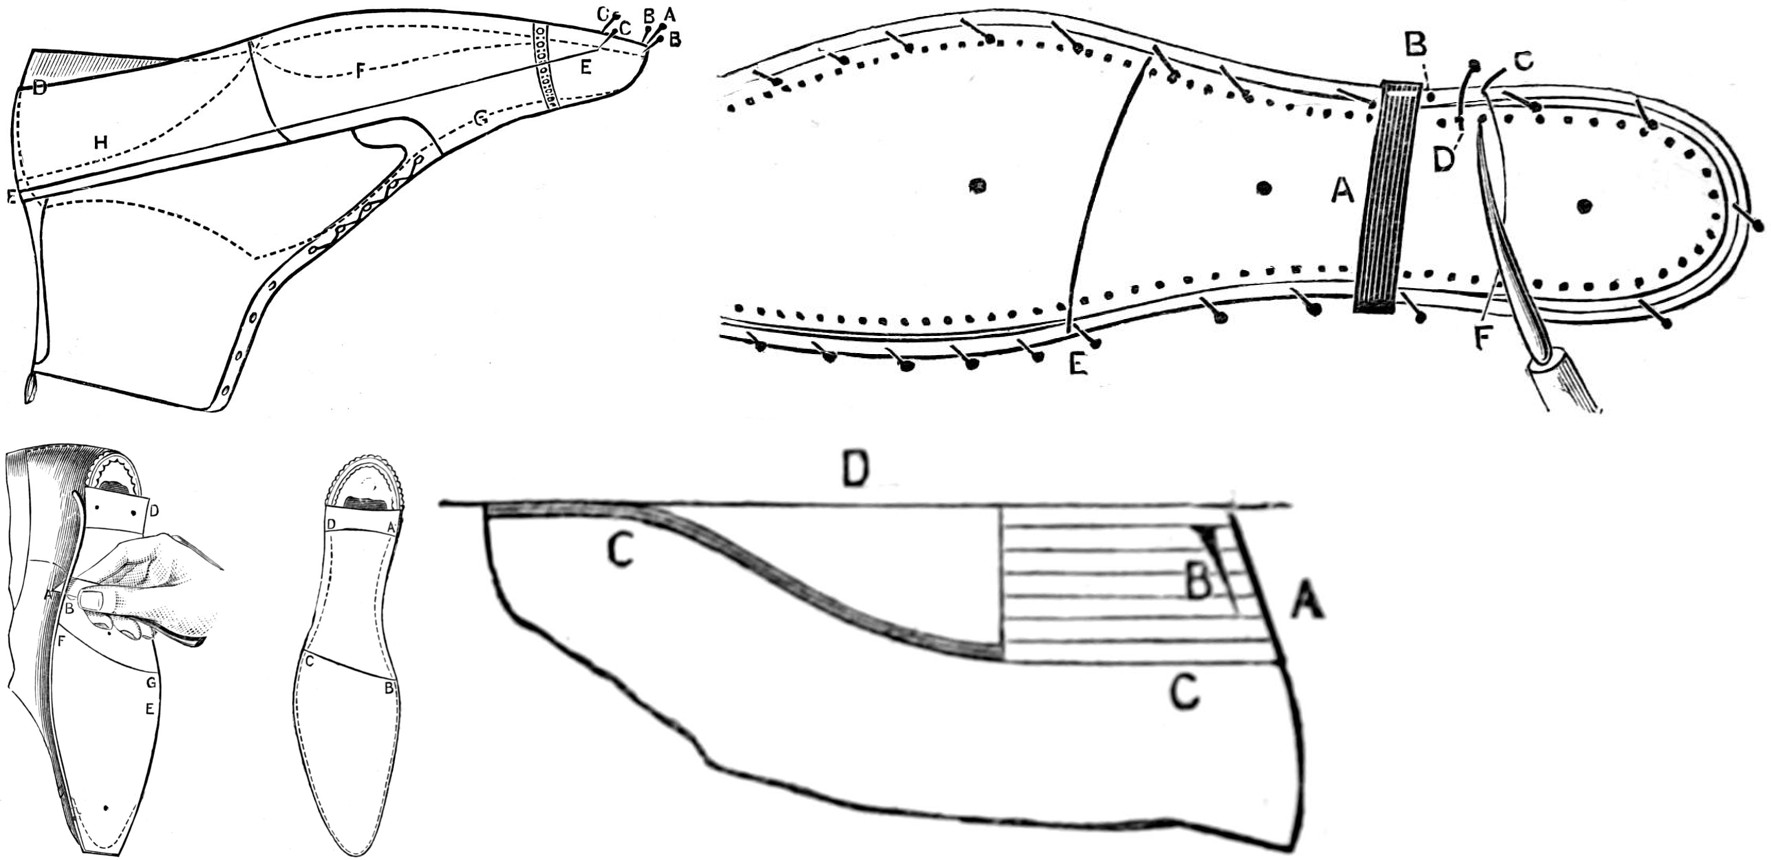
Paste the stiffener on both sides and put it between lining and leather at the back seam. With the last on your knees, pull the upper down at the toe and set the back seam on the centre of the last, covering about two-thirds of it at the back ("horsing"). Draw the toe tight with the pincers and tack at A, then B and B, then the draft tacks C and C, pulling hard to put a draft in. Put the side linings in unpasted and tack D and D, lasting the lining tight. Last the sides till all fulness is gone, knock the heel of the last in, and last waist and seat, less hard. Last the toe last, drawing stuff to the toe and tapping out every pipe and wrinkle with the hammer; never cut V-pieces out of the pipes.

Efni fyrir þetta skref:

StígvélayfirhlutiStígvélayfirhluti1 stykki
HveitilímHveitilím1 stykki
StrekkisaumurStrekkisaumur1 stykki

Nauðsynleg verkfæri:

SkóleisturSkóleistur
StrekkitöngStrekkitöng
KlóhamarKlóhamar
SaumaalurSaumaalur
9

Prepare the welts

Take a fine shaving off the grain side of the wet welts and, if needed, reduce them from the flesh side. Cut an angular piece about ³⁄₁₆ in wide, about two-thirds through, along one corner of the grain side, by pulling the welt past a knife dug into the cutting-board. Choose the width from the notebook.

Efni fyrir þetta skref:

Leðurkantur (welt)Leðurkantur (welt)1 stykki

Nauðsynleg verkfæri:

LeðurhnífurLeðurhnífur
FuruborðFuruborð
10

Make the threads and sew in the welt

Make waxed threads of hemp with cobbler's wax and a bristle at each end, nicely twisted and smooth. Damp the boot over the holes. Starting at the left corner of the seat, toe toward you, held with a strap under your foot over the waist, skive the welt to half its substance for the waist length. Pass the sewing awl through the insole hole and the welt, put both bristles through from opposite sides, pull the stitch through in quick strokes and set it with a hard tightening pull, the thread round the hand leather and the awl handle. Hammer the seam every five or six stitches; wax the ends as you go. Draw each lasting tack as you reach it. Skive the welt again at the other joint, sew to F and cut it off under the last stitch. Trim the surplus upper close to the stitch and hammer the seam down.

Efni fyrir þetta skref:

Leðurkantur (welt)Leðurkantur (welt)1 stykki
HamptrefjarHamptrefjar1 stykki
SkósmíðavaxSkósmíðavax1 stykki
VillisvínshárVillisvínshár1 stykki

Nauðsynleg verkfæri:

SaumaalurSaumaalur
HandleðurHandleður
LeðurólLeðuról
KlóhamarKlóhamar
LeðurhnífurLeðurhnífur
11

Sew the seat

Wax the ends well; use one thread long enough to go right round. Sew the heel seat the same way but with no welt, the stitch lying on the insole one side and on the upper the other. Make very solid stitches, pull the last end through to the insole and tie the two ends in a good knot. Take out the four tacks.

Efni fyrir þetta skref:

HamptrefjarHamptrefjar1 stykki
SkósmíðavaxSkósmíðavax1 stykki
VillisvínshárVillisvínshár1 stykki

Nauðsynleg verkfæri:

SaumaalurSaumaalur
HandleðurHandleður
12

Fill the bottom

Rub chalk on the stitches and tap a piece of felt on the insole to mark its size; paste the insole, lay the felt on, hammer it and trim it level with the welt when dry. Peg a piece of good solid leather in the waist with about four pegs, skived thin at the ends and sides, paste it and cover it with thin split felt; add another layer if the bottom is hollow, until it is level with the welt. Rub in powdered French chalk.

Efni fyrir þetta skref:

UllarþófUllarþóf1 stykki
HveitilímHveitilím1 stykki
AktygjaleðurAktygjaleður1 stykki
TrétapparTrétappar1 stykki
Franskur krít (talkúm)Franskur krít (talkúm)1 stykki

Nauðsynleg verkfæri:

PinnaalurPinnaalur
KlóhamarKlóhamar
LeðurhnífurLeðurhnífur
13

Lay the sole

Wet the sole leather, dry it till just mellow, scrape the grain, flesh the back and hammer it from the centre out. Mark it round to the boot and cut off the spare toe piece. Paste the sole's flesh side and the bottom of the boot, chalk the felt, and fix the sole with sole tacks at the toe, at B and two at C. Tap it all over; for an ordinary waist skive the sole's flesh side at the waist, leaving it thicker next the welt; for riding boots it may be left full (a square waist). Run a blunt bone round between upper and welt to set the welt flat.

Efni fyrir þetta skref:

SólaleðurSólaleður1 stykki
HveitilímHveitilím1 stykki
Franskur krít (talkúm)Franskur krít (talkúm)1 stykki
StrekkisaumurStrekkisaumur1 stykki

Nauðsynleg verkfæri:

LeðurhnífurLeðurhnífur
KlóhamarKlóhamar
KjöltujárnKjöltujárn
Beinbrjótur (falsbein)Beinbrjótur (falsbein)
14

Round up and channel the sole

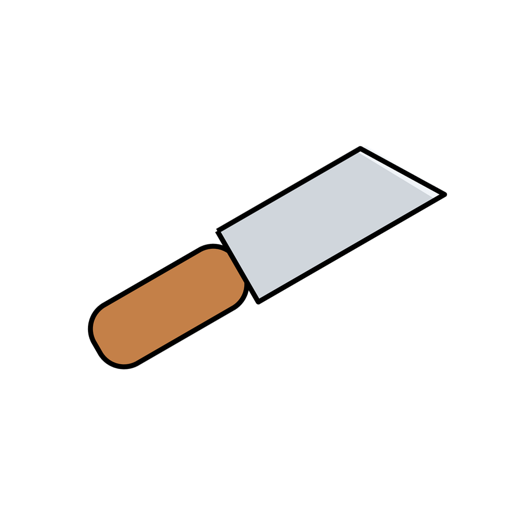
Hold the boot on its side on the knees and pare the sole round to shape with a very sharp knife, the point overhanging the guiding finger only by the sole's thickness, little by little, closer at the toe and wider toward the waist, leaving stuff at the seat; keep the edge even and square. Mark the channel about ¹⁄₁₆ in from the edge in the fore part and about ¼ in in the waist; cut it with the knife at about 50 degrees to the welt, nearly half-way through, and open it with the prick-stitch, throwing the grain back.

Nauðsynleg verkfæri:

LeðurhnífurLeðurhnífur
PassariPassari
SporamerkiSporamerki
15

Stitch the sole

Make the stitching thread of yellow flax waxed with white wax or beeswax, twisted lighter and wiry. Run the fudge wheel round the welt to mark the stitches. With the strap over the waist, thrust the stitching awl through welt and sole into the channel in one quick, straight jerk, never wriggled, and set each stitch the same way. Rub the stitches down with the bone, paste the channel thinly and lay it down with the smooth side of an old file, trim the burr level, damp the sole and rub it down with the long-stick; hammer it all over.

Efni fyrir þetta skref:

LíntvinniLíntvinni1 stykki
BýflugnavaxBýflugnavax1 stykki
VillisvínshárVillisvínshár1 stykki
HveitilímHveitilím1 stykki
VatnVatn1 stykki

Nauðsynleg verkfæri:

KantmerkihjólKantmerkihjól
SólasaumsalurSólasaumsalur
LeðurólLeðuról
Beinbrjótur (falsbein)Beinbrjótur (falsbein)
ÞjalasettÞjalasett
LeðurhnífurLeðurhnífur
NuddstafurNuddstafur
KlóhamarKlóhamar
16

Fit the seat-piece

Cut the seat-piece straight on one edge, file it, paste both pieces, butt the edges, nail at A and peg about five pegs in the seat-piece and two in the sole, about ½ in from the edge. Pare it to shape, overhanging the stitches ¼ in, and take the angle off round for a third or bare half of the thickness. Draw the nail, cut off the peg tops, cut the grain away round them and rasp the top rough.

Efni fyrir þetta skref:

SólaleðurSólaleður1 stykki
HveitilímHveitilím1 stykki
TrétapparTrétappar1 stykki

Nauðsynleg verkfæri:

ÞjalasettÞjalasett
PinnaalurPinnaalur
KlóhamarKlóhamar
LeðurhnífurLeðurhnífur
RaspRasp
17

Make the split-lift and first lifts

Cut a piece of first-cut butt leather about 7 in x 1 in and, wet, split it on the slant into two wedge-shaped strips; bend each round on the lap iron and hammer the puckers flat. Rasp and paste the seat and the split-lift, lay it flush at the back of the seat and peg it, the pegs toward the centre; pare it round. Rough and paste the first whole lift, peg it on with about five pegs, rasp it and trim it; lay the second lift with two ¾ in rivets.

Efni fyrir þetta skref:

SólaleðurSólaleður1 stykki
HveitilímHveitilím1 stykki
TrétapparTrétappar1 stykki
SkósmíðahnoðSkósmíðahnoð1 stykki

Nauðsynleg verkfæri:

LeðurhnífurLeðurhnífur
KjöltujárnKjöltujárn
RaspRasp
PinnaalurPinnaalur
KlóhamarKlóhamar
18

Sew down the heel

Cut a V-groove channel in the top lift. Rub the seat with the bone. With a thread four to six strands stouter than sewing thread and the heel awl dipped in soap, sew the heel down from corner to corner, each stitch passing through the loop of the seat stitch, hammering every few stitches, and knot the last. Pene the heel all round with the pene of the hammer to drive the leather over the stitches, trim the seat with the knife and a metal guard, sweep the seat-breaker round, and smooth the edge with a welt file.

Efni fyrir þetta skref:

HamptrefjarHamptrefjar1 stykki
SkósmíðavaxSkósmíðavax1 stykki
VillisvínshárVillisvínshár1 stykki
SápustykkiSápustykki1 stykki

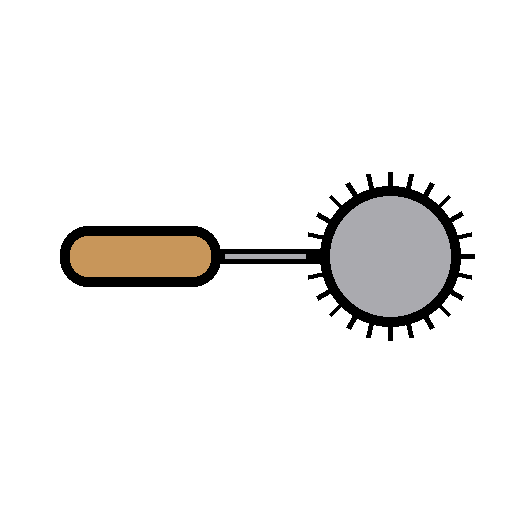
Nauðsynleg verkfæri:

HælalurHælalur
HandleðurHandleður
KlóhamarKlóhamar
Beinbrjótur (falsbein)Beinbrjótur (falsbein)
LeðurhnífurLeðurhnífur
HælsætisskeriHælsætisskeri
ÞjalasettÞjalasett
19

Finish the heel

For a 1¼ in heel add two more lifts and the top piece: rough and paste each, rivet the third lift nearly in the centre, then the last lift, and hold the top piece with headless rivets so it can be rounded. Round it up, longer and squarer on the outside corner; put the remaining rivets in, slanting outward, not near the edge. Check with a straight-edge that the top piece is level with the flat of the sole.

Efni fyrir þetta skref:

SólaleðurSólaleður1 stykki
HveitilímHveitilím1 stykki
SkósmíðahnoðSkósmíðahnoð1 stykki

Nauðsynleg verkfæri:

RaspRasp
KlóhamarKlóhamar
LeðurhnífurLeðurhnífur
20

Knife up, rasp and buff

Round the top piece, then pare the heel all round with the knife, dropping the hand and raising the knife, going round again and again until no bumps can be felt; a piece of horn or bone between upper and seat guards the upper. Knife up the sole edge, rasp it, damp it and scrape it with the buffing knife, keeping it hollow, and sandpaper.

Efni fyrir þetta skref:

SandpappírSandpappír1 stykki
VatnVatn1 stykki

Nauðsynleg verkfæri:

LeðurhnífurLeðurhnífur
RaspRasp
Skafhnífur skósmiðsSkafhnífur skósmiðs
BrýniBrýni
21

Iron, ink and heel-ball

Warm the irons over a spirit lamp, only just warm, wiping each on a rag. Damp the edges and run the forepart, welt, waist and top-piece irons and the seat wheel round, holding each upright and firm. Rub weak ammonia-and-water on the parts to be blacked, then ink them with shoemaker's ink diluted with an equal part of water; when just dry, iron again. Melt heel-ball over the lamp, dab it on the ironed parts and iron it in with the irons a degree cooler, then rub it off with a cloth to a smooth, even gloss. Fudge or prick up the welt.

Efni fyrir þetta skref:

LeðurliturLeðurlitur1 stykki
Þynnt ammoníaklausnÞynnt ammoníaklausn1 stykki
Hælavax (heel ball)Hælavax (heel ball)1 stykki
VatnVatn1 stykki

Nauðsynleg verkfæri:

SpíraprímusSpíraprímus
KantjárnKantjárn
HælsætishjólHælsætishjól
KantmerkihjólKantmerkihjól
22

Take out the last and finish inside

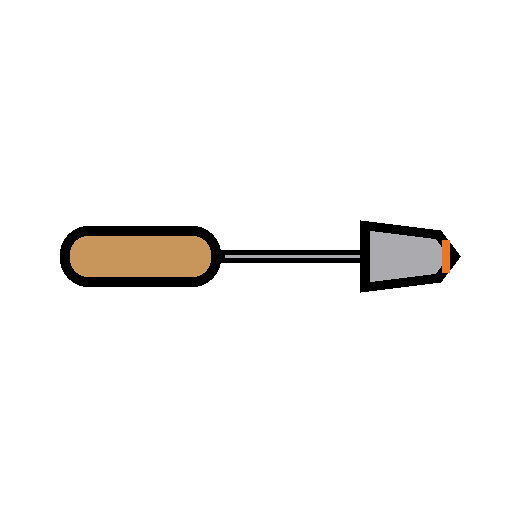
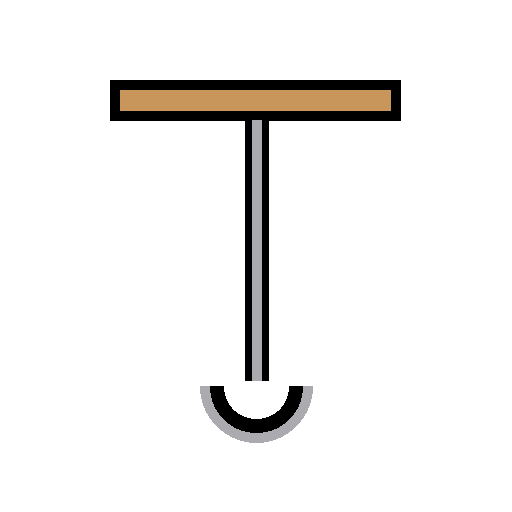
Take out the block screw, hook the last hook into its hole over the heel, put your feet on the handle and pull the boot off. Paste a seat-sock on its wrong side to within ⅛ in of the edge and put it in. Tap the insole feather down lightly on either side with a smooth-headed hammer. A thin coat of weak paste and a first blacking, sleeked with bone while on the last, save trouble in cleaning calf.

Efni fyrir þetta skref:

KálfsleðurKálfsleður1 stykki
HveitilímHveitilím1 stykki

Nauðsynleg verkfæri:

LeistakrókurLeistakrókur
KlóhamarKlóhamar
Beinbrjótur (falsbein)Beinbrjótur (falsbein)
23

Troubleshooting

Welted boot troubleshooting.

Flow

Loading...
24

History and honest limits

From **Boot Making and Mending**, edited by Paul N. Hasluck, Cassell and Company, London, 1898 (Project Gutenberg #78854), chapters IV-VIII. His lasting chapter describes a laced boot; here the upper is the Wellington leg of the previous blueprint. Not made here: the pegged seat and waist, the flexura steel waist spring, riveted work, and the black, buff and white bottom finishes beyond the edges. All sizes are his; the metric figures are ours.

Efni

23

Nauðsynleg verkfæri

30

CC0 opinbert ríki

Þessi teikning er gefin út undir CC0. Þér er frjálst að afrita, breyta, dreifa og nota þetta verk í hvaða tilgangi sem er, án þess að biðja um leyfi.

Studdu smiðinn með því að kaupa vörur í gegnum teikningu hans þar sem hann fær þóknun smiða sem seljendur ákvarða, eða búðu til nýja endurskoðun á þessari teikningu og tengdu hana sem tengingu í þinni eigin teikningu til að deila tekjum.

Umræða

(0)

Skrá inn til að taka þátt í umræðunni

Hleður athugasemdum...