Samvinna
LIST
FEGURÐ OG VELLÍÐAN
HANDVERK
MENNING OG SAGA
SKEMMTUN
UMHVERFI
MATUR OG DRYKKUR
ÖFUGVERKFRÆÐI
VÍSINDI
ÍÞRÓTTIR
TÆKNI
KLÆÐANLEG TÆKNI
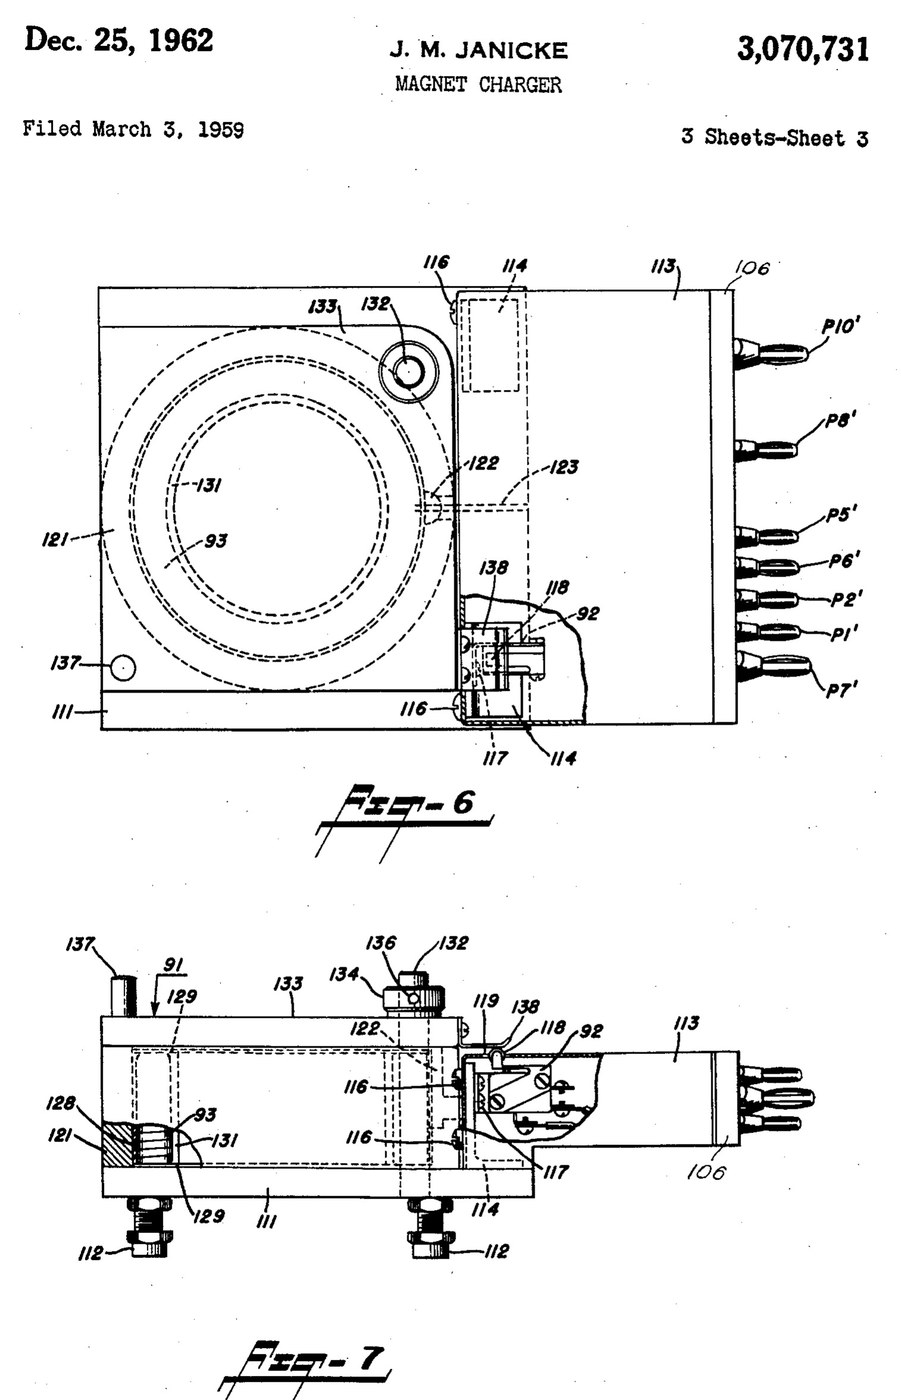


Magnetiser: Capacitor-Discharge Magnet Charger with a Wire-Wound Fixture (Janicke, US 3,070,731, 1962)
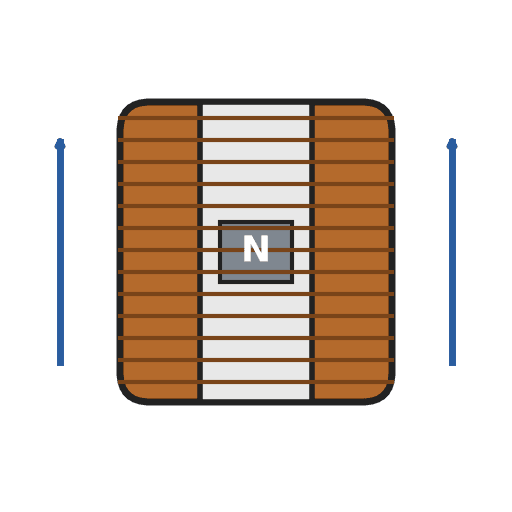
An impulse magnetiser. A capacitor is charged to a high voltage, then an ignitron dumps it all at once through a coil. The magnet sits inside the coil in a closed steel pot, so almost all of the flux goes through it.
Result: a magnet charger that magnetises rods, bars and blocks in one pulse, with an interlocked lid.
Source: J. M. Janicke, US 3,070,731 (1962). Unknown: voltages, capacitance, coil windings, field strength and sizes. Picture: the patent drawing.
Sérfræðingur
Unknown
Leiðbeiningar
1
1
Build the charging supply
Build the charging supply
Feed a line switch from the mains through two fuses, with a pilot lamp. Wire a high-voltage transformer with two primaries, which a high-low switch puts in series or in parallel. Run its centre-tapped secondary to two mercury-vapour rectifier tubes, "or the like", with their own filament transformer, so they charge the energy-storage capacitor. A charging on-off switch with a red lamp switches the high-voltage side. A meter with multiplier resistors across the capacitor shows its voltage. Ours: toggle switches, neon lamps, a moving-coil meter. Not given: any voltage or value.
Efni fyrir þetta skref:
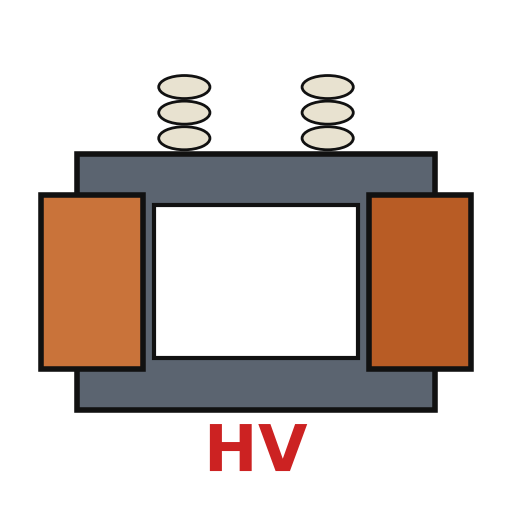 Háspennuspennir1 high-voltage transformer
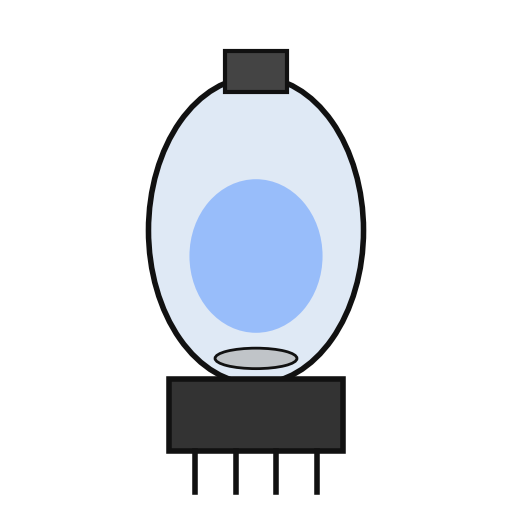 Kvikasilfursgufuafriðilslampi2 rectifier tubes
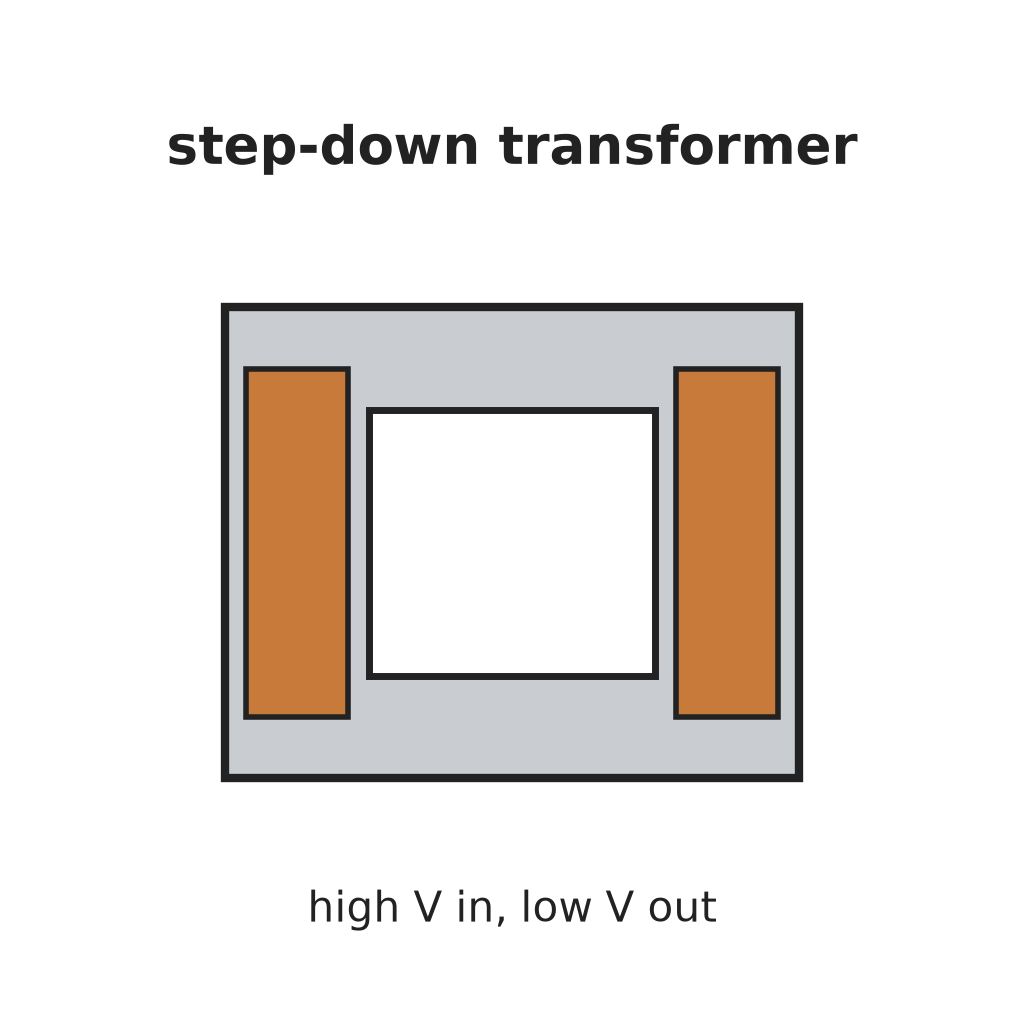 Niðurstigsspennir1 filament transformer
 Orkugeymsluþéttir1 storage capacitor
 Snúningsspólumælir í töflu1 voltage meter
 Óþekkt viðnám2 meter multipliers
 Stangarrofi3 line, charging and high-low switches
 Vartappi2 fuses
 Neonmerkjaljós2 pilot and red lamps
Nauðsynleg verkfæri:
 Lóðbolti
 Vírstrípari
2
2
Add the delay and the bleeder
Add the delay and the bleeder
Put a thermal time-delay relay before the charging switch: about thirty seconds after switch-on it energises a control relay, which feeds the charging switch and holds itself on. A third contact of the control relay lifts a bleeder resistor off the capacitor while the charger runs. When the charger is shut down the relay drops out and the bleeder drains the dangerous high-voltage charge from the capacitor.
Efni fyrir þetta skref:
 Tímaliði1 thermal delay relay
 Liðari1 control relay, three contact setsÓþekkt viðnám1 bleeder resistor
Nauðsynleg verkfæri:
LóðboltiVírstrípari3
3
Fit the ignitron firing circuit
Fit the ignitron firing circuit
Put an ignitron in the discharge path of the storage capacitor, as its switch. The meter's multiplier resistors also form a divider that charges a small firing capacitor. Pressing the push button discharges the firing capacitor through a small limiting resistor into the ignitron's igniter, and the ignitron conducts. Not given: the firing capacitor's type and value.
Efni fyrir þetta skref:
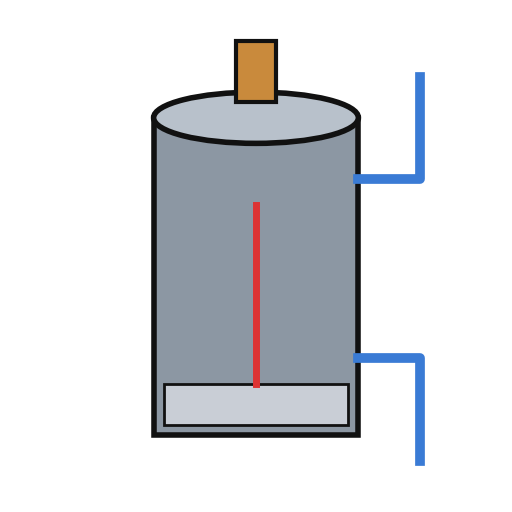 Ignitron1 discharge switch
 Óþekktur efniviður1 firing capacitorÓþekkt viðnám1 limiting resistor
 Þrýstihnappur1 charge button
Nauðsynleg verkfæri:
LóðboltiVírstrípari4
4
Build the wire-wound fixture
Build the wire-wound fixture
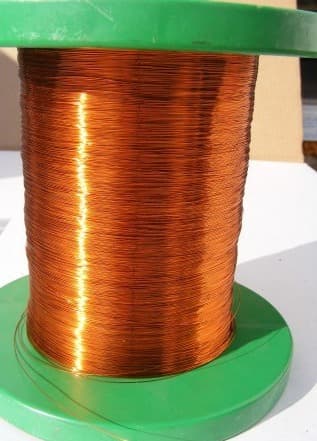
Weld a hollow cylindrical shell onto a base plate on levelling legs, both of magnetic material, to make a pot. Cut slots through the shell and the base plate so they cannot act as a shorted single-turn winding. Set the coil inside the shell in potting compound, with ring-shaped end pieces and a hollow cylindrical core in it. Hinge a square magnetic cover on a post beside the shell, held by a collar and set screw, with a handle. An L-shaped plate on the cover closes a switch in the igniter circuit only when the cover is shut. Wire the coil between the storage capacitor and the ignitron anode. Ours: mild steel, enamelled copper wire, casting epoxy. Not given: sizes, turns.
Efni fyrir þetta skref:
 Plata úr mjúku stáli1 base plate and cover
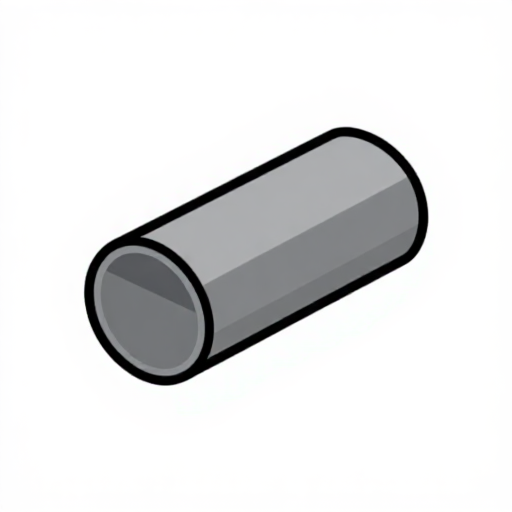 Hringpípa úr mildu stáli1 shell
 Lakkeinangraður koparvír1 coil
 Svart steypuepoxý1 potting compound
 Óþekktur málmur1 end pieces, core, post, legs
 Smárofi (stangarvirkur)1 lid interlock switch
Nauðsynleg verkfæri:
 Ljósbogasuðuvél
 Súlubor
 Skrúfjárnasett
 Óþekkt mál
5
5
Charge a magnet
Charge a magnet
Put the magnet inside the core. Fill most of the air gap between it and the base plate and cover with soft iron, but leave a small gap near the cover, or the cover will be hard to swing open afterwards. Lay insulating material about 1/16 inch thick on top of the magnet. Close the cover, which arms the igniter switch, charge the capacitor, and press the button: one pulse magnetises it. Ours: wrought iron for the soft iron.
Nauðsynleg verkfæri:
 Smíðajárnsstöng
 Óþekkt einangrunarefni
Efni
20- 1 high-voltage transformerStaðgengill
- 2 rectifier tubesStaðgengill
- 1 filament transformerStaðgengill
- 1 storage capacitorStaðgengill
- 1 voltage meterStaðgengill
- 1 limiting resistorStaðgengill
- Stangarrofi10% þóknun3 line, charging and high-low switchesMagento Legacy Storeships internationallyfrá$3.53
- 2 fusesStaðgengill
- 2 pilot and red lampsStaðgengill
- 1 thermal delay relayStaðgengill
- 1 control relay, three contact setsStaðgengill
- 1 discharge switchStaðgengill
- 1 firing capacitorStaðgengill
- frá$0.51
- 1 base plate and coverStaðgengill
- 1 shellStaðgengill
- 1 coilStaðgengill
- 1 potting compoundStaðgengill
- 1 end pieces, core, post, legsStaðgengill
- 1 lid interlock switchStaðgengill
Efni úr tengdum teikningum


Þessi teikning býr til
CC0 opinbert ríki
Þessi teikning er gefin út undir CC0. Þér er frjálst að afrita, breyta, dreifa og nota þetta verk í hvaða tilgangi sem er, án þess að biðja um leyfi.
Studdu smiðinn með því að kaupa vörur í gegnum teikningu hans þar sem hann fær þóknun smiða sem seljendur ákvarða, eða búðu til nýja endurskoðun á þessari teikningu og tengdu hana sem tengingu í þinni eigin teikningu til að deila tekjum.