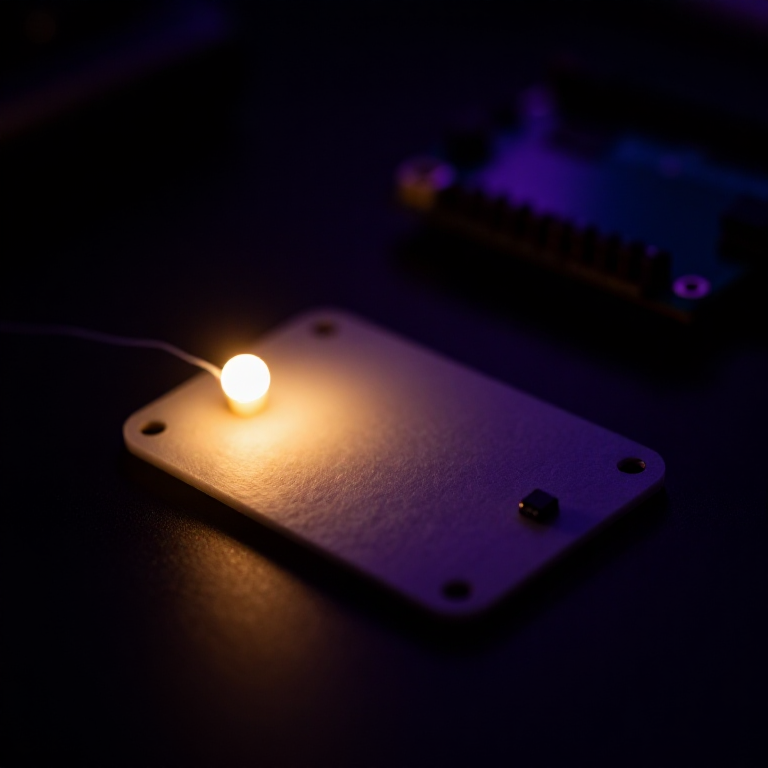


Making a LilyPad Night-Light
Give your fabric a sense of sight. A LilyPad light sensor tells the microcontroller how bright the room is, and a short program switches an LED on when it gets dark. Sew it into a bag, a hat or a bedside patch for a soft glow that only appears at night — your first sensor-driven wearable.
Leiðbeiningar
Sew the board, sensor and LED
Sew the board, sensor and LED
Sew a LilyPad Arduino, a LilyPad light sensor and a LilyPad LED onto felt. Wire it: the LED's + tab to pin 5 and its - tab to -; the sensor's + tab to the board's +, its - tab to -, and its signal (S) tab to analog pin A2. Keep the power (+), ground (-) and signal lines from crossing anywhere.
Efni fyrir þetta skref:
 LilyPad Arduino Simple Board1 piece
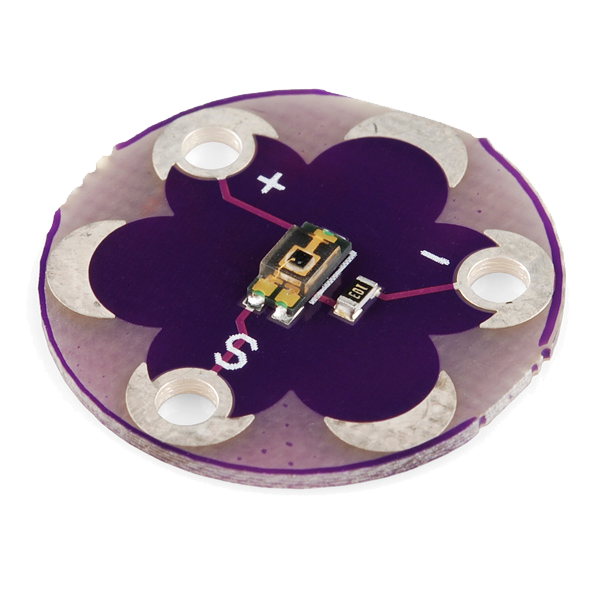 LilyPad Light Sensor1 piece
 LilyPad LED - 5 pcs1 pack
 Conductive Thread - 60g (Stainless Steel)1 spool
 Hand Sewing Needles (Assorted, 30-Pack)1 pack
 Wool Felt Sheet1 sheet
Connect the programmer
Connect the programmer
Plug the LilyPad FTDI onto the programming header and connect the USB cable to your computer. Open the Arduino IDE and select the LilyPad Arduino board and its serial port.
Efni fyrir þetta skref:
 LilyPad FTDI Basic Breakout - 5V1 piece
 SparkFun Cerberus USB Cable - 1.8 meter1 piece
Nauðsynleg verkfæri:
 Computer with Arduino IDE
Upload the night-light sketch
Upload the night-light sketch
Paste this sketch and click Upload. It reads the light sensor and turns the LED on whenever the room is darker than the threshold.
Calibrate the threshold
Calibrate the threshold
Cover the sensor with your hand — the LED should come on; in a bright room it should stay off. If it triggers too early or too late, change the threshold number in the sketch and re-upload: higher turns it on in more light, lower waits for darker.
Go wireless and wear it
Go wireless and wear it
Unplug the FTDI, sew a LilyPad coin-cell holder to the board (+ to +, - to -), drop in a CR2032 and switch on. Sew the felt onto a bag, hat or cushion — it now glows on its own whenever the light drops.
Efni fyrir þetta skref:
 LilyPad Coin Cell Battery Holder - w/Switch - 20mm1 piece
 CR2032 Coin Cell Battery1 piece
Efni
10- 1 piece$20.00
- 1 piece$8.00
- 1 pack$5.00
- $40.00
- Staðgengill
- 1 sheetStaðgengill
- $14.00
- $6.00
- 1 pieceStaðgengill
Nauðsynleg verkfæri
1- Staðgengill
Tengd Blueprint
Þessi blueprint deila þekkingu — tækni, efni eða meginreglur
Related blueprints
Other builds that share materials, tools, or techniques with this one.

CC0 opinbert ríki
Þessi teikning er gefin út undir CC0. Þér er frjálst að afrita, breyta, dreifa og nota þetta verk í hvaða tilgangi sem er, án þess að biðja um leyfi.
Studdu smiðinn með því að kaupa vörur í gegnum teikningu hans þar sem hann fær þóknun smiða sem seljendur ákvarða, eða búðu til nýja endurskoðun á þessari teikningu og tengdu hana sem tengingu í þinni eigin teikningu til að deila tekjum.