LIST
FEGURÐ OG VELLÍÐAN
HANDVERK
MENNING OG SAGA
SKEMMTUN
UMHVERFI
MATUR OG DRYKKUR
ÖFUGVERKFRÆÐI
VÍSINDI
ÍÞRÓTTIR
TÆKNI
KLÆÐANLEG TÆKNI
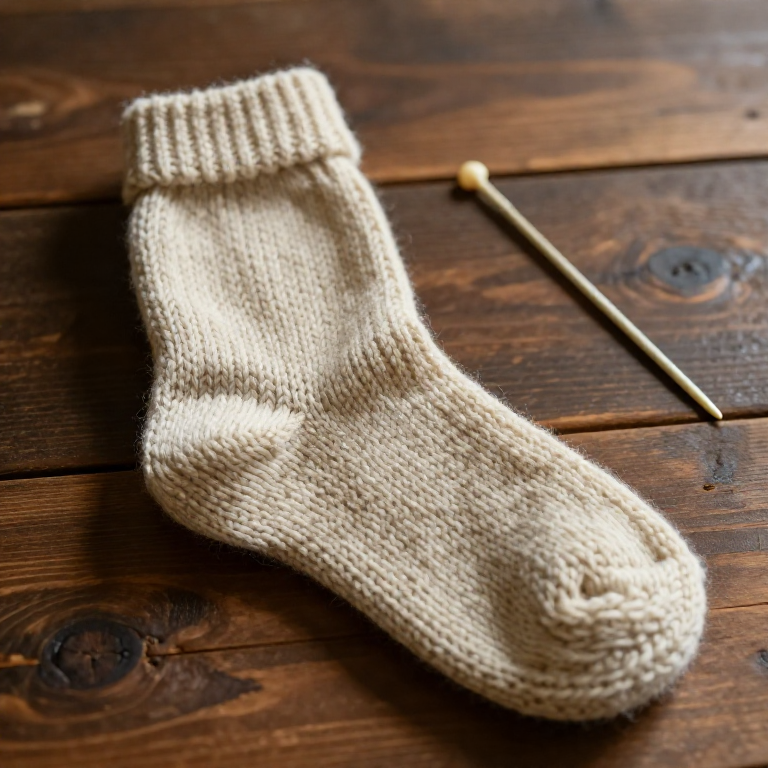


Nalbinding a Wool Sock in the Oslo Stitch — The Looped Fabric Before Knitting
Long before knitting, people made warm, hard-wearing socks and mittens by nalbinding — looping short lengths of wool with a single flat needle. Unlike knitting, which pulls loops through loops with two rods and can unravel, nalbinding passes the whole working thread through each stitch, giving a dense, felt-firm fabric that will not run. This blueprint works the simple Oslo stitch into a tube for a sock or mitten, joining new wool with a felted splice rather than a knot — exactly as the Vikings did.
Miðlungs
4
Leiðbeiningar
1
1
Cut a short working length
Cut a short working length
Cut about an arm's length of wool yarn — not a whole ball. In nalbinding the entire length is pulled through every stitch, so you work with short pieces and splice on more as needed.
Efni fyrir þetta skref:
 Ullarbandshespa1 stykki
Nauðsynleg verkfæri:
 Skæri
Skæri2
2
Thread the flat needle
Thread the flat needle
Thread the yarn through the eye of the flat nalbinding needle. The needle is broad, blunt and eyed at one end — bone, antler or wood — and never has a hook.
Nauðsynleg verkfæri:
 Nálbindingarnál
3
3
Make the foundation loops
Make the foundation loops
Loop the yarn around your thumb and make a short chain of starting loops. These foundation loops are the base row that every following stitch will anchor into.
Nauðsynleg verkfæri:
Nálbindingarnál4
4
Work the Oslo stitch
Work the Oslo stitch
Pass the needle under the thumb loop and up through the working loop to form the Oslo stitch — the simplest nalbinding stitch. Draw each stitch snug and even, building the first row.
Nauðsynleg verkfæri:
Nálbindingarnál5
5
Join into a round
Join into a round
For a sock or mitten, connect the ends of the first row into a ring by stitching the last stitch into the first, so you can then work round and round to form a tube.
Nauðsynleg verkfæri:
Nálbindingarnál6
6
Work in a spiral
Work in a spiral
Continue in a spiral, anchoring each new Oslo stitch into the loop of the row below. Keep the tension steady so the tube grows even in width — this becomes the leg of the sock.
Nauðsynleg verkfæri:
Nálbindingarnál7
7
Splice in new yarn
Splice in new yarn
When the length runs short, join a new piece with a felted splice, not a knot: untwist and overlap the two wool ends, wet them, and roll them briskly between your palms until the fibres felt into one continuous thread.
Efni fyrir þetta skref:
Ullarbandshespa1 stykkiNauðsynleg verkfæri:
Nálbindingarnál8
8
Shape the tube
Shape the tube
Increase by working two stitches into one loop and decrease by skipping a loop, shaping the tube — narrowing for an ankle, turning a heel, or rounding a mitten — as the piece requires.
Nauðsynleg verkfæri:
Nálbindingarnál9
9
Close the toe
Close the toe
At the end, decrease steadily until only a few loops remain, then pass the needle through them and draw them tight to close the toe or mitten tip.
Nauðsynleg verkfæri:
Nálbindingarnál10
10
Secure and trim the tail
Secure and trim the tail
Weave the final yarn tail back through several stitches on the inside to lock it, then trim it flush. Because the fabric is looped, not knitted, it cannot unravel from the cut end.
Nauðsynleg verkfæri:
NálbindingarnálSkæriEfni
1- 1 stykkiStaðgengill
Efni úr tengdum teikningum
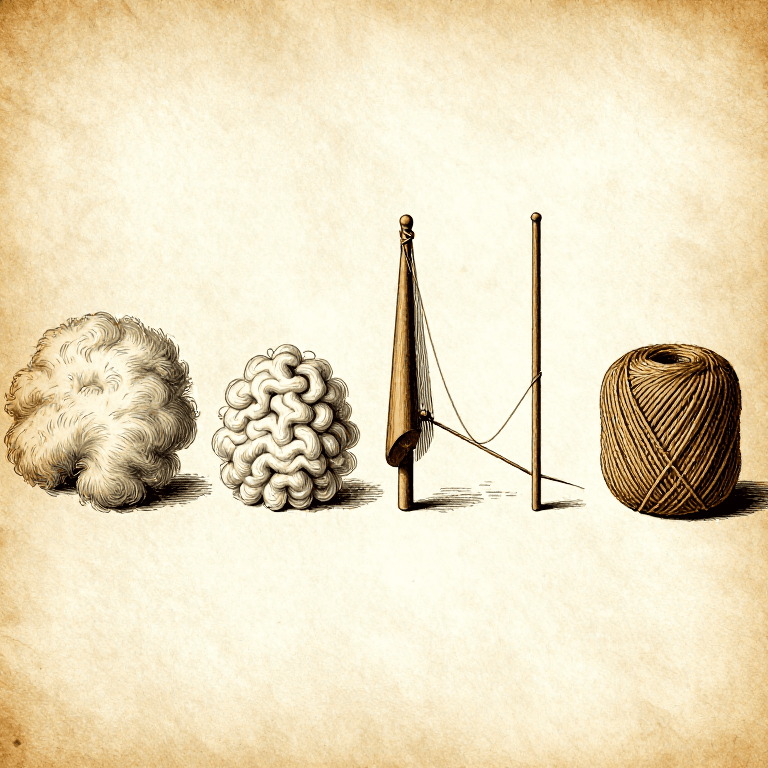
Þessi teikning býr til
Tengd Blueprint
Þessi blueprint deila þekkingu — tækni, efni eða meginreglur
CC0 opinbert ríki
Þessi teikning er gefin út undir CC0. Þér er frjálst að afrita, breyta, dreifa og nota þetta verk í hvaða tilgangi sem er, án þess að biðja um leyfi.
Studdu smiðinn með því að kaupa vörur í gegnum teikningu hans þar sem hann fær þóknun smiða sem seljendur ákvarða, eða búðu til nýja endurskoðun á þessari teikningu og tengdu hana sem tengingu í þinni eigin teikningu til að deila tekjum.