
Búðu til miðaldastöng snúðu fyrir grænt trésnúðu
Leiðbeiningar
Build a Strong Horizontal Beam for the Lathe Bed
Build a Strong Horizontal Beam for the Lathe Bed
Efni fyrir þetta skref:
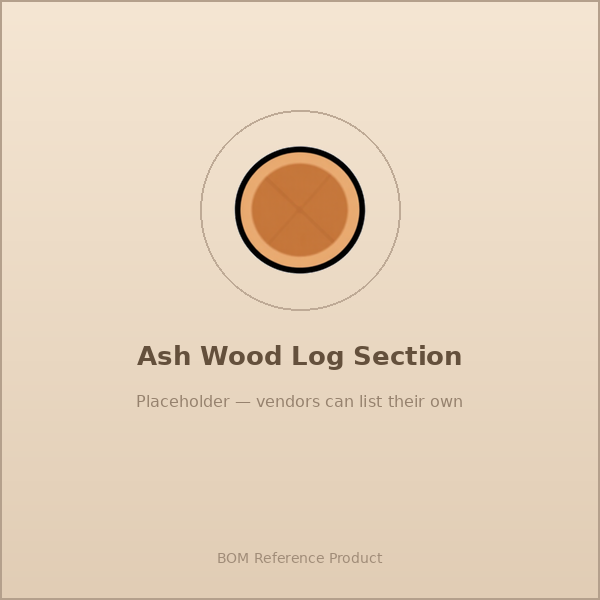 Ash Wood Log Section1 piece
Add Two Vertical Stands and a Top Rail
Add Two Vertical Stands and a Top Rail
Nauðsynleg verkfæri:
 Axe
Axe Hatchet
Install the Pole Lathe Drive System
Install the Pole Lathe Drive System
Create Support Centers
Create Support Centers
Efni fyrir þetta skref:
 Hardwood Logs (Oak, Maple, Beech)1 piece
Nauðsynleg verkfæri:
 Splitting Axe
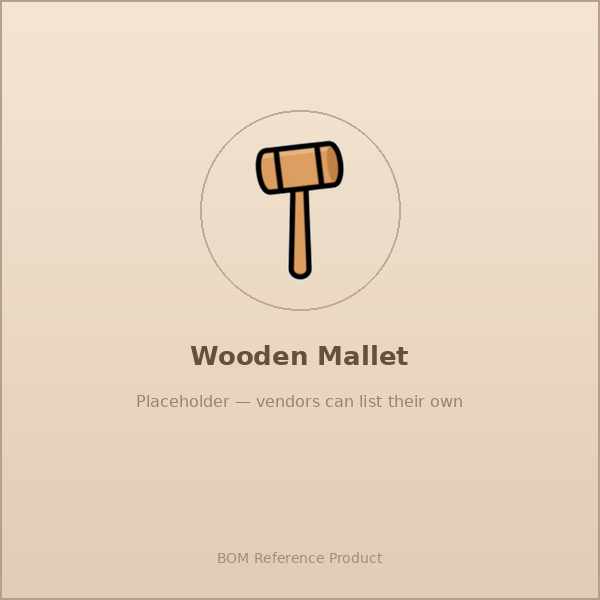 Wooden Mallet
Set Up the Chuck
Set Up the Chuck
Nauðsynleg verkfæri:
 Drawknife
Test the Drive Connection
Test the Drive Connection
Nauðsynleg verkfæri:
 Earth Auger
Install a Tool Holder
Install a Tool Holder
Efni fyrir þetta skref:
Hardwood Logs (Oak, Maple, Beech)2 pieceNauðsynleg verkfæri:
AxeDrawknife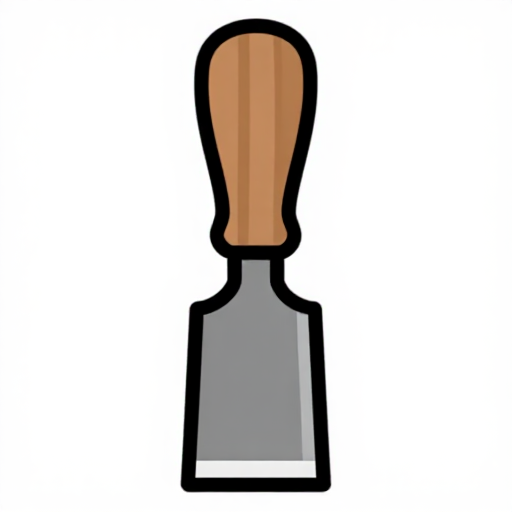 Chisel SetWooden Mallet
Set Up the First Workpiece
Set Up the First Workpiece
Efni fyrir þetta skref:
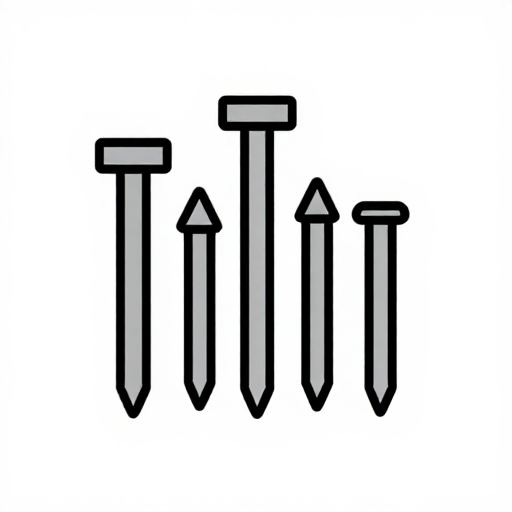 Nails2 piece
Nauðsynleg verkfæri:
Wooden Mallet Metal File
Secure the Workpiece
Secure the Workpiece
Efni fyrir þetta skref:
Hardwood Logs (Oak, Maple, Beech)4 pieceNauðsynleg verkfæri:
AxeDrawknifeTest Rotation
Test Rotation
Nauðsynleg verkfæri:
Chisel SetWooden MalletEarth AugerBegin Rounding
Begin Rounding
Efni fyrir þetta skref:
 Wooden Felling Wedge8 piece
Nauðsynleg verkfæri:
Wooden MalletAdjust Across the Downstroke
Adjust Across the Downstroke
Efni fyrir þetta skref:
Ash Wood Log Section2 pieceNauðsynleg verkfæri:
Chisel SetWooden MalletEarth AugerFinish the Smooth Surface
Finish the Smooth Surface
Efni fyrir þetta skref:
 Ash Board (1x4x24 inches)1 piece
Nauðsynleg verkfæri:
Drawknife Crosscut Saw
Remove and Clean the Workpiece
Remove and Clean the Workpiece
Efni fyrir þetta skref:
 Dowel Rod1 piece
Nauðsynleg verkfæri:
Earth AugerTest Final Quality
Test Final Quality
Efni fyrir þetta skref:
 Hemp Cord3 metre
Nauðsynleg verkfæri:
 Knife
KnifeBegin the Drying Process
Begin the Drying Process
Efni fyrir þetta skref:
 Binding Rope2 metre
Nauðsynleg verkfæri:
Wooden MalletApply Optional Finishing Techniques
Apply Optional Finishing Techniques
Nauðsynleg verkfæri:
Earth AugerPrepare the Lathe for the Next Project
Prepare the Lathe for the Next Project
Nauðsynleg verkfæri:
Wooden MalletKnifeRefine Your Skills
Refine Your Skills
Maintain Tool Sharpness
Maintain Tool Sharpness
Explore Design Variations
Explore Design Variations
Nauðsynleg verkfæri:
 Gouge
GougeEfni
8- 1 sapling 3-4m + 1 log for stretchers pieceStaðgengill
- 2-3 logs for rails, poppets, legs pieceStaðgengill
- 2-3 wedges pieceStaðgengill
- 1 plank for treadle pieceStaðgengill
- 2-3 metres for pole mounting pieceStaðgengill
Nauðsynleg verkfæri
11- Staðgengill
- Staðgengill
- Staðgengill
- Staðgengill
- Staðgengill
- Staðgengill
CC0 opinbert ríki
Þessi teikning er gefin út undir CC0. Þér er frjálst að afrita, breyta, dreifa og nota þetta verk í hvaða tilgangi sem er, án þess að biðja um leyfi.
Studdu smiðinn með því að kaupa vörur í gegnum teikningu hans þar sem hann fær þóknun smiða sem seljendur ákvarða, eða búðu til nýja endurskoðun á þessari teikningu og tengdu hana sem tengingu í þinni eigin teikningu til að deila tekjum.