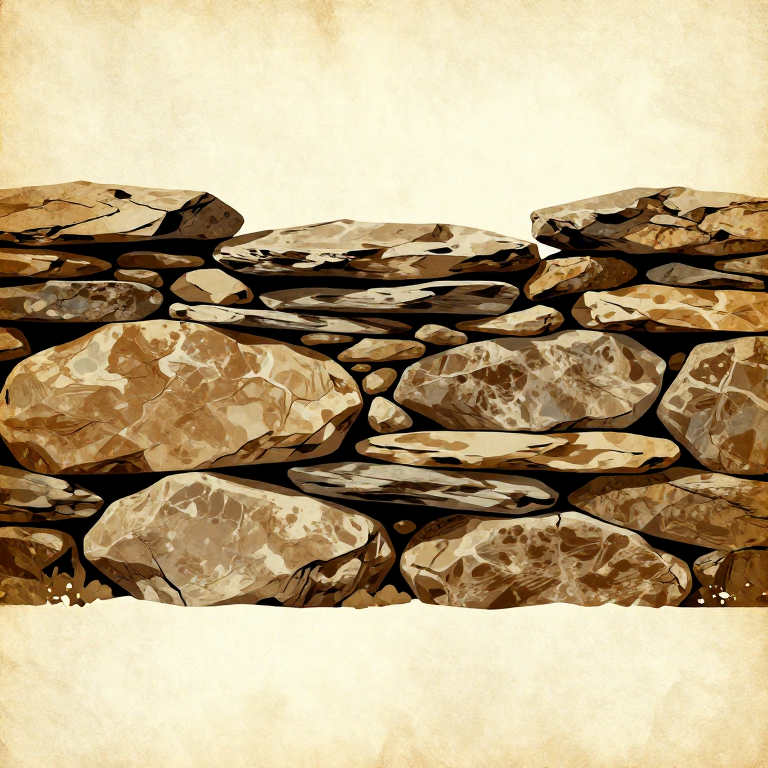
Building a Dry Stone Wall — Neolithic Mortarless Construction
Leiðbeiningar
Select and Sort Building Stones
Select and Sort Building Stones
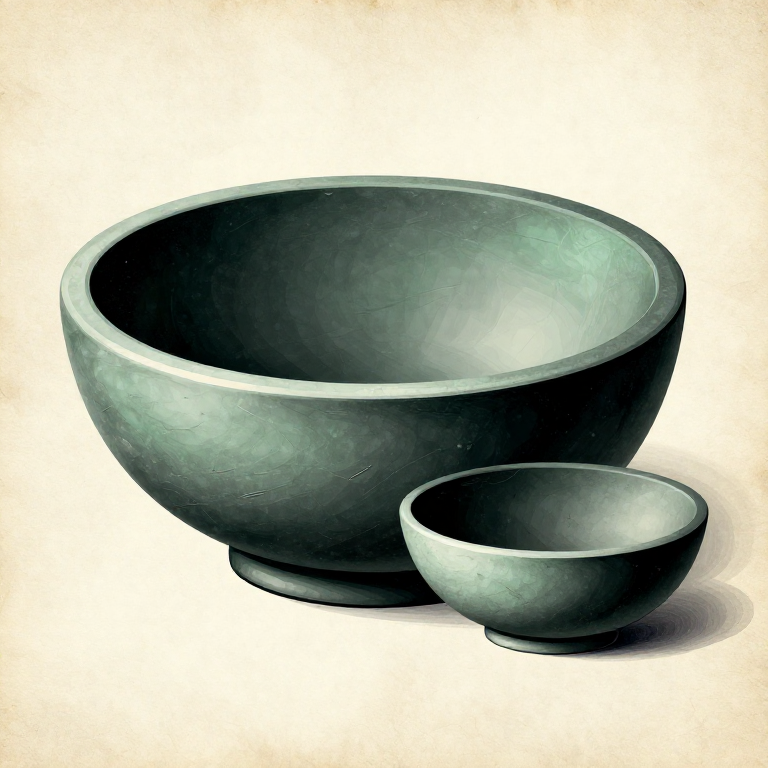
Efni fyrir þetta skref:
 Large Flat-Faced Stones80 piece
 Small Irregular Stones100 piece
 Through-Stones12 piece
Mark and Excavate the Foundation Trench
Mark and Excavate the Foundation Trench
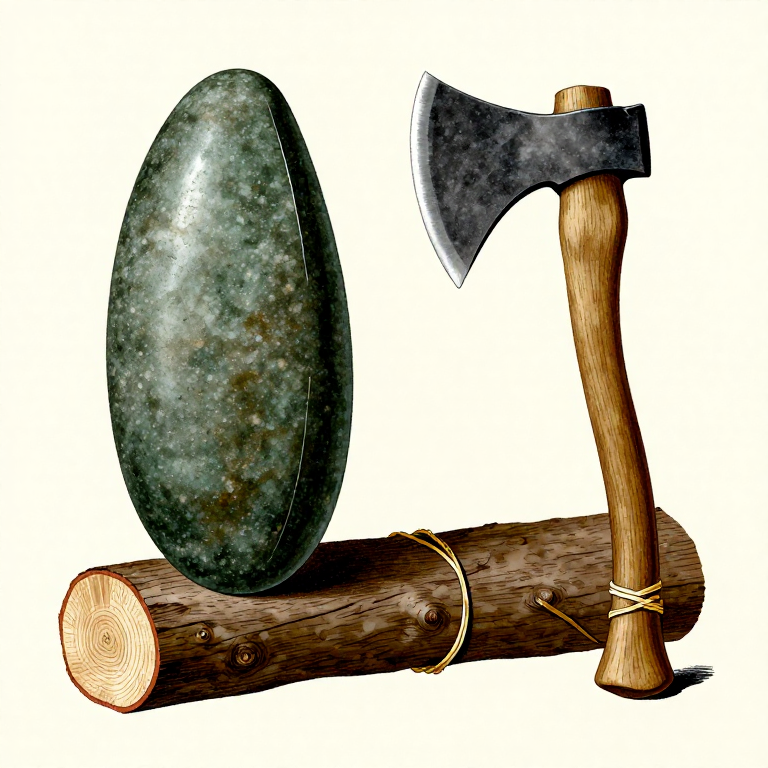
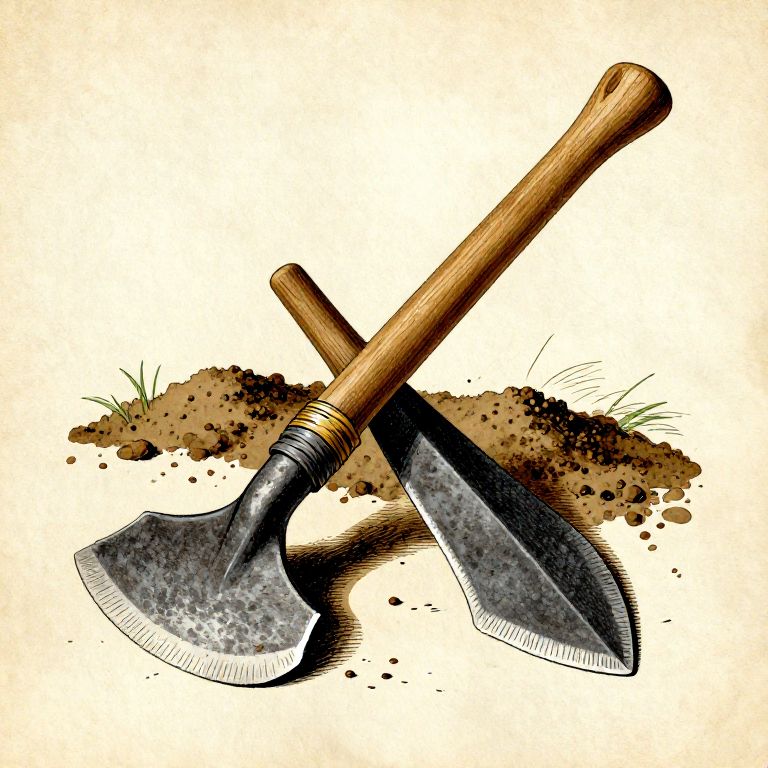
Nauðsynleg verkfæri:
 Hardwood Sapling
 Cordage
Lay the Foundation Course
Lay the Foundation Course
Efni fyrir þetta skref:
Large Flat-Faced Stones20 pieceNauðsynleg verkfæri:
 Hammerstone
Build the First Outer Face Course
Build the First Outer Face Course
Efni fyrir þetta skref:
Large Flat-Faced Stones15 pieceFill the Centre with Hearting Stones
Fill the Centre with Hearting Stones
Efni fyrir þetta skref:
Small Irregular Stones25 pieceContinue Building Courses with Batter
Continue Building Courses with Batter
Efni fyrir þetta skref:
Large Flat-Faced Stones30 pieceSmall Irregular Stones40 pieceNauðsynleg verkfæri:
Hardwood SaplingEnsure Every Stone Bears on Two Below
Ensure Every Stone Bears on Two Below
Place the First Row of Through-Stones
Place the First Row of Through-Stones
Efni fyrir þetta skref:
Through-Stones6 pieceContinue Courses to Working Height
Continue Courses to Working Height
Efni fyrir þetta skref:
Large Flat-Faced Stones15 pieceSmall Irregular Stones35 pieceThrough-Stones6 pieceLevel the Top Course for Capstones
Level the Top Course for Capstones
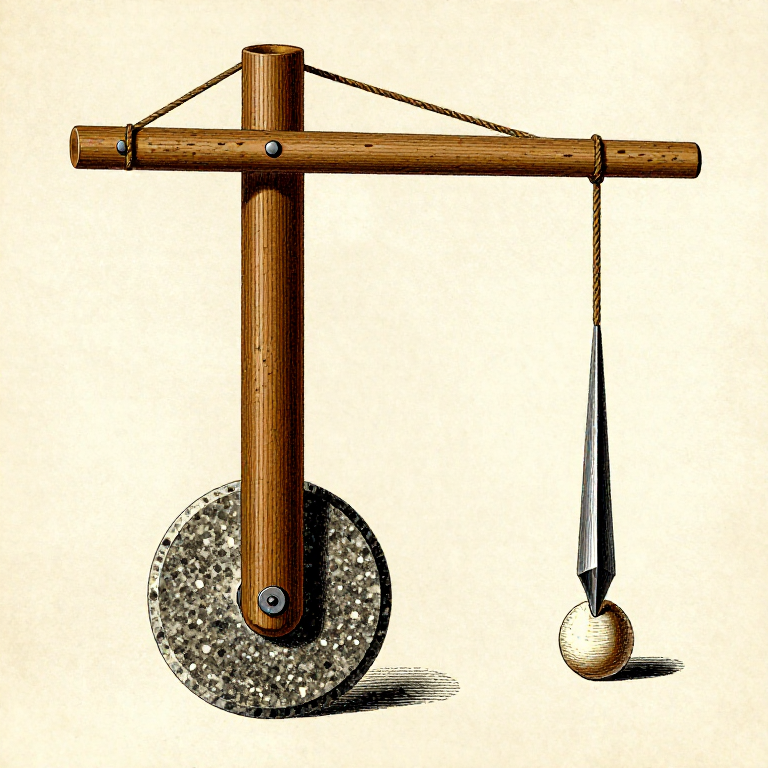
Nauðsynleg verkfæri:
HammerstonePlace Capstones Along the Top
Place Capstones Along the Top
Efni fyrir þetta skref:
 Capstones10 piece
Pack Final Hearting Under Capstones
Pack Final Hearting Under Capstones
Efni fyrir þetta skref:
Small Irregular Stones10 pieceNauðsynleg verkfæri:
HammerstoneInspect and Tighten the Entire Wall
Inspect and Tighten the Entire Wall
Nauðsynleg verkfæri:
HammerstoneBuild Wall Ends with Quoin Stones
Build Wall Ends with Quoin Stones
Efni fyrir þetta skref:
Large Flat-Faced Stones8 pieceMaintenance and Repair Over Time
Maintenance and Repair Over Time
Efni
4- 168 pieceStaðgengill
- 210 pieceStaðgengill
- 24 pieceStaðgengill
Efni úr tengdum teikningum
You might also need
Materials makers commonly use alongside this build.


Tengd Blueprint
Þessi blueprint deila þekkingu — tækni, efni eða meginreglur
Related blueprints
Other builds that share materials, tools, or techniques with this one.


CC0 opinbert ríki
Þessi teikning er gefin út undir CC0. Þér er frjálst að afrita, breyta, dreifa og nota þetta verk í hvaða tilgangi sem er, án þess að biðja um leyfi.
Studdu smiðinn með því að kaupa vörur í gegnum teikningu hans þar sem hann fær þóknun smiða sem seljendur ákvarða, eða búðu til nýja endurskoðun á þessari teikningu og tengdu hana sem tengingu í þinni eigin teikningu til að deila tekjum.