LIST
FEGURÐ OG VELLÍÐAN
HANDVERK
MENNING OG SAGA
SKEMMTUN
UMHVERFI
MATUR OG DRYKKUR
ÖFUGVERKFRÆÐI
VÍSINDI
ÍÞRÓTTIR
TÆKNI
KLÆÐANLEG TÆKNI
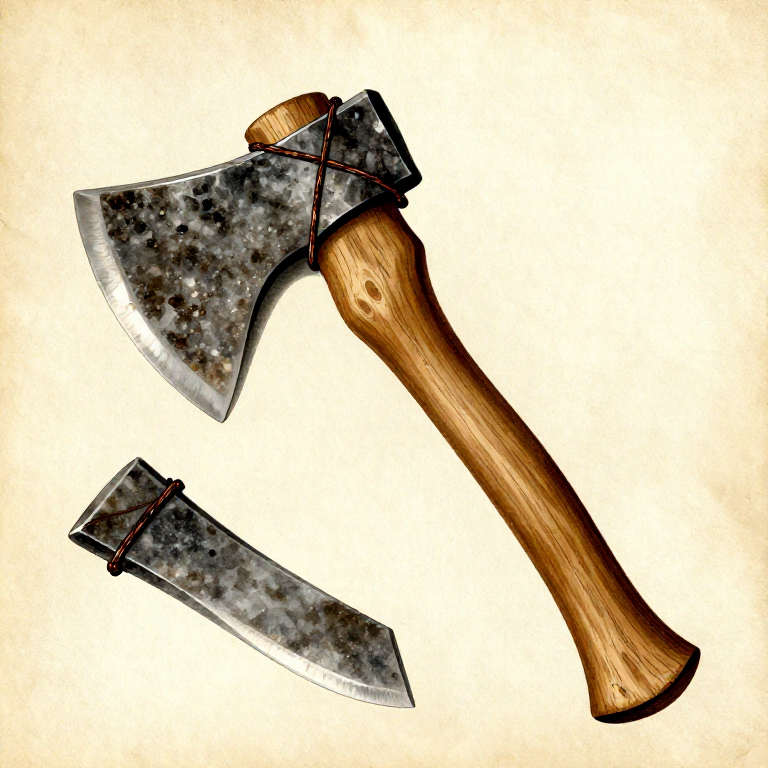
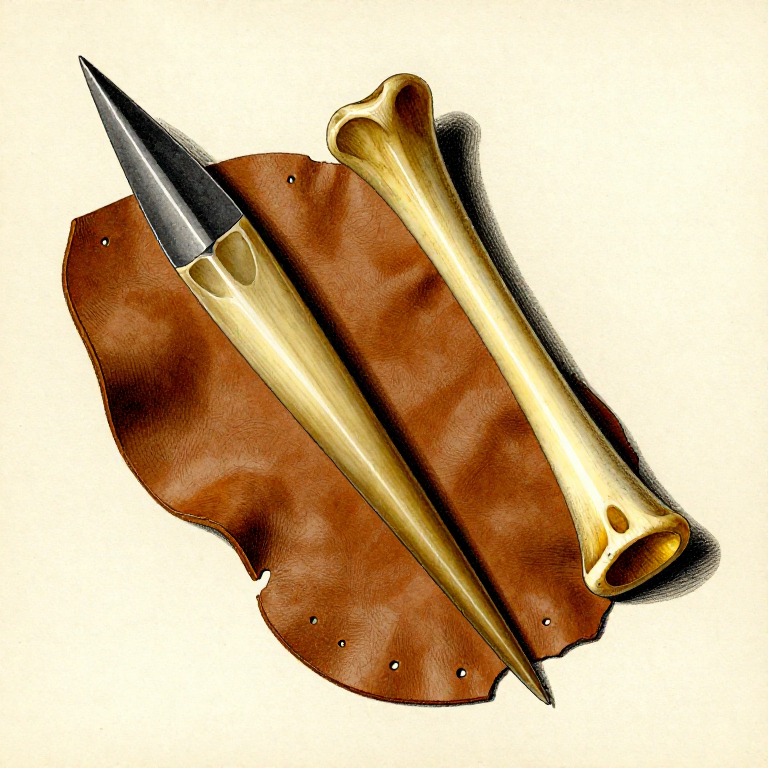
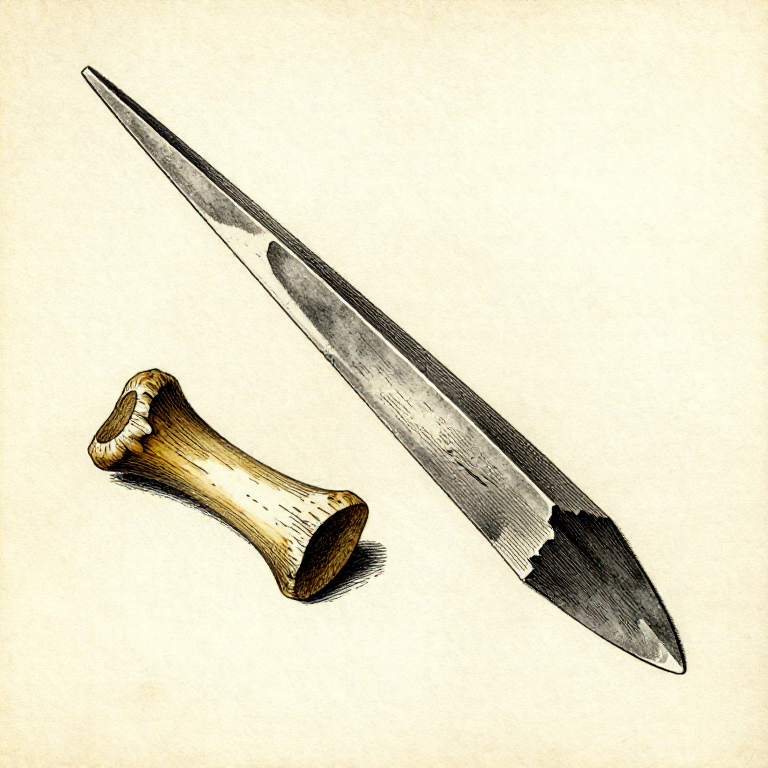
Hafting Stone Tools — Attaching Blades to Handles with Pitch and Sinew
Hafting — the act of attaching a stone tool head to a wooden handle — is one of the most consequential innovations in human tool-making history, with evidence dating back at least 200,000 years in Africa and 300,000 years in Europe. A hand-held stone blade can only exert force through the strength of the user's grip, but a hafted tool multiplies force through leverage: a stone axe head on a 50 cm handle delivers several times the impact of the same head held in the fist. Hafting also enables new tool categories — spears, adzes, picks, and composite projectiles — that are impossible without a secure tool-to-handle joint. The technique relies on a combination of two complementary binding systems: pine pitch adhesive (a thermoplastic resin that flows when warm and sets rigid when cool) and sinew wrapping (which shrinks by 10 to 15 percent as it dries, generating compressive force). Together they create a joint that is rigid under impact yet slightly flexible under sustained load, preventing the brittle stone head from shattering on hard strikes. This blueprint teaches the fundamental hafting technique applicable to axes, adzes, scrapers, and other stone tools.
Miðlungs
2-3 hours
Leiðbeiningar
1
1
Select the Handle Wood
Select the Handle Wood
Choose a straight-grained hardwood sapling or branch approximately 35 to 60 cm long and 3 to 5 cm in diameter, depending on the tool type. For axes and adzes, ash, hickory, oak, and maple are ideal — their long fibres absorb shock without splitting. For lighter tools like scrapers, any sound hardwood works. The wood should be green (freshly cut) because green wood is easier to carve and will shrink as it dries, tightening around the stone head. Remove the bark with a flint knife.
Efni fyrir þetta skref:
 Hardwood Sapling1 piece
Nauðsynleg verkfæri:
 Flint Knife
2
2
Carve the Socket or Split
Carve the Socket or Split
There are two primary socket methods. For a split haft: use a hammerstone and wedge to split the top of the handle 6 to 10 cm deep along the grain, then widen the split until the stone head's tang or butt fits snugly. For a carved socket: use a flint knife and bone awl to carve a recessed notch or groove into the side of the handle that conforms to the shape of the stone tool. The socket method depends on the tool — split hafts work best for axes (stone head seated in the split), carved sockets for adzes (stone head lashed to the side).
Nauðsynleg verkfæri:
 HammerstoneFlint Knife
3
3
Fit the Stone Head to the Socket
Fit the Stone Head to the Socket
Test-fit the stone tool head in the prepared socket. The head should sit firmly without wobbling, with the cutting edge aligned correctly — perpendicular to the handle for an axe, parallel for an adze. The fit should be snug but not forced: a socket that is too tight may split the handle, while one that is too loose will not hold even with binding. If needed, remove small amounts of wood with a flint knife to adjust the fit. The stone head should contact the wood along at least 60 percent of its seated surface.
Nauðsynleg verkfæri:
Flint Knife4
4
Warm the Pine Pitch Glue
Warm the Pine Pitch Glue
Soften a walnut-sized lump of prepared pine pitch glue by holding it near a fire or on a warmed stone until it becomes pliable and tacky — roughly the consistency of warm taffy. Do not overheat: pine pitch becomes thin and runny above 80 degrees Celsius and loses its gap-filling properties. If the pitch catches fire (it is flammable), smother the flame and let it cool slightly before continuing. Work the warmed pitch between your fingers to ensure it is uniformly soft.
Efni fyrir þetta skref:
 Pine Pitch Glue1 lump
5
5
Apply Pitch to the Socket and Stone Head
Apply Pitch to the Socket and Stone Head
Press the warmed pine pitch into the socket cavity, filling all gaps and coating the wood surfaces that will contact the stone. Also apply a thin layer of pitch to the seated surfaces of the stone head. The pitch serves two functions: it fills microscopic gaps between the irregular stone surface and the carved wood, creating a larger bonded area, and it acts as a shock absorber that prevents the rigid stone from cracking against the rigid wood during impact.
6
6
Seat the Stone Head in the Socket
Seat the Stone Head in the Socket
While the pitch is still warm and tacky, press the stone head firmly into the prepared socket. Twist it slightly back and forth to spread the pitch evenly and eliminate air pockets. Verify alignment — the cutting edge must be straight relative to the handle. If using a split haft, squeeze the two halves of the split tightly around the stone head. Excess pitch should squeeze out around the joint; this is normal and will be incorporated into the binding.
7
7
Prepare the Sinew for Wrapping
Prepare the Sinew for Wrapping
Take a length of prepared sinew thread approximately 2 metres long. If the sinew is dry, soak it in warm water for 10 to 15 minutes until it becomes soft and pliable. Wet sinew is much easier to wrap tightly and conforms to irregular surfaces. As the sinew dries, it contracts by 10 to 15 percent of its wet length, generating significant compressive force that tightens the binding far beyond what hand tension alone achieves.
Efni fyrir þetta skref:
 Sinew Thread2 m
8
8
Wrap the Sinew Binding
Wrap the Sinew Binding
Begin wrapping the wet sinew tightly around the handle just below the stone head, anchoring the free end under the first two wraps. Wind upward, crossing over the junction between the wood and stone head with firm, overlapping turns. Each wrap should overlap the previous one by about half its width. For a split haft, wrap around the entire split section including the stone head, pulling each turn as tight as possible. Continue wrapping above the stone head and back down, creating a criss-cross pattern that locks the head in place against forces from multiple directions.
9
9
Seal the Binding with Additional Pitch
Seal the Binding with Additional Pitch
While the sinew is still damp, apply a thin coat of warmed pine pitch over the entire sinew wrapping. The pitch seals the sinew against moisture, which would otherwise cause it to soften and loosen. Press the pitch into the gaps between sinew wraps with your thumb. This pitch-over-sinew combination creates a composite binding that is waterproof, rigid, and extremely durable — archaeological examples have been found intact after thousands of years in dry conditions.
Efni fyrir þetta skref:
Pine Pitch Glue1 lump10
10
Allow the Binding to Dry and Cure
Allow the Binding to Dry and Cure
Set the hafted tool aside in a warm, dry location for 12 to 24 hours. During this time the sinew contracts as it dries, dramatically tightening the binding, and the green wood handle begins shrinking around the stone head. Do not use the tool until the binding is fully dry — wet sinew wrapping can stretch and allow the head to shift under load. In cold or humid conditions, drying may take up to 48 hours.
11
11
Test the Hafted Tool
Test the Hafted Tool
Grip the handle firmly and deliver several moderate blows against a softwood log. The stone head should remain completely rigid with no perceptible movement or rotation. If you detect any looseness, re-wrap with additional wet sinew over the existing binding and apply more pitch. A properly hafted tool will survive years of regular use — the binding only fails if the sinew gets repeatedly soaked in water without re-sealing with pitch.
12
12
Maintaining and Repairing the Haft
Maintaining and Repairing the Haft
Over time, the sinew binding may wear or the pitch may crack from impact stress. Repair by warming the damaged area near a fire to soften the pitch, adding fresh sinew wraps over the weak point, and re-sealing with warm pitch. If the stone head needs replacing (due to breakage or resharpening past its useful life), warm the entire binding to soften the pitch, carefully unwrap the sinew, and re-haft a new head. Sinew that has been soaked and dried repeatedly becomes brittle — replace it entirely during major repairs rather than patching.
Efni
3- 1 pieceStaðgengill
- 2 lumpStaðgengill
- 2 mStaðgengill
Efni úr tengdum teikningum
Tengd Blueprint
Þessi blueprint deila þekkingu — tækni, efni eða meginreglur
Related blueprints
Other builds that share materials, tools, or techniques with this one.

Carving a Stone Oil Lamp — Soapstone Fat Lamp with Wick Channelstoneworking
Carving a Stone Bowl by Pecking and Grinding — Soapstone Vesselstoneworking
Knapping an Obsidian Blade — Pressure-Flaked Volcanic Glassstoneworking
Making Grooved Stone Net Sinkers — Weighted Stones for Fishing Netsstoneworking
Making a Bone Awl — Piercing Tool for Sewing and Basketrystoneworking
Making a Stone Burin — The Engraving Chisel That Enabled Bone and Antler Workstoneworking
CC0 opinbert ríki
Þessi teikning er gefin út undir CC0. Þér er frjálst að afrita, breyta, dreifa og nota þetta verk í hvaða tilgangi sem er, án þess að biðja um leyfi.
Studdu smiðinn með því að kaupa vörur í gegnum teikningu hans þar sem hann fær þóknun smiða sem seljendur ákvarða, eða búðu til nýja endurskoðun á þessari teikningu og tengdu hana sem tengingu í þinni eigin teikningu til að deila tekjum.