LIST
FEGURÐ OG VELLÍÐAN
HANDVERK
MENNING OG SAGA
SKEMMTUN
UMHVERFI
MATUR OG DRYKKUR
ÖFUGVERKFRÆÐI
VÍSINDI
ÍÞRÓTTIR
TÆKNI
KLÆÐANLEG TÆKNI
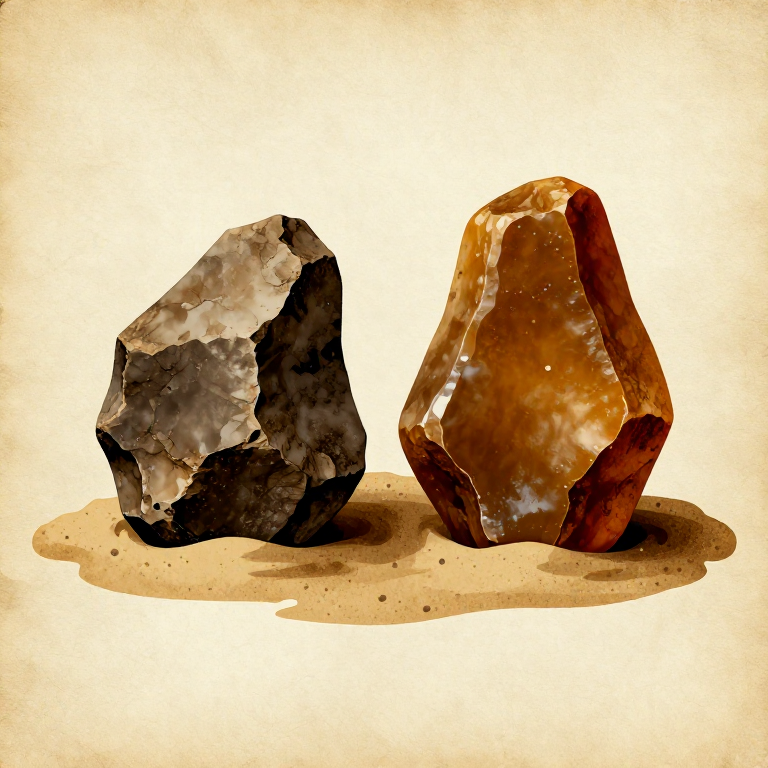
Heat-Treating Flint in a Sand Bed — Transforming Stone for Superior Knapping
Heat treatment is one of the most significant material science discoveries of the Stone Age. By slowly heating flint or chert to temperatures between 250 and 350 degrees Celsius, the amorphous silica within the stone's microstructure undergoes a permanent transformation: water molecules trapped between silica particles are driven off, and the remaining silica fuses into a denser, more homogeneous matrix. The result is stone that fractures with greater predictability, produces thinner and sharper flakes, and exhibits a distinctive waxy or glossy luster that raw flint lacks. Archaeological evidence from sites in southern Africa (Blombos Cave, Pinnacle Point) dates deliberate heat treatment to at least 72,000 years ago, making it one of the earliest known examples of humans intentionally transforming a raw material's properties. The technique was independently developed across multiple continents and remained in use through the Neolithic. The critical challenge is controlling the heating rate — flint contains residual moisture and heating too quickly causes steam pockets that shatter the stone (thermal shock). The solution is burying nodules in dry sand adjacent to a fire, where the sand acts as a thermal buffer, conducting heat slowly and evenly into the stone. Cooling must be equally gradual. This blueprint teaches the complete sand-bed heat treatment process for flint and chert.
Miðlungs
4-6 hours
Leiðbeiningar
1
1
Select Suitable Flint or Chert Nodules
Select Suitable Flint or Chert Nodules
Choose flint or chert nodules that are free of visible cracks, frost fractures, and heavy inclusions. The nodules should be fist-sized to slightly larger — roughly 8 to 15 cm across. Tap each nodule with a hammerstone and listen: sound stone rings with a clear, high-pitched tone, while internally fractured stone produces a dull thud. Reject any nodule with a matte, chalky cortex that extends deep into the interior, as this indicates heavy weathering and unpredictable silica content.
Efni fyrir þetta skref:
 Flint Nodule3 piece
Nauðsynleg verkfæri:
 Hammerstone
2
2
Pre-Dry the Nodules in Warm Air
Pre-Dry the Nodules in Warm Air
Place the selected nodules near (not in) a low fire or in direct sunlight for several hours before the main heat treatment. This gentle pre-drying drives off surface moisture and begins reducing internal water content gradually. If working in a humid climate, pre-dry for a full day. Nodules that have been sitting in wet ground or a riverbed need longer pre-drying — at least 24 hours in warm, dry air. Rushing this step is the most common cause of thermal fracture.
3
3
Prepare the Sand Bed
Prepare the Sand Bed
Excavate a shallow pit approximately 40 cm wide, 60 cm long, and 15 cm deep in dry ground. Fill the pit with clean, dry sand to a depth of about 8 cm. The sand must be completely dry — wet sand transmits heat unevenly and creates steam pockets. If only damp sand is available, spread it near the fire to dry thoroughly before use. River sand or fine-grained mineral sand works well. Avoid beach sand with high salt content, as salt lowers the melting point of silica surfaces.
Efni fyrir þetta skref:
 Clean Dry Sand5 kg
4
4
Bury the Nodules in the Sand
Bury the Nodules in the Sand
Place the pre-dried flint nodules on the sand bed, spacing them at least 5 cm apart so heat can circulate evenly around each one. Cover the nodules with an additional 5 to 8 cm of dry sand, ensuring no part of any nodule is exposed. The sand acts as a thermal buffer — it absorbs heat from the fire above and conducts it slowly and uniformly into the stone, preventing the rapid temperature differentials that cause thermal shock.
5
5
Build a Low Fire Over the Sand Bed
Build a Low Fire Over the Sand Bed
Build a small fire directly on top of the sand covering the nodules. Start with a modest fire using finger-thick kindling — the goal for the first hour is gentle warming, not intense heat. The sand bed should become warm to the touch at the edges but not hot enough to be uncomfortable. This initial phase slowly raises the temperature of the buried nodules from ambient to approximately 100 degrees Celsius, driving off remaining internal moisture as steam that escapes gradually through the porous sand.
6
6
Gradually Increase the Fire Intensity
Gradually Increase the Fire Intensity
Over the next 1 to 2 hours, progressively add larger fuel to the fire, building it into a substantial bed of hardwood coals. The target is to raise the temperature at the level of the buried nodules to between 250 and 350 degrees Celsius. You cannot easily measure this, but a reliable indicator is the colour of the sand at the edges of the fire: when the sand directly adjacent to the coals turns from white to pale tan or light brown, the temperature in the interior of the sand bed is in the correct range. Do not build a roaring blaze — sustained moderate heat is more effective than short bursts of extreme heat.
Efni fyrir þetta skref:
 Hardwood Firewood5 kg
7
7
Maintain Target Temperature for 1 to 2 Hours
Maintain Target Temperature for 1 to 2 Hours
Once the fire has built a deep coal bed, maintain this level of heat for 1 to 2 hours by adding fuel periodically to prevent the coals from dying. The silica transformation is time-dependent — the nodules need sustained heat penetrating to their core, which for a 10 cm nodule takes at least 60 minutes at the target temperature. A common mistake is heating too briefly: the exterior transforms while the interior remains untreated, creating a boundary zone that fractures unpredictably during later knapping.
8
8
Let the Fire Die and Cool Naturally
Let the Fire Die and Cool Naturally
Stop adding fuel and allow the fire to burn down completely to ash. Do NOT remove the nodules, rake away the coals, or disturb the sand bed. The nodules must cool at the same gradual rate at which they were heated — a cooling period of at least 6 to 8 hours, ideally overnight. Rapid cooling (such as pulling a hot nodule out into cold air) causes thermal shock fractures identical to those from rapid heating. Patience during cooling is as important as patience during heating.
9
9
Excavate the Cooled Nodules
Excavate the Cooled Nodules
Once the sand bed is cool enough to handle comfortably with bare hands — typically the following morning — carefully brush away the sand and ash to reveal the buried nodules. Handle them gently. Well-treated nodules should be intact with no new fractures. If a nodule has cracked or shattered, the heating or cooling rate was too rapid, or the nodule contained hidden internal flaws.
10
10
Identify Successful Heat Treatment
Identify Successful Heat Treatment
Examine the recovered nodules for signs of successful transformation. Heat-treated flint develops a noticeably waxy or greasy luster on freshly exposed surfaces — this is the most reliable visual indicator. The colour often darkens or shifts: grey flint may turn pinkish or reddish, tan chert may deepen to a richer brown. These colour changes result from oxidation of trace iron within the silica matrix. Strike a small test flake from one nodule with a hammerstone: the flake should detach more cleanly than from raw flint, with a smoother, flatter fracture surface and sharper edges.
Nauðsynleg verkfæri:
Hammerstone11
11
Compare Fracture Quality Against Untreated Flint
Compare Fracture Quality Against Untreated Flint
For a definitive test, knap a flake from a heat-treated nodule and compare it side by side with a flake from an untreated nodule of the same material. The heat-treated flake should be noticeably thinner, with a smoother ventral (bulbar) surface and fewer step fractures at the margins. When held to the light, heat-treated flakes are often slightly more translucent. The edges are sharper and more regular — this improved knapping quality is the entire purpose of the treatment.
Nauðsynleg verkfæri:
Hammerstone12
12
Store Treated Nodules for Future Knapping
Store Treated Nodules for Future Knapping
Successfully heat-treated nodules retain their improved properties indefinitely — the silica transformation is permanent and irreversible. Store them in a dry location away from freezing temperatures. The treated nodules can now be knapped into blades, projectile points, scrapers, and other tools with significantly greater precision than raw material. Many of the finest Mesolithic and Neolithic stone tools in museum collections were made from heat-treated flint, identifiable by their characteristic waxy luster and colour shifts.
Efni
3- 3 pieceStaðgengill
- 5 kgStaðgengill
- Staðgengill
Efni úr tengdum teikningum
Tengd Blueprint
Þessi blueprint deila þekkingu — tækni, efni eða meginreglur
Related blueprints
Other builds that share materials, tools, or techniques with this one.
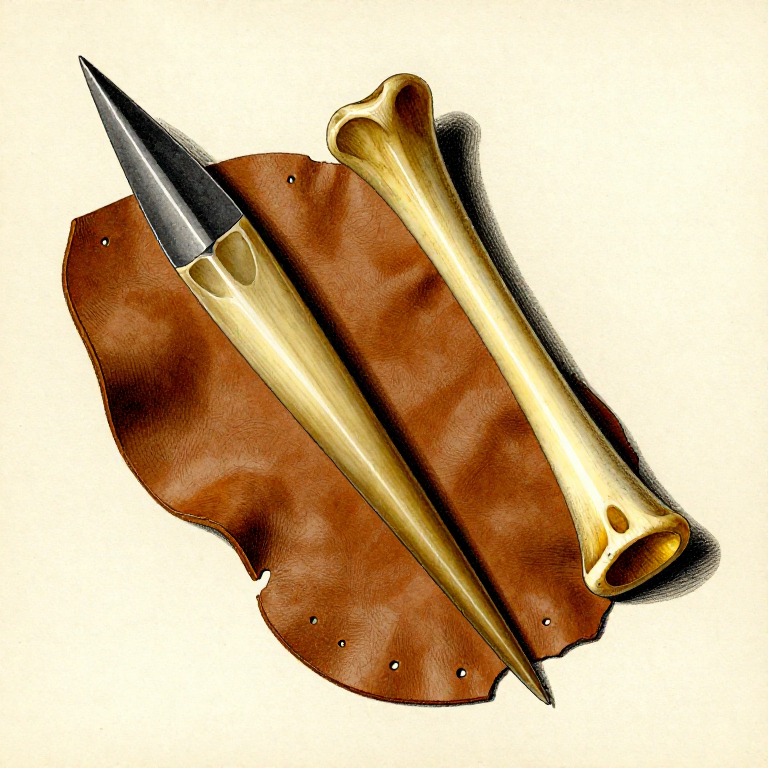
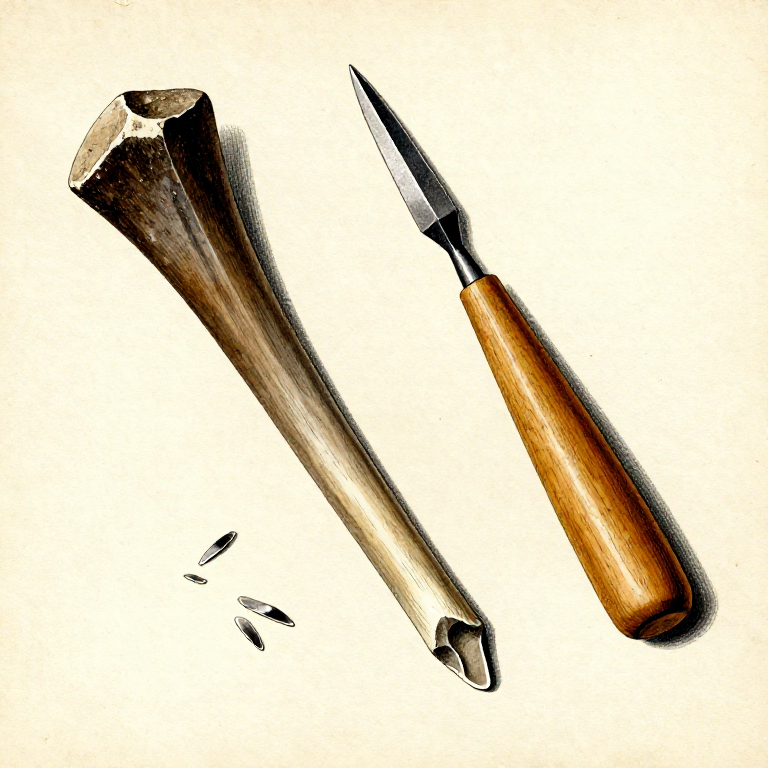
Making a Bone Awl — Piercing Tool for Sewing and Basketrystoneworking
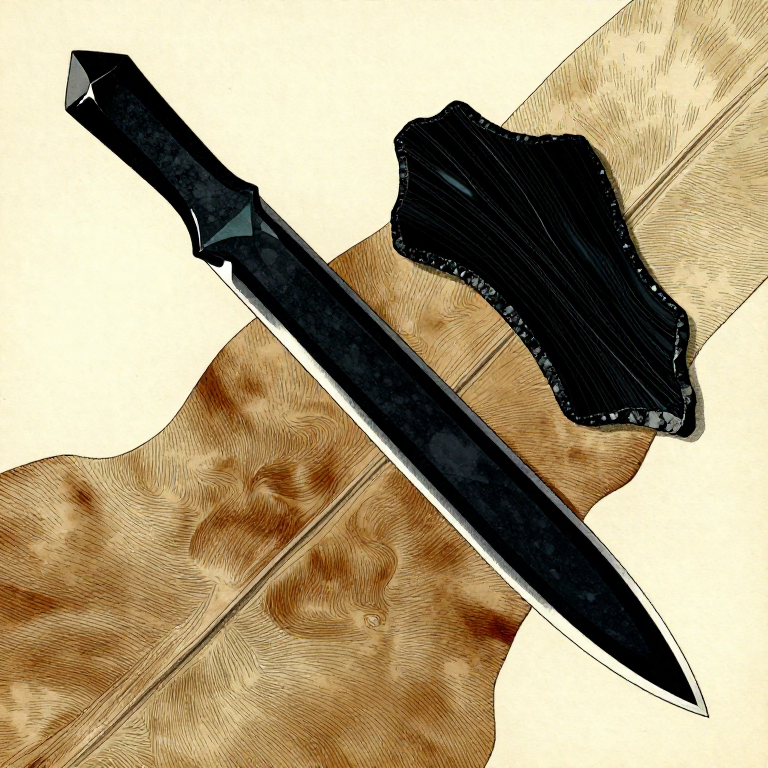
Knapping an Obsidian Blade — Pressure-Flaked Volcanic Glassstoneworking

Making a Stone Chisel — Splitting and Grooving Toolstoneworking
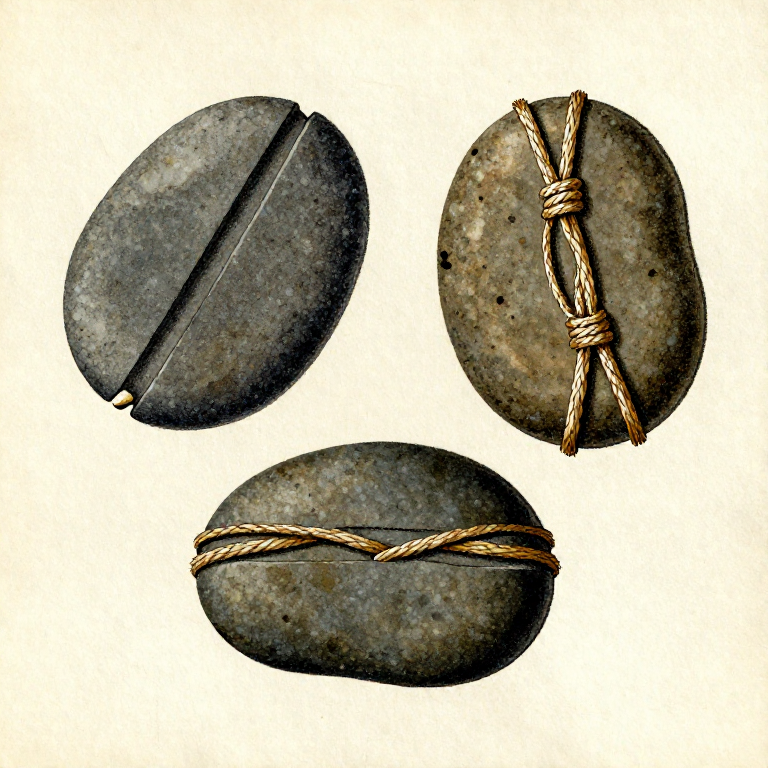
Making Grooved Stone Net Sinkers — Weighted Stones for Fishing Netsstoneworking
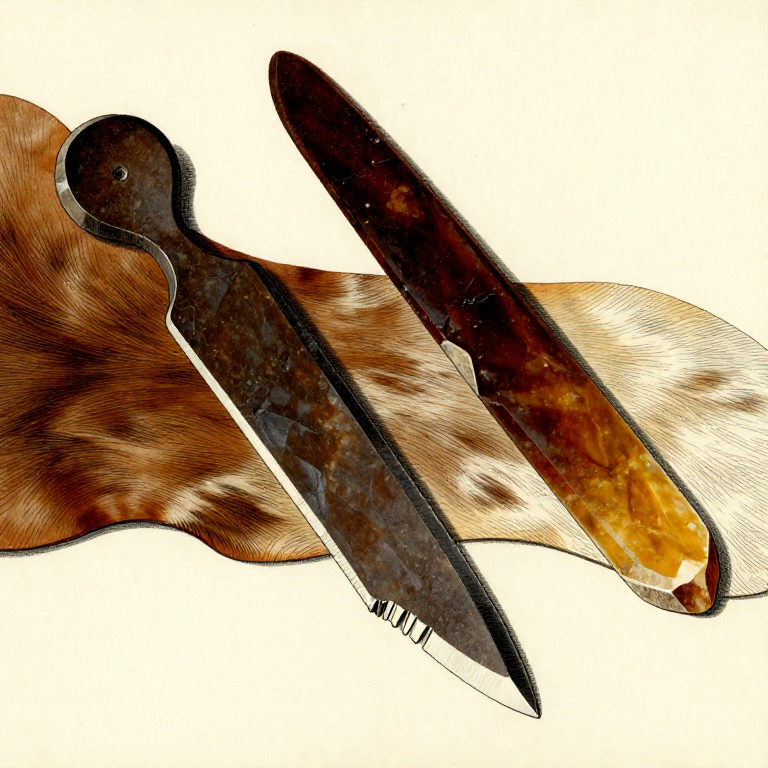
Making a Stone Scraper for Hide Working — Conchoidal Flake Toolstoneworking
Making an Antler Pressure Flaker — Precision Flint-Knapping Toolstoneworking
CC0 opinbert ríki
Þessi teikning er gefin út undir CC0. Þér er frjálst að afrita, breyta, dreifa og nota þetta verk í hvaða tilgangi sem er, án þess að biðja um leyfi.
Studdu smiðinn með því að kaupa vörur í gegnum teikningu hans þar sem hann fær þóknun smiða sem seljendur ákvarða, eða búðu til nýja endurskoðun á þessari teikningu og tengdu hana sem tengingu í þinni eigin teikningu til að deila tekjum.