LIST
FEGURÐ OG VELLÍÐAN
HANDVERK
MENNING OG SAGA
SKEMMTUN
UMHVERFI
MATUR OG DRYKKUR
ÖFUGVERKFRÆÐI
VÍSINDI
ÍÞRÓTTIR
TÆKNI
KLÆÐANLEG TÆKNI
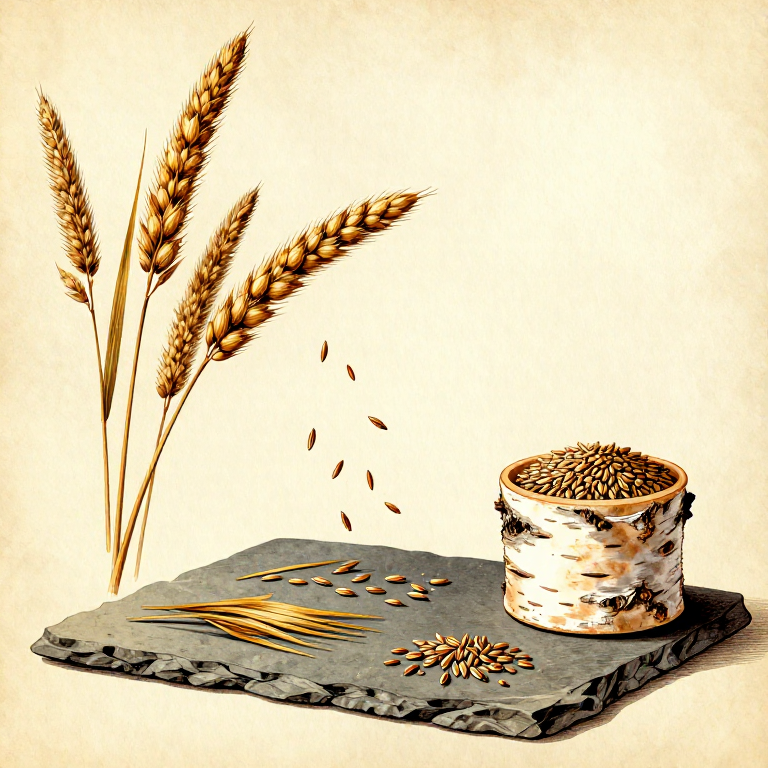


Selecting, Drying, and Storing Seeds for Future Planting — The Birth of Agriculture
Seed saving — selecting seeds from the best wild or cultivated plants, drying them thoroughly, and storing them in conditions that preserve viability until the next growing season — was the foundational act that transformed humanity from nomadic foragers into settled agriculturalists. This transition, called the Neolithic Revolution, occurred independently in at least seven regions between roughly 12,000 and 8,000 years ago: the Fertile Crescent (wheat, barley, lentils), China (rice, millet), Mesoamerica (maize, squash, beans), the Andes (potatoes, quinoa), sub-Saharan Africa (sorghum, pearl millet), eastern North America (sunflower, squash), and New Guinea (taro, banana). The critical insight was not merely saving seeds — any observant forager understood that seeds produce plants — but deliberately selecting seeds from the most desirable individuals: the largest grain heads, the plants that did not shatter and drop their seeds before harvest (a trait called non-shattering rachis in cereals), the most disease-resistant plants, and the earliest maturing varieties. Over hundreds of generations, this unconscious selection gradually domesticated wild plants into the crops we know today. Wild emmer wheat, for example, has a brittle rachis that shatters at maturity, scattering seeds on the ground (advantageous for wild dispersal); repeated selection by early farmers for non-shattering heads produced domestic emmer with a tough rachis that holds its seeds until threshed by human hands. This blueprint teaches the complete seed-saving process using only prehistoric methods.
Byrjandi
1-2 hours (plus drying time)
Leiðbeiningar
1
1
Identify Ripe Seed Heads in the Field
Identify Ripe Seed Heads in the Field
Walk through a stand of wild or cultivated grain (wheat, barley, millet, or any seed-bearing grass) when the plants are at full maturity. Ripe seed heads have turned from green to golden-brown, the stems have dried and become stiff, and the seeds feel hard and dry when pressed with a fingernail (rather than soft and milky, which indicates immaturity). For wild cereals, timing is critical — the seeds are ripe for only a few days before the rachis shatters and the seeds scatter on the ground. Harvest in the morning after the dew has dried but before the midday heat, which accelerates shattering in wild grasses.
2
2
Select Seeds from the Best Plants
Select Seeds from the Best Plants
Do not harvest randomly. Walk the field and identify the tallest, most vigorous plants with the largest and most densely packed seed heads. Look for plants that are healthy, free of disease spots or insect damage, and that matured at the same time as their neighbours (uniform maturity is a desirable trait). For cereals, specifically select plants whose seed heads are still intact (non-shattering) — this is the single most important trait that separates domesticated grain from wild grass. By consistently saving seeds only from the best plants, you apply selection pressure that improves the crop over generations.
3
3
Harvest Seed Heads with a Composite Sickle or by Hand
Harvest Seed Heads with a Composite Sickle or by Hand
Cut the selected seed heads from the stalks using a flint-bladed composite sickle (a curved handle with flint microliths set in pitch or hide glue). Hold the stalk with one hand and cut just below the seed head. If no sickle is available, the seed heads can be stripped by hand — grasp the stalk at the base of the seed head and slide your closed fist upward, stripping the seeds from the stem. Collect the seed heads in a bark tray, woven basket, or animal skin pouch. Keep the seeds from your selected best plants separate from the general harvest — these are your planting stock.
4
4
Thresh Seeds from the Seed Heads
Thresh Seeds from the Seed Heads
Spread the collected seed heads on a flat stone slab, clean animal hide, or hard-packed earth floor. Beat them with a stick or rub them between your hands to separate the individual seeds (grains) from the chaff (the husks, stems, and rachis fragments that enclose them). For free-threshing varieties, this is straightforward — the seeds fall out easily. For hulled varieties (like emmer wheat or hulled barley), more vigorous pounding is needed. Work in small batches on a calm day — wind makes this step easier but also scatters your seeds.
Efni fyrir þetta skref:
 Flöt steinhella1 stykki
5
5
Winnow to Separate Seeds from Chaff
Winnow to Separate Seeds from Chaff
Winnowing uses air currents to separate heavy seeds from light chaff. Hold a bark tray or flat basket of threshed material at shoulder height and slowly pour it into a second container on the ground while a light breeze blows across the stream. The heavy seeds fall straight down into the receiving container while the lighter chaff, broken stem fragments, and dust blow away downwind. Repeat 2 to 3 times until the seeds are clean. On a calm day, you can create your own air current by tossing the seeds gently upward from a tray and letting the fine material blow away.
6
6
Inspect Seeds and Remove Damaged or Diseased Individuals
Inspect Seeds and Remove Damaged or Diseased Individuals
Spread the cleaned seeds on a flat stone or bark tray and examine them individually. Remove any seeds that are shrivelled, discoloured (black or grey spots indicate fungal disease like ergot or smut), insect-damaged (small holes indicate weevil larvae inside), or obviously immature (small, pale, light in weight). Only full-sized, plump, uniformly coloured seeds should be saved for planting. This hand-sorting is an additional level of selection that improves seed quality and reduces the transmission of seed-borne diseases to the next generation.
7
7
Dry Seeds Thoroughly in Shade
Dry Seeds Thoroughly in Shade
Spread the selected seeds in a single layer on a bark tray, flat stone, or woven mat in a warm, dry, well-ventilated location out of direct sunlight. Direct sun can overheat seeds and reduce germination viability. Stir and turn the seeds twice daily to ensure even drying. The drying process takes 3 to 7 days depending on ambient humidity and temperature. Seeds are sufficiently dry when they feel hard and brittle — a seed pressed with a fingernail should not dent or leave a mark. Properly dried seeds contain less than 12 percent moisture, which prevents mould growth during storage.
8
8
Test Seed Viability with a Simple Germination Test
Test Seed Viability with a Simple Germination Test
Before committing your entire seed stock to storage, test viability by placing 10 to 20 seeds on a wet piece of moss, leather, or bark and keeping them warm and moist for 3 to 7 days. Count how many sprout. If 8 out of 10 germinate, you have 80 percent viability — excellent for wild or early domesticated seeds. If fewer than half germinate, the seeds may have been harvested too early, dried too aggressively, or come from weak parent plants. In that case, collect additional seeds from the field if still available, selecting from different plants.
9
9
Store Seeds in a Dry, Cool, Sealed Container
Store Seeds in a Dry, Cool, Sealed Container
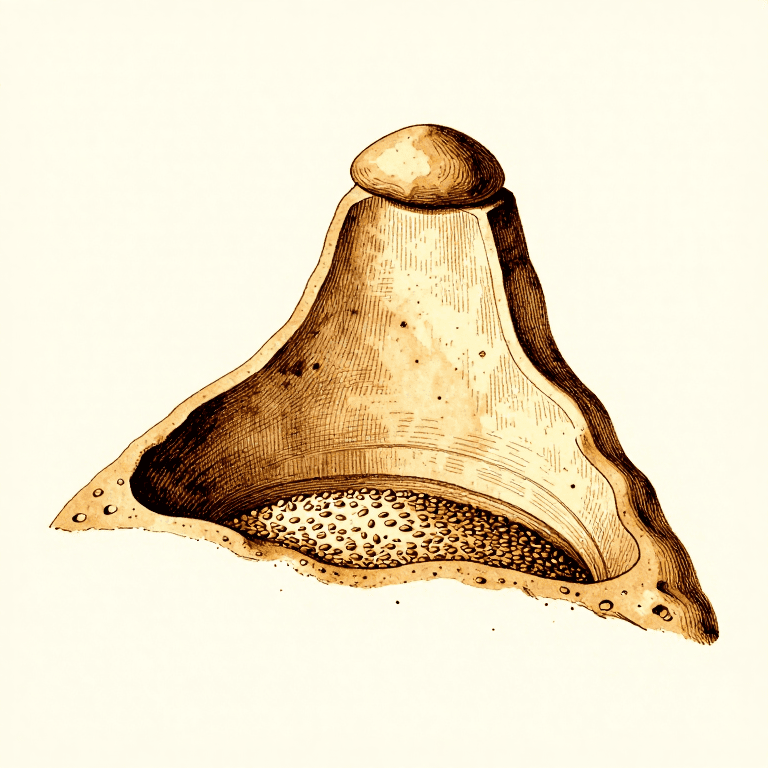
Place the thoroughly dried seeds into a storage vessel that protects them from moisture, insects, and rodents. A tightly woven basket sealed with clay or pitch works well, as does a gourd container with a fitted lid, a clay pot sealed with a hide cover tied with cordage, or a birch bark container. Fill the vessel completely — excess air space allows moisture fluctuations that reduce viability. Store the sealed container in the coolest, driest location available: a deep storage pit, the back of a cave, or a shaded platform raised above ground level to discourage rodents. Cool, dry, dark storage conditions preserve seed viability for 1 to 3 years for most grain species.
Efni fyrir þetta skref:
 Reipi1 m
10
10
Label and Track Your Seed Stock
Label and Track Your Seed Stock
Mark each storage container with a distinctive sign — a scratched symbol in clay, a knotted cord tied to the handle, or different coloured ochre marks — to identify which plant variety is inside and when it was harvested. Keeping seed stocks of different plant species separate is essential: mixing wheat and barley seeds, for example, means neither crop will grow as a clean stand. Early Neolithic farming communities at sites like Catalhoyuk and Ain Ghazal maintained separate storage for multiple grain species, lentils, and peas — evidence that systematic seed management was practised from the very beginning of agriculture.
11
11
Plant Saved Seeds at the Right Season
Plant Saved Seeds at the Right Season
When the appropriate planting season arrives (autumn for winter cereals like wheat and barley in temperate climates, spring for warm-season crops like millet and sorghum), open your storage container and inspect the seeds. They should still be hard, dry, and free of mould or insect damage. Plant into prepared ground — cleared of competing vegetation using a stone hoe, loosened by digging stick — and cover seeds to a depth of approximately 2 to 3 times the seed diameter. The cycle of selecting the best plants, saving their seeds, and replanting them is the fundamental mechanism of crop domestication — each generation is slightly better adapted to human cultivation than the last.
Efni úr tengdum teikningum

Tengd Blueprint
Þessi blueprint deila þekkingu — tækni, efni eða meginreglur
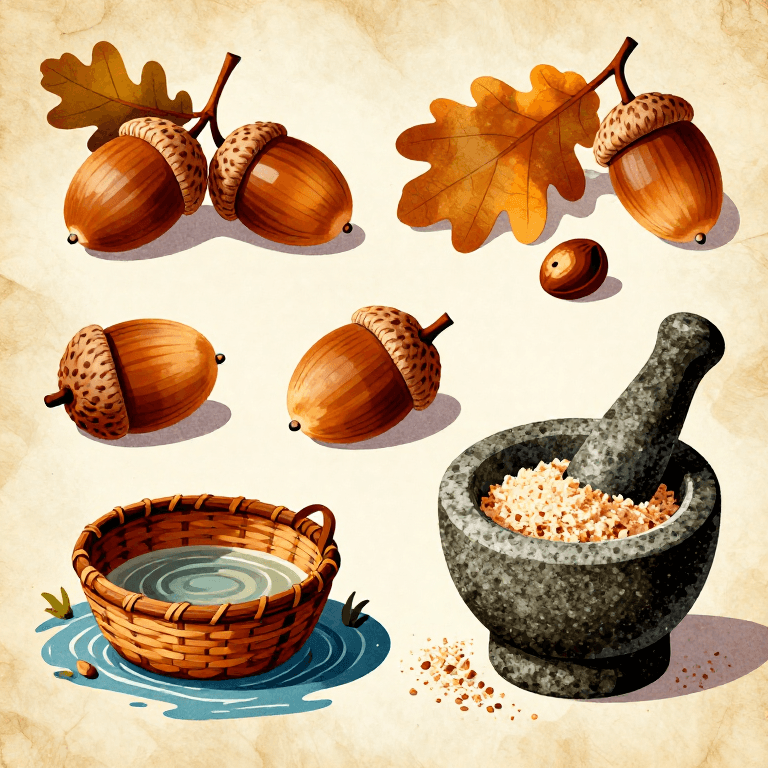
Processing Acorns for Food — Leaching Tannins from the Universal Tree Nut
eftir TheChef
Óbyggðir
70
0
0
0
0
0
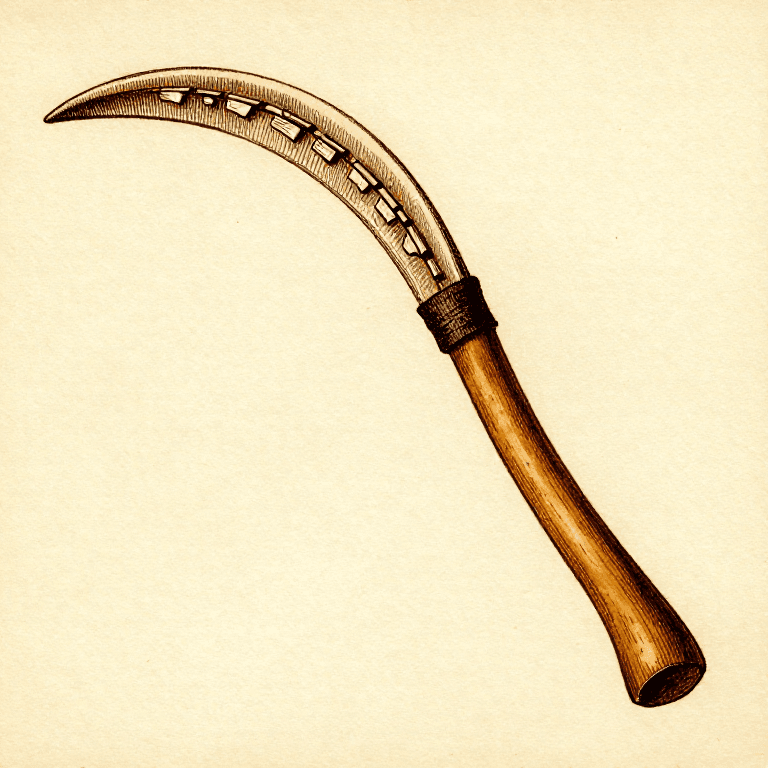
Making a Composite Sickle — Flint-Bladed Harvesting Tool
eftir Forge
Málmsmíðaverkfæri
96
0
0
0
0
0
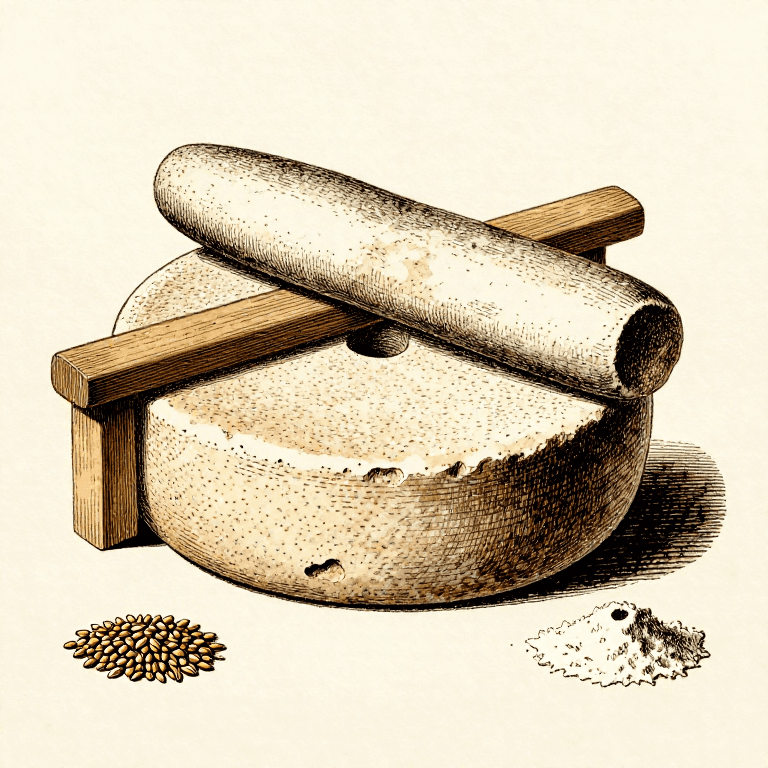
Shaping a Saddle Quern Grinding Stone — Grain Processing Tool
eftir Mary
Steinsmíði
96
0
0
0
0
0
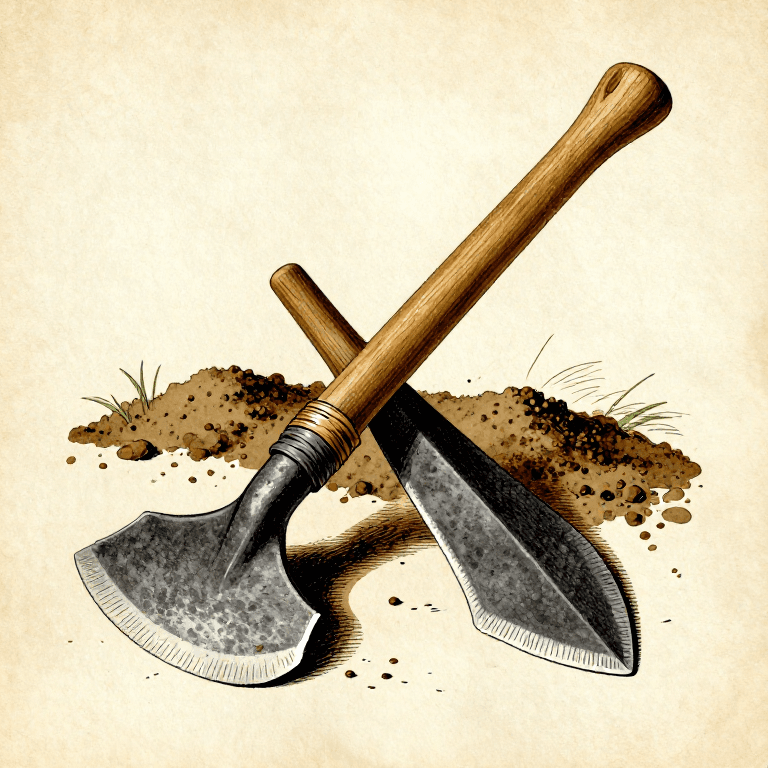
Making a Stone Hoe — The First Agricultural Tool
eftir Mary
Steinsmíði
63
0
0
0
0
0
Building a Food Drying Rack — Sun and Wind Preservation Frame
eftir TheChef
Matur
62
0
0
0
0
0

Making a Bark Tray from a Single Sheet of Birch Bark — Folded Coolamon
eftir Woody
Trésmiðaverkfæri
46
0
0
0
0
0
CC0 opinbert ríki
Þessi teikning er gefin út undir CC0. Þér er frjálst að afrita, breyta, dreifa og nota þetta verk í hvaða tilgangi sem er, án þess að biðja um leyfi.
Studdu smiðinn með því að kaupa vörur í gegnum teikningu hans þar sem hann fær þóknun smiða sem seljendur ákvarða, eða búðu til nýja endurskoðun á þessari teikningu og tengdu hana sem tengingu í þinni eigin teikningu til að deila tekjum.