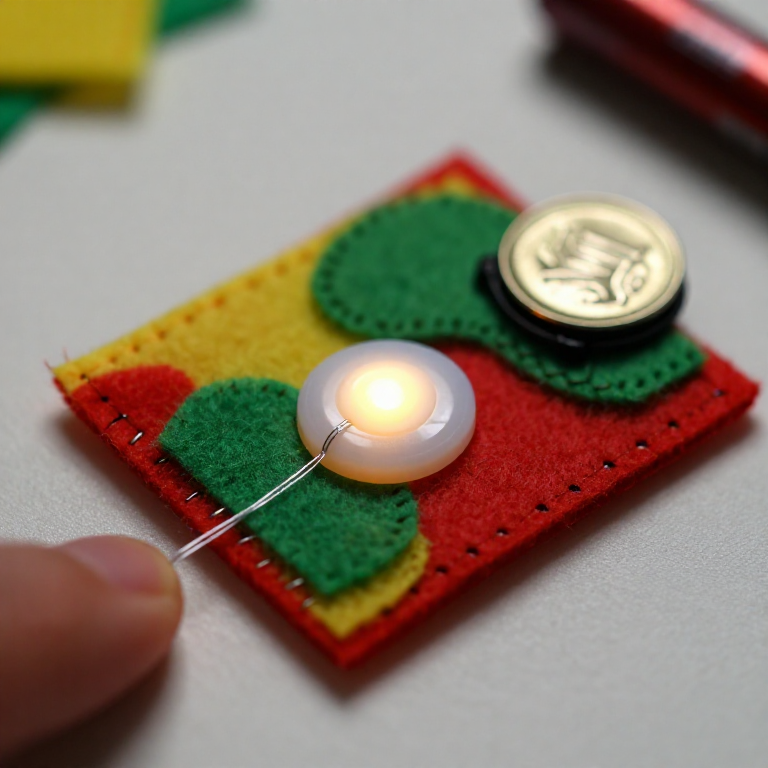


Sewing a LilyPad Button Circuit
Add a switch you can sew: a LilyPad button placed in the circuit lights your LED only while it's pressed. Same e-textile rules as before — + to + and - to -, no crossing lines — but now the button sits in the + line, so current flows only when you press it. A press-to-light patch for a bag, badge or costume.
Leiðbeiningar
Plan the circuit with a button
Plan the circuit with a button
Arrange a LilyPad LED, a LilyPad button and a coin-cell battery holder on felt. The button goes in the + line, between the battery's + tab and the LED's + tab, so pressing it completes the circuit.
Efni fyrir þetta skref:
 LilyPad LED - 5 pcs1 pakki
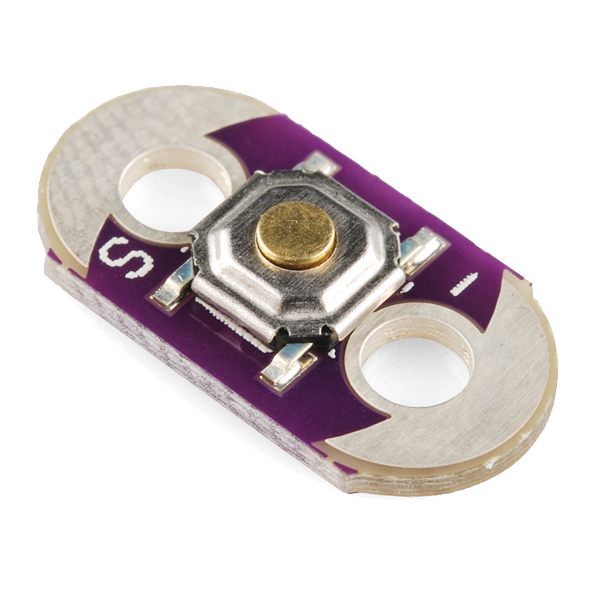 LilyPad Button Board1 stykki
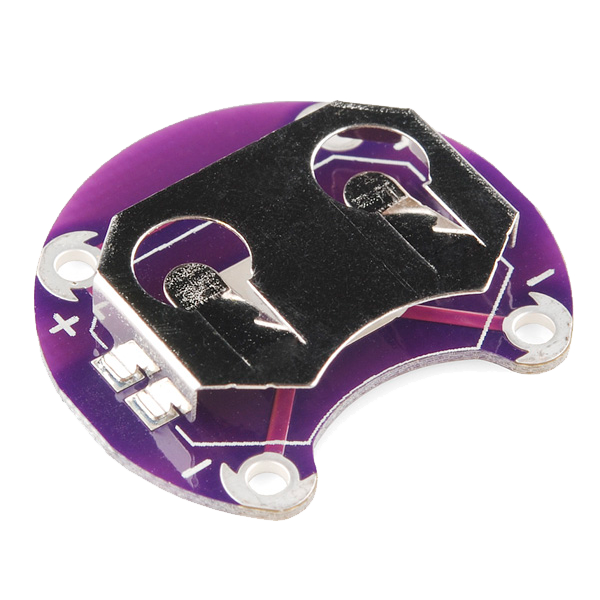 LilyPad Coin Cell Battery Holder - 20mm1 stykki
 Ullarþófaplata1 plata
Sew the positive line through the button
Sew the positive line through the button
With conductive thread, stitch from the battery + tab to one tab of the button, then knot and cut; start fresh and stitch from the button's other tab to the LED + tab. Loop 3–4 times through each hole for firm contact and trim the tails short.
Efni fyrir þetta skref:
 Conductive Thread - 60g (Stainless Steel)1 spóla
Nauðsynleg verkfæri:
 Handsaumsnálar
Sew the negative line
Sew the negative line
With a fresh thread, stitch the LED - tab straight to the battery - tab. Keep this line well away from the + line and the button — anywhere the two conductive paths touch, the circuit shorts.
Press to test
Press to test
Slot in a CR2032 (+ side up). Press the button — the LED lights; release — it goes out. If it stays dark, check that both button tabs are stitched into the line and that no threads are touching across the two sides.
Efni fyrir þetta skref:
 Hnapparafhlaða CR20321 stykki
Secure and use
Secure and use
Seal each knot with a dab of clear nail polish or fabric glue so it can't loosen. Sew the felt onto a bag, badge or costume — you've made a press-to-light patch.
Efni
6- LilyPad LED - 5 pcs10% þóknun1 pakki$4.20
- LilyPad Button Board10% þóknun1 stykki$2.23
- LilyPad Coin Cell Battery Holder - 20mm10% þóknun1 stykki$4.20
- 1 plataStaðgengill
- 1 spóla$40.13
- 1 stykkiStaðgengill
Nauðsynleg verkfæri
1- Staðgengill
Tengd Blueprint
Þessi blueprint deila þekkingu — tækni, efni eða meginreglur

CC0 opinbert ríki
Þessi teikning er gefin út undir CC0. Þér er frjálst að afrita, breyta, dreifa og nota þetta verk í hvaða tilgangi sem er, án þess að biðja um leyfi.
Studdu smiðinn með því að kaupa vörur í gegnum teikningu hans þar sem hann fær þóknun smiða sem seljendur ákvarða, eða búðu til nýja endurskoðun á þessari teikningu og tengdu hana sem tengingu í þinni eigin teikningu til að deila tekjum.