
Driving a Motor — SIK Circuit 12
Leiðbeiningar
Parts & Introduction
Parts & Introduction
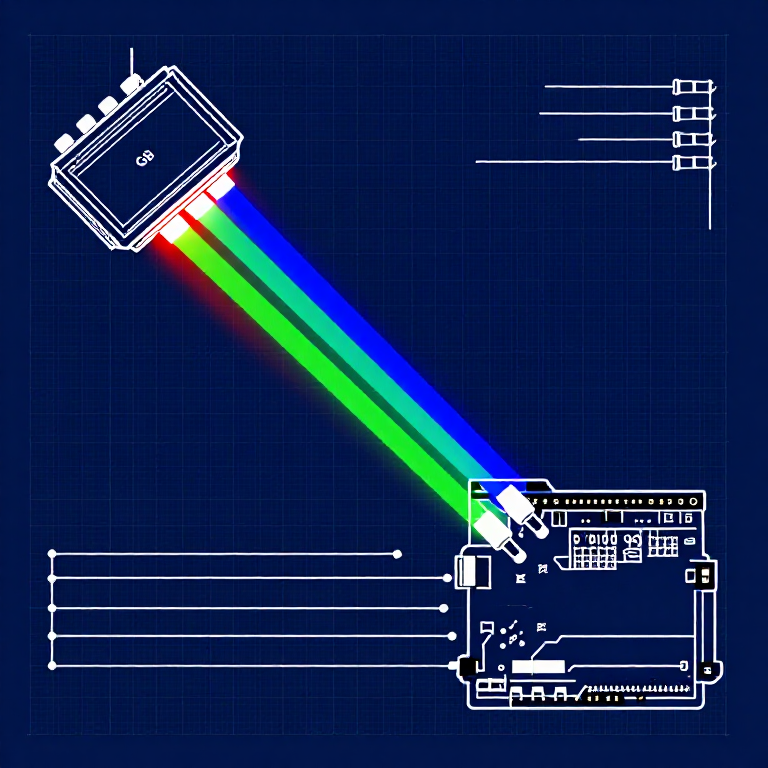
DC motors draw too much current for an Arduino pin to drive directly. A transistor acts as an electronic switch — a small signal from the Arduino controls a larger current flowing through the motor. The flyback diode protects against voltage spikes when the motor turns off.
Parts Needed
- 1x Arduino Uno + USB cable
- 1x Breadboard
- 1x DC Motor
- 1x NPN Transistor (P2N2222A)
- 1x Diode (1N4148)
- 1x 330Ω Resistor
- 6x Jumper Wires
Efni fyrir þetta skref:
 SparkFun Inventors Kit - V3.21 kit
 330 Ohm Resistor1 piece
 Jumper Wires6 pieces
Nauðsynleg verkfæri:
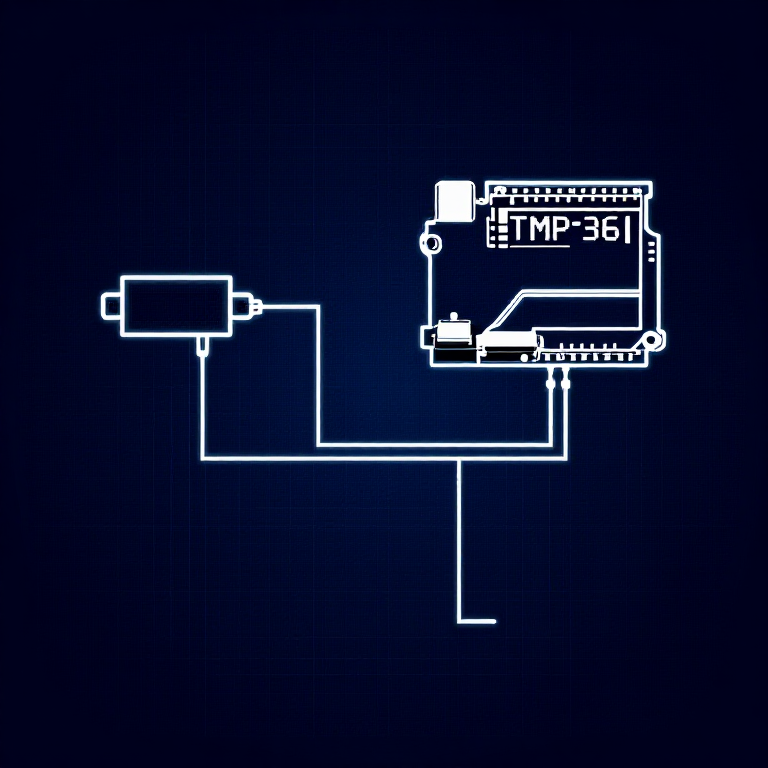
Hardware Hookup
Hardware Hookup
Wiring Instructions
Transistor pinout (flat side facing you, pins down): Collector, Base, Emitter (left to right).
- Place the transistor in the breadboard.
- Connect Base (middle pin) through a 330Ω resistor to Arduino Digital Pin 9.
- Connect Emitter (right pin) to GND.
- Connect Collector (left pin) to the motor's black wire.
- Connect the motor's red wire to 5V.
- Flyback Diode: Connect the banded end (cathode) to 5V, the other end (anode) to the motor's black wire.
Efni fyrir þetta skref:
330 Ohm Resistor1 pieceJumper Wires6 piecesArduino Code
Arduino Code
Open the Arduino IDE and upload the following sketch to your Arduino board.
Efni fyrir þetta skref:
Nauðsynleg verkfæri:
Test & Experiment
Test & Experiment
What You Should See
The default serialSpeed() function lets you type speed values (0-255) into the Serial Monitor to control motor speed in real time.
Troubleshooting
- Motor not spinning: If you sourced your own transistor, double-check the pinout — many NPN transistors have reversed pin orders compared to the P2N2222A.
- Motor won't start at low values: Below ~50, the motor doesn't have enough torque to overcome friction. This is normal.
- Connection issues: Try unplugging and re-plugging the USB cable.
Experiments to Try
- Uncomment
motorAcceleration()to see smooth speed ramping. - Add a potentiometer to control speed with a knob instead of serial input.
- Add a button for on/off control.
Efni
8- $105.00
- $3.00
Related blueprints
Other builds that share materials, tools, or techniques with this one.


CC0 opinbert ríki
Þessi teikning er gefin út undir CC0. Þér er frjálst að afrita, breyta, dreifa og nota þetta verk í hvaða tilgangi sem er, án þess að biðja um leyfi.
Studdu smiðinn með því að kaupa vörur í gegnum teikningu hans þar sem hann fær þóknun smiða sem seljendur ákvarða, eða búðu til nýja endurskoðun á þessari teikningu og tengdu hana sem tengingu í þinni eigin teikningu til að deila tekjum.