Samvinna
LIST
FEGURÐ OG VELLÍÐAN
HANDVERK
MENNING OG SAGA
SKEMMTUN
UMHVERFI
MATUR OG DRYKKUR
ÖFUGVERKFRÆÐI
VÍSINDI
ÍÞRÓTTIR
TÆKNI
KLÆÐANLEG TÆKNI
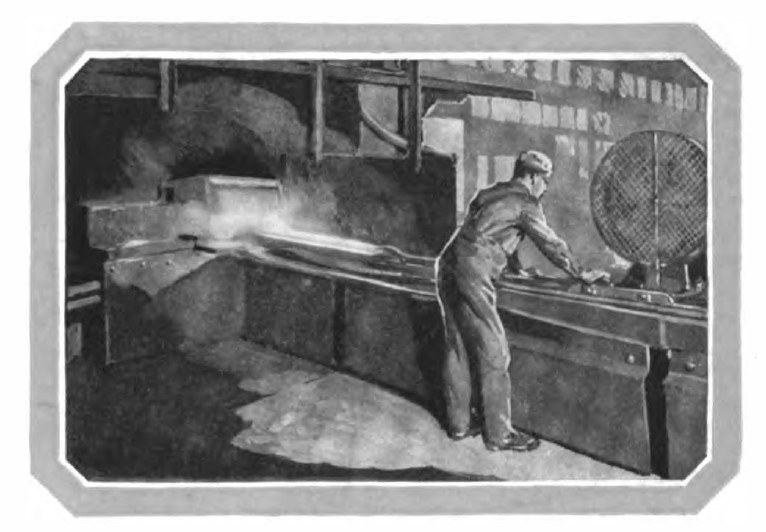


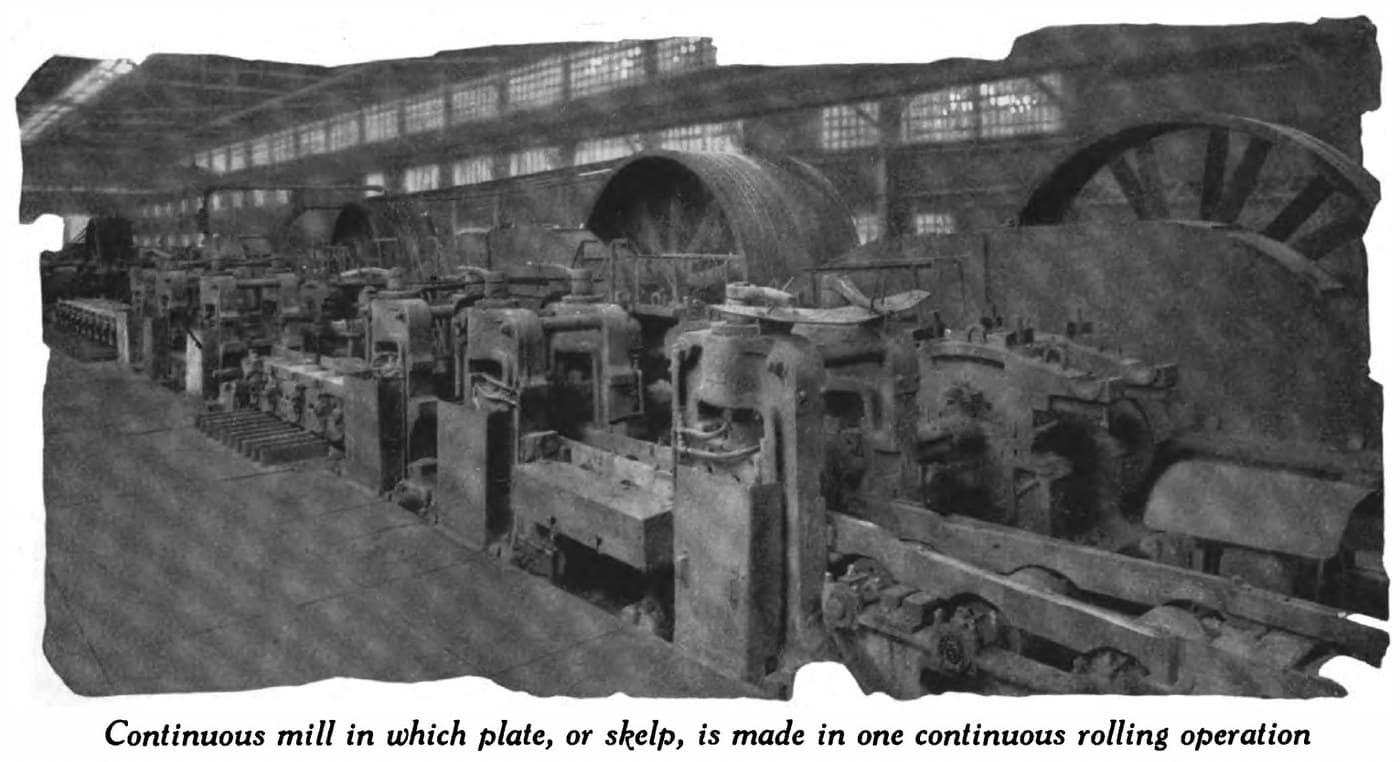
Steel Pipe: Butt-Welded Through a Bell, Sized, Threaded and Tested (National Tube Co., 1921)
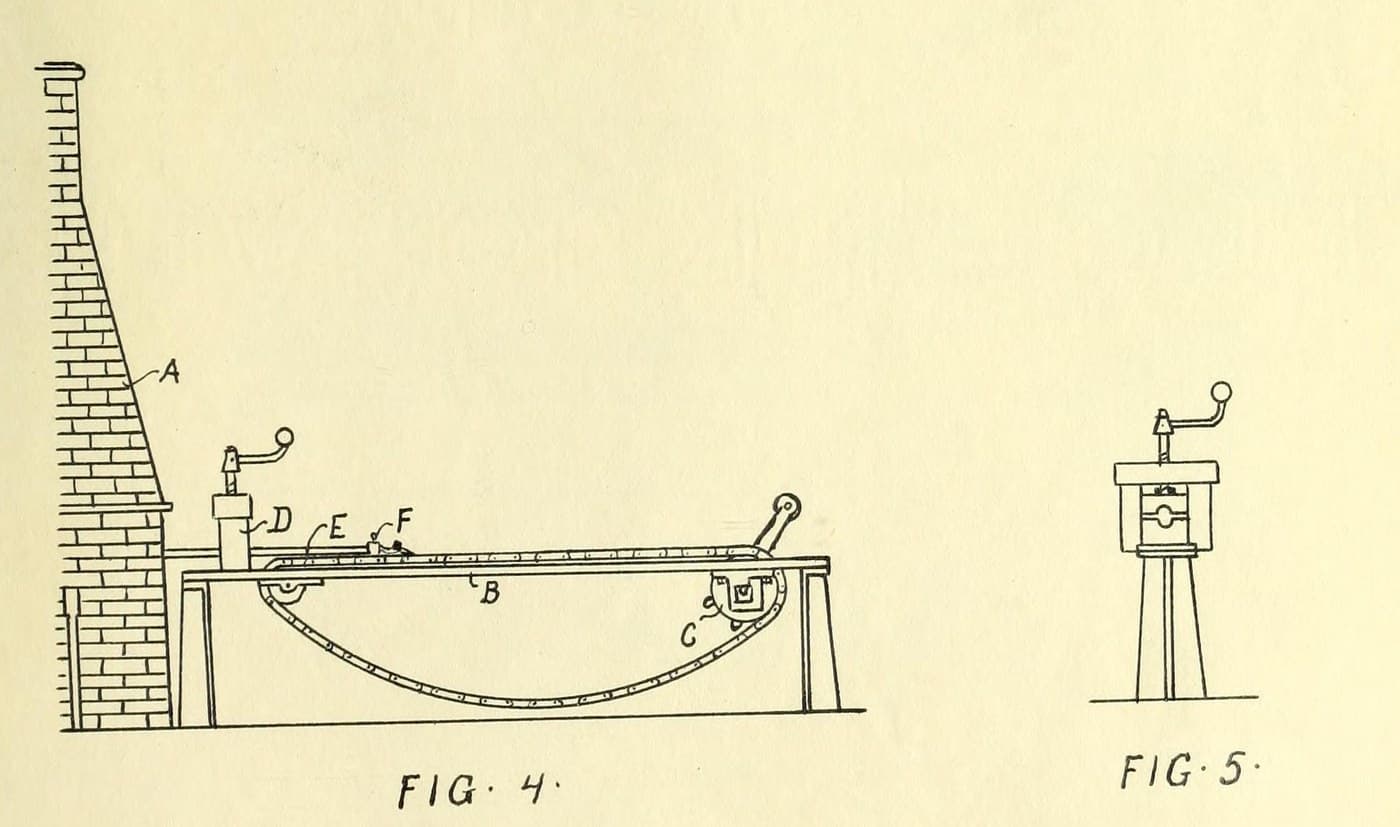
Butt-weld steel pipe, 1/8 to 3 inches, as National Tube made it in 1921: hot skelp is pulled by tongs and a draw-bench chain through a bell a little larger than the finished pipe, which curls it into a tube and presses its edges together into a weld. The pipe is then rolled to size, straightened, cleaned, threaded and pressure-tested.
Each length, 20 to 40 ft, is welded in one pull. Every pipe is tested inside at 700 to 800 lb per square inch.
Source: National Tube Co., "National" Modern Welded Pipe (1921), pp. 41-47. Picture: drawing butt-weld pipe.
Lengra kominn
Unknown
Leiðbeiningar
1
1
Heat the skelp
Heat the skelp
Charge the skelp from the rear into a long welding furnace, a little longer than the skelp, with a narrow opening at each end, and bring it to welding heat.
Efni fyrir þetta skref:
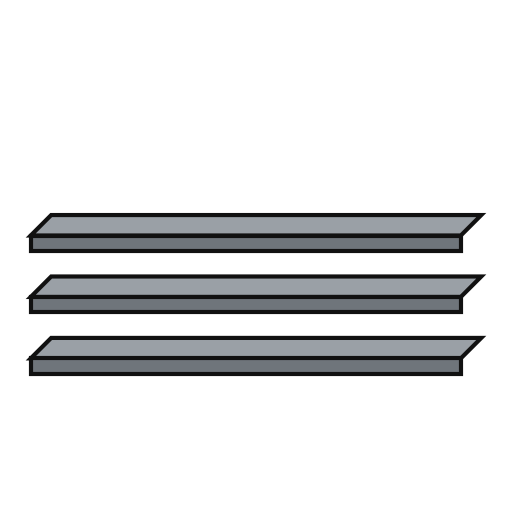 Stálræma fyrir rör1 one piece per length of pipe
Nauðsynleg verkfæri:
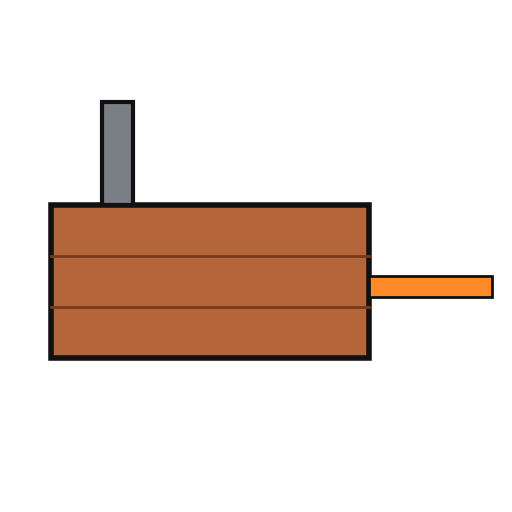 Suðuofn
2
2
Draw it through the bell
Draw it through the bell
Grip the trimmed end with long-handled tongs and pull it through a die, or bell, slightly larger than the finished pipe. Hook the tongs to the travelling chain of the draw bench, which pulls the whole length (20 to 40 ft) through. The skelp is a little wider than the bell's inside circumference, so it curls into a tube and its edges butt squarely and weld. Some sizes go through two bells at one heat, the second slightly smaller.
Nauðsynleg verkfæri:
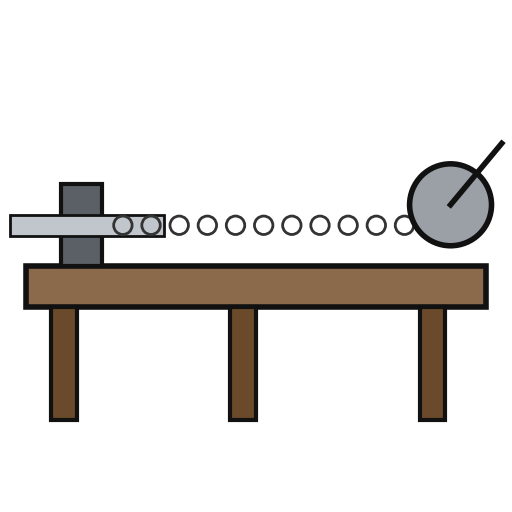 Dráttarbekkur
 SmiðjutöngSuðuofn
3
3
For Double Extra Strong pipe
For Double Extra Strong pipe
Thick skelp needs so great a pull that a strong bar is welded on its end as a 'bait' for the tongs. Draw it several times through bells of decreasing size, reheating between draws, so the seam is thoroughly welded.
Nauðsynleg verkfæri:
DráttarbekkurSmiðjutöngSuðuofn4
4
Size and round
Size and round
Pass the pipe through sizing rolls, which reduce it slightly, lengthen it and loosen the heavy welding scale. Then roll it to its finished size and circular shape, which removes the scale and leaves the walls smooth.
Nauðsynleg verkfæri:
 Valsavél
5
5
Cool, straighten and clean
Cool, straighten and clean
Let the pipe cool slowly as it crosses a table, then straighten and smooth it in cross rolls. Wash off the loosened scale in a tank; blow it out of the smaller sizes with compressed air.
Nauðsynleg verkfæri:
Valsavél Vatn
 Loftþjappa
6
6
Cut, thread and test
Cut, thread and test
Cut off a short length at each end, where the tong jaws crushed it. Thread the pipe, then test it inside with water at 700 to 800 lb per square inch to prove the wall and the weld. Ours: hacksaw, die set and hand test pump; the booklet does not say how the ends are cut or threaded.
Nauðsynleg verkfæri:
 Járnsög
 Snittsett
 Handþrýstiprófunardæla
Efni
1- 1 one piece per length of pipeStaðgengill
Efni úr tengdum teikningum
Þessi teikning býr til

CC0 opinbert ríki
Þessi teikning er gefin út undir CC0. Þér er frjálst að afrita, breyta, dreifa og nota þetta verk í hvaða tilgangi sem er, án þess að biðja um leyfi.
Studdu smiðinn með því að kaupa vörur í gegnum teikningu hans þar sem hann fær þóknun smiða sem seljendur ákvarða, eða búðu til nýja endurskoðun á þessari teikningu og tengdu hana sem tengingu í þinni eigin teikningu til að deila tekjum.