Samvinna
LIST
FEGURÐ OG VELLÍÐAN
HANDVERK
MENNING OG SAGA
SKEMMTUN
UMHVERFI
MATUR OG DRYKKUR
ÖFUGVERKFRÆÐI
VÍSINDI
ÍÞRÓTTIR
TÆKNI
KLÆÐANLEG TÆKNI
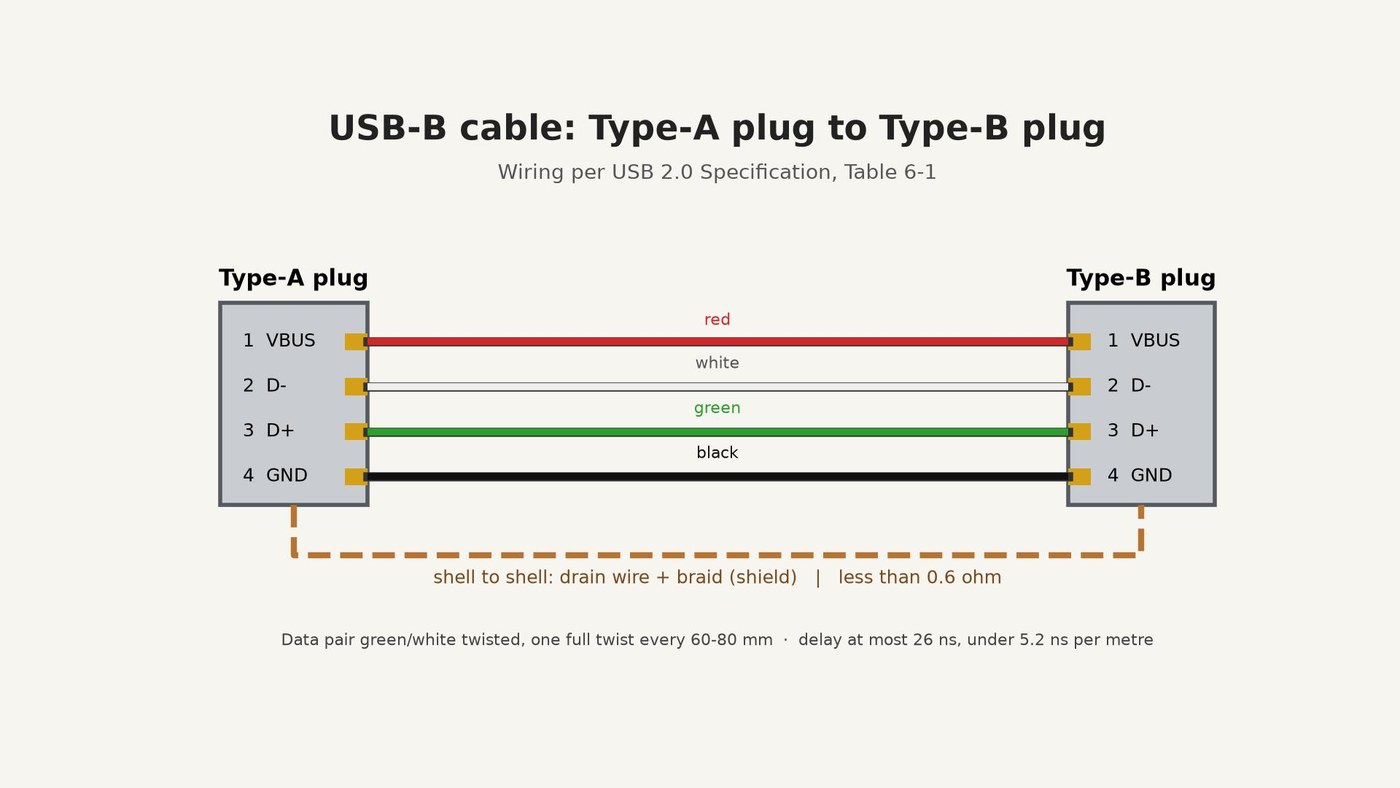


USB-B Cable: Type-A Plug to Type-B Plug, Wired to the USB 2.0 Specification
A USB-B cable joins a computer (Type-A plug) to a device such as an Arduino board or a printer (Type-B plug).
The USB 2.0 Specification (USB Implementers Forum, 2000) fixes the wiring: contact 1 VBUS on the red wire, 2 D- white, 3 D+ green, 4 GND black, and the plug shells joined through the cable's shield. It also sets the cable's build and its limits: a twisted green-white data pair, a red-black power pair, foil and braid shields, no more than 26 ns of delay, and less than 0.6 ohm from shell to shell.
This rung works out how long the cable may be, then cuts a 1.5 m shielded cable, solders a Type-A plug to one end and a Type-B plug to the other, and checks every wire with a multimeter.
Source: Universal Serial Bus Specification Rev. 2.0, sections 6.4.1, 6.5.2, 6.6, 7.1.16, 7.2.2. Picture: our own drawing.
Miðlungs
About 1 hour
Leiðbeiningar
1
1
How long may it be?
How long may it be?
The delay and voltage-drop limits from the specification, and what they allow for each wire size.
2
2
Cut and strip the cable
Cut and strip the cable
Cut 1.5 m of shielded USB cable with a 24 AWG power pair. At each end, slit and remove 20 mm of the PVC jacket with the knife. Comb the braid back over the jacket, trim the foil off and keep the bare drain wire. Strip 3 mm of insulation from the red, black, green and white wires.
Efni fyrir þetta skref:
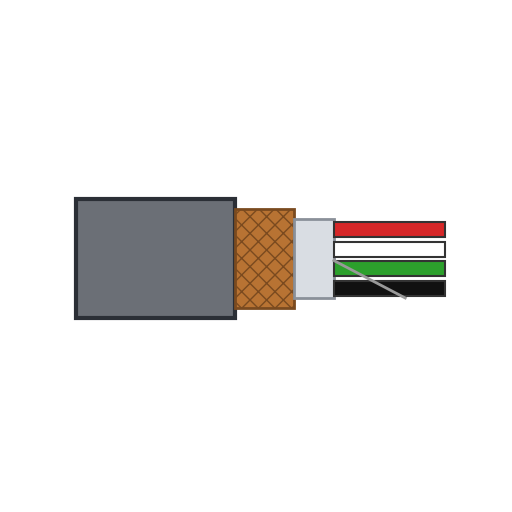 Skermaður USB-kapall1.5 m
Nauðsynleg verkfæri:
 Málband
 Dúkahnífur
 Hliðarklippur
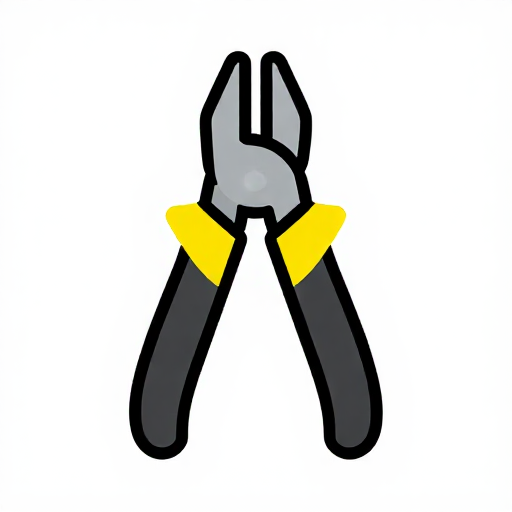 Vírstrípari
 Öryggisgleraugu
3
3
Solder the Type-A plug
Solder the Type-A plug
Slide the plug's hood and a 40 mm piece of heat-shrink tubing onto the cable. Tin the wires and solder them to the plug's contacts: 1 red (VBUS), 2 white (D-), 3 green (D+), 4 black (GND). Twist the drain wire into the braid and solder both to the plug's metal shell.
Efni fyrir þetta skref:
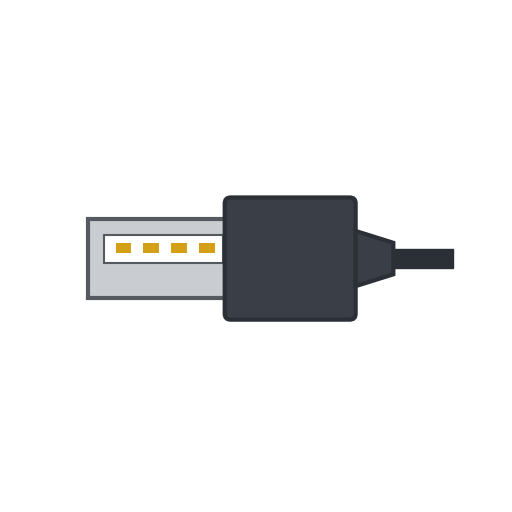 USB-kló gerð A1 stykki
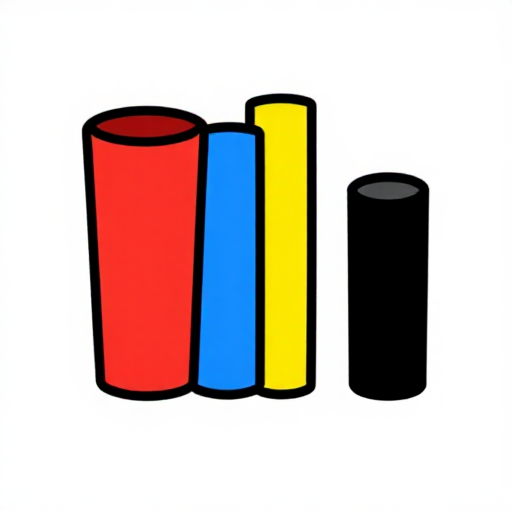 Hitahólkur40 mm
 Lóðtinsvír1 as required
Nauðsynleg verkfæri:
 Lóðbolti
 Hjálparhendur
4
4
Solder the Type-B plug
Solder the Type-B plug
Do the same at the other end with the Type-B plug: 1 red (VBUS), 2 white (D-), 3 green (D+), 4 black (GND), drain wire and braid to the shell. Pin 1 must reach pin 1 at both ends.
Efni fyrir þetta skref:
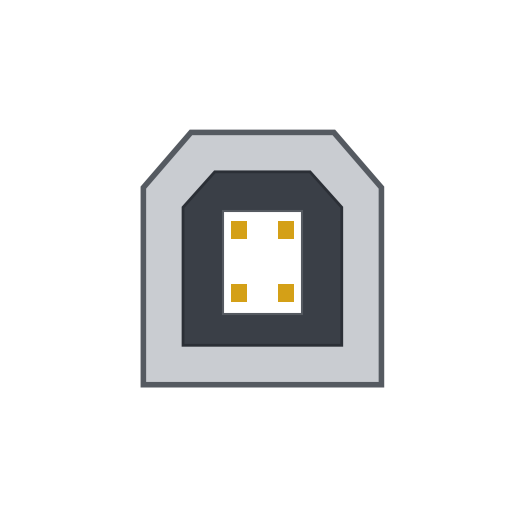 USB-kló gerð B1 stykkiHitahólkur40 mmLóðtinsvír1 as required
Nauðsynleg verkfæri:
LóðboltiHjálparhendur5
5
Check every wire
Check every wire
With the multimeter, check that each contact connects to the same contact at the other end and to no other, and that no contact touches a shell. Measure from shell to shell: the specification asks for less than 0.6 ohm.
Nauðsynleg verkfæri:
 Fjölsviðsmælir
6
6
Close the plugs
Close the plugs
Clip the hoods over the plugs, slide the heat-shrink tubing over each joint between hood and cable, and shrink it with the heat gun as a strain relief.
Nauðsynleg verkfæri:
 Hitabyssa
7
7
History and honest limits
History and honest limits
The specification's revision history dates USB 1.0 to 15 January 1996, 1.1 to 23 September 1998 and 2.0, which added high speed, to 27 April 2000.
The specification requires a standard detachable cable to end in OVERMOLDED plugs; ours has hand-soldered plugs in hoods, so it is not a compliant cable. We do not measure its 90 ohm impedance or its delay. The 1.5 m length, the 24 AWG power pair and the strip lengths are ours. How the plugs and the cable are made is not covered (unknown heads).
Efni
5- 1.5 mStaðgengill
- 1 stykkiStaðgengill
- 80 mmStaðgengill
- 2 as requiredStaðgengill
- 1 stykkiStaðgengill
Nauðsynleg verkfæri
9- Staðgengill
- Staðgengill
- Staðgengill
- Staðgengill
- Staðgengill
- Staðgengill
Þessi teikning býr til

CC0 opinbert ríki
Þessi teikning er gefin út undir CC0. Þér er frjálst að afrita, breyta, dreifa og nota þetta verk í hvaða tilgangi sem er, án þess að biðja um leyfi.
Studdu smiðinn með því að kaupa vörur í gegnum teikningu hans þar sem hann fær þóknun smiða sem seljendur ákvarða, eða búðu til nýja endurskoðun á þessari teikningu og tengdu hana sem tengingu í þinni eigin teikningu til að deila tekjum.