LIST
FEGURÐ OG VELLÍÐAN
HANDVERK
MENNING OG SAGA
SKEMMTUN
UMHVERFI
MATUR OG DRYKKUR
ÖFUGVERKFRÆÐI
VÍSINDI
ÍÞRÓTTIR
TÆKNI
KLÆÐANLEG TÆKNI
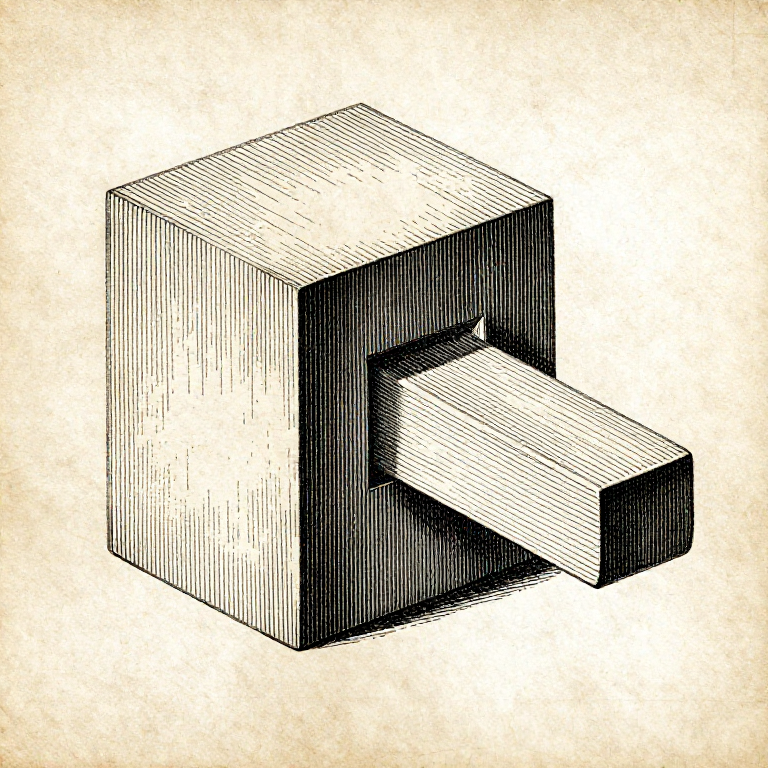


The Mortise and Tenon: What Each Part of It Is Actually For
A mortise and tenon looks like a peg in a hole. It is really four surfaces doing four different jobs, and knowing which is which tells you where to be fussy and where not to bother.
The CHEEKS — the two wide faces of the tenon — are the glue joint, long grain to long grain, and they carry essentially all the strength. The SHOULDERS set the angle and stop the joint racking. The EDGES locate it sideways. The END does nothing at all.
Which is why a tenon that fits its mortise snugly on the cheeks and has a gap at the bottom is a perfect joint, and one that bottoms out but rattles on the cheeks is a bad one — even though the second looks tighter.
Miðlungs
3 hours
Leiðbeiningar
1
1
The cheeks are the joint
The cheeks are the joint
Both tenon cheeks and both mortise walls are long grain. Glued together they make the strongest bond wood offers, and they are the reason the joint holds at all — the butt-joint rung is the argument for why.
So the cheeks are where the fit matters. They want to be a firm sliding fit: close enough that the glue line is thin, loose enough that the joint can be pushed home by hand or with light mallet taps.
Make the cheeks by sawing to a gauged line and paring, and check the fit dry before glue goes anywhere near it. A tenon that is too thick can be pared; one that is too thin needs a shim glued on, and that is a repair rather than a joint.
Efni fyrir þetta skref:
 Harðviðarborð1 stykki
 PVA-trélím1 stykki
Nauðsynleg verkfæri:
 Bakkasög
 Sporjárn
 Rissmál
 Skrúfstykki
2
2
The shoulders set the geometry
The shoulders set the geometry
The shoulders are what the rail actually sits against, so they set the angle between the two pieces and they are what a racking force pushes on. A shoulder that is not square makes the frame out of square, and no amount of clamping fixes it.
Both shoulders must be in the same plane and cut from the same gauge line. Cut one 0.5 mm deeper than the other and the rail twists — and it twists whether the cheeks fit or not.
A visible gap at a shoulder is the joint's most obvious fault, which is why it is worth cutting the shoulder slightly proud and paring to the line with a chisel, rather than sawing straight to it and hoping.
Efni fyrir þetta skref:
Harðviðarborð1 stykkiNauðsynleg verkfæri:
 Fjölvinkill
 RistihnífurSporjárnBakkasög
3
3
Leave the end short, and the proportions that work
Leave the end short, and the proportions that work
Cut the tenon 2 to 3 mm shorter than the mortise is deep. That gap holds squeezed glue, lets the joint close fully on the shoulders, and costs nothing — the end grain at the bottom was contributing nothing anyway.
A tenon that bottoms out is the classic bad joint: it holds the shoulders open by a hair, so there is a visible gap at the most visible place, and the cheeks may not even be seated.
Proportions worth starting from: tenon thickness about ONE THIRD the rail thickness, so the mortise walls and the tenon are all about equally strong. Tenon width up to about five times its thickness — wider than that and it is usually split into two tenons with a haunch between, precisely because a wide tenon moves across its width and a long mortise weakens the stile.
Efni fyrir þetta skref:
Harðviðarborð1 stykkiPVA-trélím1 stykkiNauðsynleg verkfæri:
 GrópmeitillRissmál
 Stafrænn skífmælir 6 tommur
 Trésleggja
4
4
Drawboring: a joint that does not need a clamp
Drawboring: a joint that does not need a clamp
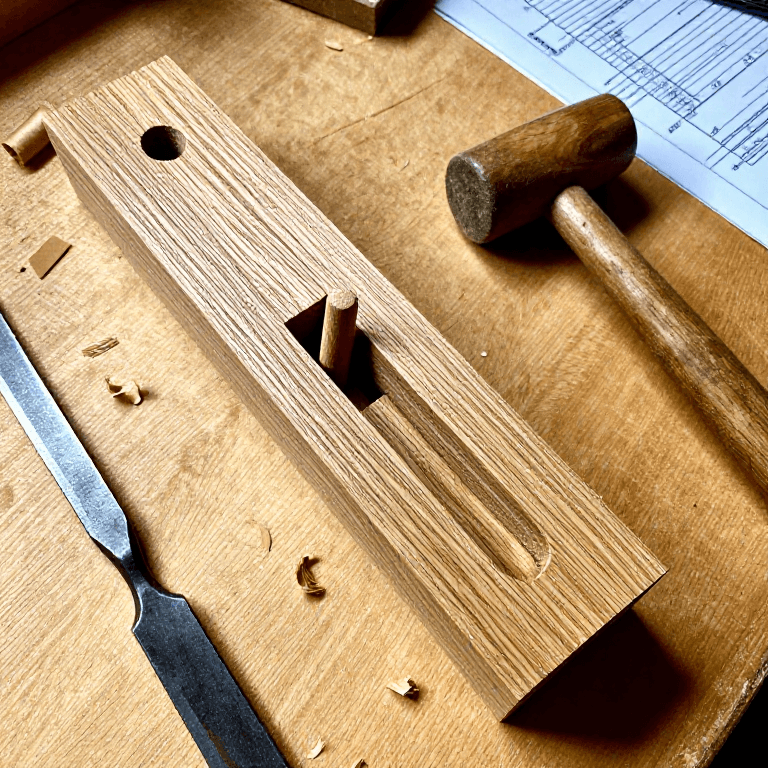
Bore a hole through the mortise walls, assemble, and mark where the hole falls on the tenon. Then bore the tenon's hole about 1 mm CLOSER to the shoulder than the mark, and drive a tapered peg through.
The peg is forced to bend as it passes, and pulls the tenon's shoulder hard against the stile — permanently, without clamps, and without waiting for glue. It is how timber frames and much pre-industrial furniture were assembled, and it works on green timber where glue does not.
Offset too far and the peg snaps or the tenon splits; 1 mm is about right in hardwood, a little more in softwood. Make the pegs from riven, straight-grained stock — a sawn peg with grain running out will shear as it bends.
Efni fyrir þetta skref:
 Tréteinar1 stykkiHarðviðarborð1 stykki
Nauðsynleg verkfæri:
TrésleggjaSporjárnRissmálEfni
3- 1 stykkiStaðgengill
- 2 stykkiStaðgengill
- 1 stykkiStaðgengill
Tengd Blueprint
Þessi blueprint deila þekkingu — tækni, efni eða meginreglur

CC0 opinbert ríki
Þessi teikning er gefin út undir CC0. Þér er frjálst að afrita, breyta, dreifa og nota þetta verk í hvaða tilgangi sem er, án þess að biðja um leyfi.
Studdu smiðinn með því að kaupa vörur í gegnum teikningu hans þar sem hann fær þóknun smiða sem seljendur ákvarða, eða búðu til nýja endurskoðun á þessari teikningu og tengdu hana sem tengingu í þinni eigin teikningu til að deila tekjum.