Samvinna
LIST
FEGURÐ OG VELLÍÐAN
HANDVERK
MENNING OG SAGA
SKEMMTUN
UMHVERFI
MATUR OG DRYKKUR
ÖFUGVERKFRÆÐI
VÍSINDI
ÍÞRÓTTIR
TÆKNI
KLÆÐANLEG TÆKNI
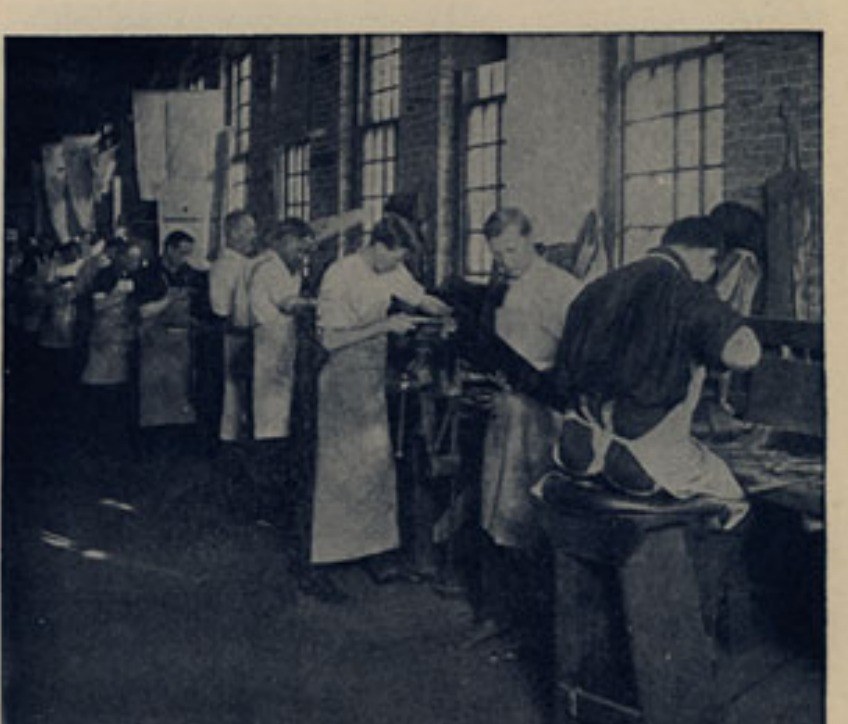


Woodworking Saw: a Hand Saw Made the Disston Works Way (1922)
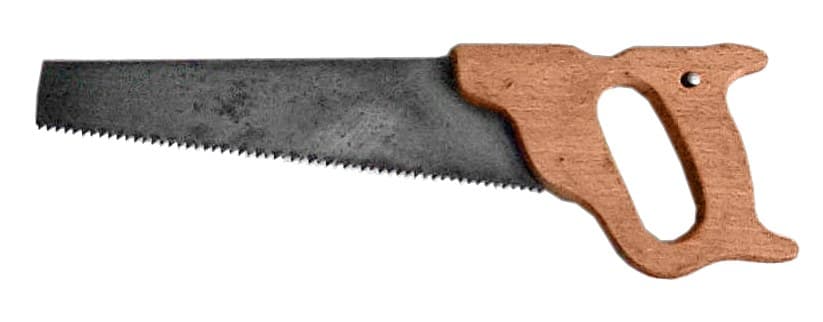
A hand saw for wood is a toothed steel blade with a wooden handle. Henry Disston & Sons of Philadelphia, who made most of the hand saws used in the United States, described their own sequence in a 1922 booklet: shear the plate, tooth it, harden and temper it, hammer it flat and true, grind it thinner toward the back and the point, tension it, polish it, set and file the teeth, and screw on a fitted handle.
The booklet gives the order of the work and how the hand work is done, but keeps its numbers to itself: the steel, the hardening heat and bath, the tempering and the stiffening were Disston secrets. Those gaps are marked as unknown below.
Source: How a Disston Hand Saw Is Made (Henry Disston & Sons, 1922), pp. 1-9. Picture: their p. 8, setting and filing.
Lengra kominn
Several days
Leiðbeiningar
1
1
Read Disston
Read Disston
"To the uninitiated, a hand saw represents simply a notched piece of sheet steel, with a wooden handle on one end. As a matter of fact, there are more than 82 progressive operations in making a Disston Hand Saw."
2
2
Cut and tooth the plate
Cut and tooth the plate
Disston made its own steel from special formulas, cast it into ingots and rolled them red hot into sheets; the grade and thickness are not given, so start from steel sheet. Shear the sheet to the shape and size of the blade. Heavier plates are kept for coarse teeth and lighter ones for fine. Stamp the blade with the number of points (teeth) to the inch it is to have, then punch the teeth in a toothing machine. The blade is still soft.
Efni fyrir þetta skref:
 Stálplata1 stykki
Nauðsynleg verkfæri:
 Gatapressa
 Öryggisgleraugu
3
3
Harden and temper
Harden and temper
Heat the toothed blade evenly in an oil-burning furnace to its hardening heat, then plunge it edge first into the hardening bath. It is now extremely hard and brittle, so handle it with great care until it is tempered. Tempering draws back part of that hardness and gives the blade its spring. Disston does not give the heat, the bath or its tempering process (unknown).
Nauðsynleg verkfæri:
 Olíukynntur ofn
 Óþekktur efniviðurÖryggisgleraugu
4
4
Smith it flat
Smith it flat
Hammer the blade on the anvil to straighten and flatten it ("smithing in the black"). Lift it and sight along it toward the light: the shadows on the blade show where the hammer should fall. Work by daylight; Disston found that wavering artificial light would not do.
Nauðsynleg verkfæri:
 Hamar
 Steðji
5
5
Taper-grind
Taper-grind
Grind the blade to its gauge, and taper it: it gets thinner from the tooth edge to the back, and from the handle to the point, while the tooth edge stays the same thickness from end to end. Disston: "A saw not ground to proper taper cannot be ranked a high-class tool."
Nauðsynleg verkfæri:
 SlípiskífaÖryggisgleraugu
6
6
Tension the blade
Tension the blade
Hammer the blade again to give it the right tension, so that it is neither "fast" nor "loose". In a fast blade the metal is too long at the edge: hammer the centre to expand it. In a loose blade, stretch the edge. A saw without proper tension will not cut straight and true, and will buckle in the wood.
Nauðsynleg verkfæri:
HamarSteðji7
7
Draw-grind, glaze, block and polish
Draw-grind, glaze, block and polish
Grind the blade a second time ("draw-grinding") to prepare it for polishing. Glaze it by buffing while it is covered with very fine emery. Then "block" it: hammer out any small irregularities left by grinding and glazing, on the anvil and on a block of lignum vitae, a wood hard enough to work on but which leaves no hammer marks. Polish the blade. Disston then stiffened it by a process it kept secret, and etched its mark on it.
Nauðsynleg verkfæri:
Slípiskífa SmergilduftHamarSteðji
 Harðviðarborð
8
8
Set the teeth
Set the teeth
Lay the blade on the setting block, or stake. Starting with the first tooth at the butt end, set every other tooth; then turn the blade over and, starting with the first unset tooth at the point, set the rest. Use a hammer with a long, tapering head: one tap sets each tooth over by half the blade's thickness, so the cutting edge is about twice as thick as the blade. This keeps the saw from binding.
Nauðsynleg verkfæri:
HamarSteðji9
9
Sharpen
Sharpen
Clamp the saw in a vise and, holding the file in both hands, go from tooth to tooth, giving each tooth its bevel and a keen edge.
Nauðsynleg verkfæri:
 Skrúfstykki
 Sagarþjöl
10
10
Fit the handle
Fit the handle
Cut and bore a wooden handle and fit it to its own blade, so the saw has the right "hang" (pitch) in use; the kind of wood is not given (unknown). Put the handle on the blade, mark the screw holes with a scriber, take the handle off and punch the holes in the blade. Replace the handle and fasten it with brass saw screws. Look the saw over for faults, then oil it and wipe it off; the oil is not named (unknown).
Efni fyrir þetta skref:
 Timburborð1 stykki
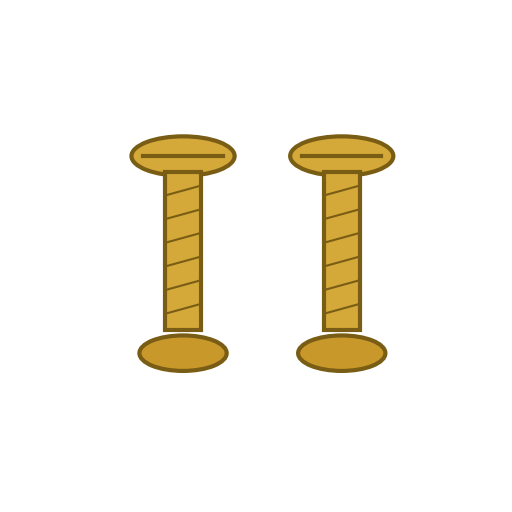 Sagarskrúfur1 settÓþekktur efniviður1 dash
Nauðsynleg verkfæri:
 Laufsög
 Súlubor
 RissnálGatapressa
 Bómullartuska
11
11
History and honest limits
History and honest limits
Henry Disston began making hand saws in Philadelphia in 1840, without even a helper, and made his own steel from 1855. By 1922 the works employed about 3,600 people, sawed its handle wood from logs in its own mill and made its own brass screws.
The booklet was written for customers, not saw makers. It leaves out every number: steel, thickness, points per inch, hardening heat and bath, tempering and stiffening. Those are marked unknown here, and the use of a punch press, a grinding wheel, a coping saw and a drill press for the factory machines is ours.
Efni
4- 1 stykkiStaðgengill
- 1 stykkiStaðgengill
- 1 settStaðgengill
- 1 dashStaðgengill
Nauðsynleg verkfæri
15- Staðgengill
- Staðgengill
- Staðgengill
- Staðgengill
- Staðgengill
- Staðgengill
- Staðgengill
- Staðgengill
- Staðgengill
- Staðgengill
- Staðgengill
- Staðgengill
- Staðgengill
- Staðgengill
- Staðgengill
Þessi teikning býr til

Tengd Blueprint
Þessi blueprint deila þekkingu — tækni, efni eða meginreglur
CC0 opinbert ríki
Þessi teikning er gefin út undir CC0. Þér er frjálst að afrita, breyta, dreifa og nota þetta verk í hvaða tilgangi sem er, án þess að biðja um leyfi.
Studdu smiðinn með því að kaupa vörur í gegnum teikningu hans þar sem hann fær þóknun smiða sem seljendur ákvarða, eða búðu til nýja endurskoðun á þessari teikningu og tengdu hana sem tengingu í þinni eigin teikningu til að deila tekjum.