Carving a Cylinder Seal — Rolling Stamp for Clay Impressions
Istruzioni
Select and Shape the Stone Cylinder
Select and Shape the Stone Cylinder
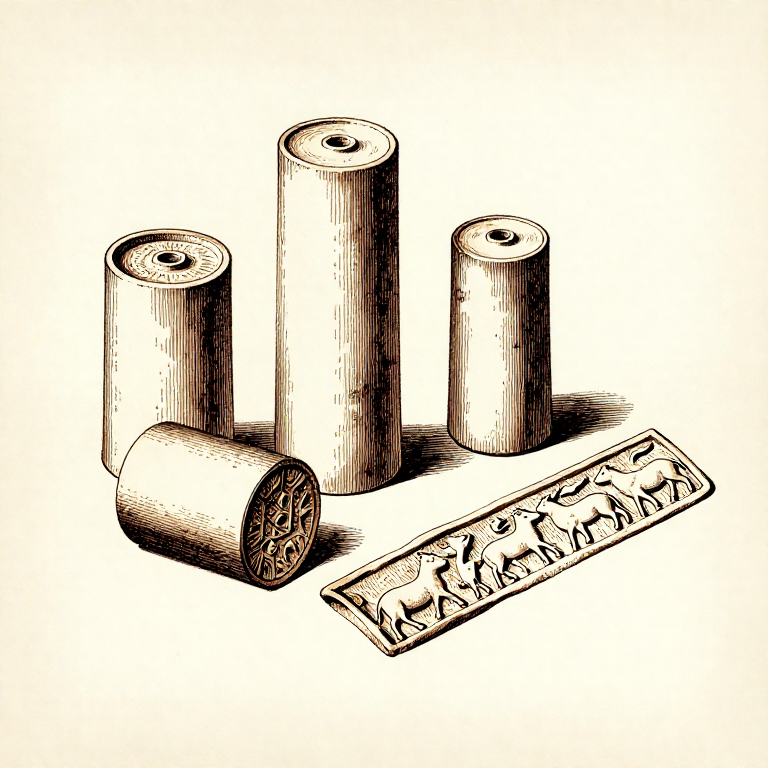
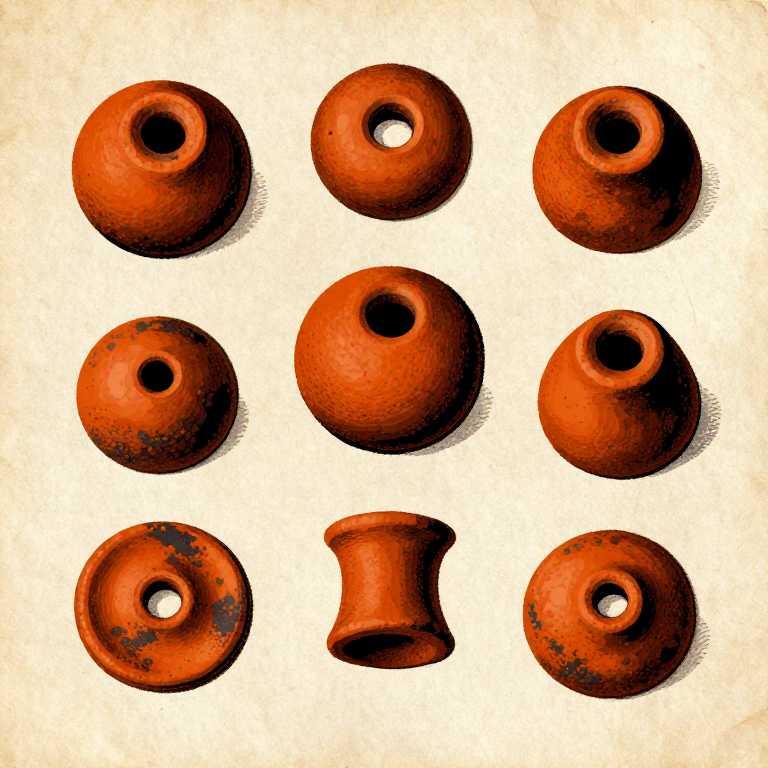
Choose a piece of soft stone — steatite (soapstone), serpentine, or fine limestone work well for hand carving. Harder stones like lapis lazuli, agate, and haematite were used in later periods but require metal or abrasive drilling tools. Shape the stone into a cylinder approximately 2-4 cm long and 1-2 cm in diameter by grinding it on a sandstone slab. The cylinder must be perfectly round and smooth — any irregularity produces a distorted impression when rolled. Drill an axial hole through the centre using a bow drill so the seal can be worn on a cord or pin.
Materiali per questo passaggio:
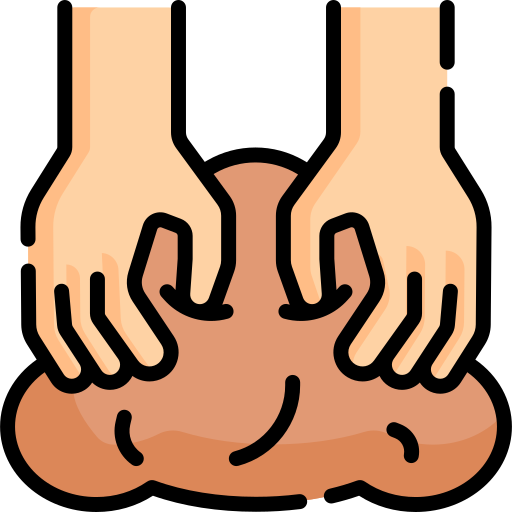 Claysmall amount pezzo
Strumenti necessari:
 Sandstone (Abrasive)
Plan the Design
Plan the Design
Sketch the design on a flat surface before carving — remember that the carving must be intaglio (cut into the surface) so that the impression appears in relief (raised). Common Mesopotamian seal motifs include processions of animals, mythological scenes, worship scenes before deities, and geometric patterns. The design must wrap continuously around the cylinder so that when rolled, it produces an unbroken frieze. For a first attempt, simple geometric patterns or a row of repeated animal figures are manageable. Mark the design onto the cylinder surface using a pointed tool to scratch guide lines.
Carve the Intaglio Design
Carve the Intaglio Design
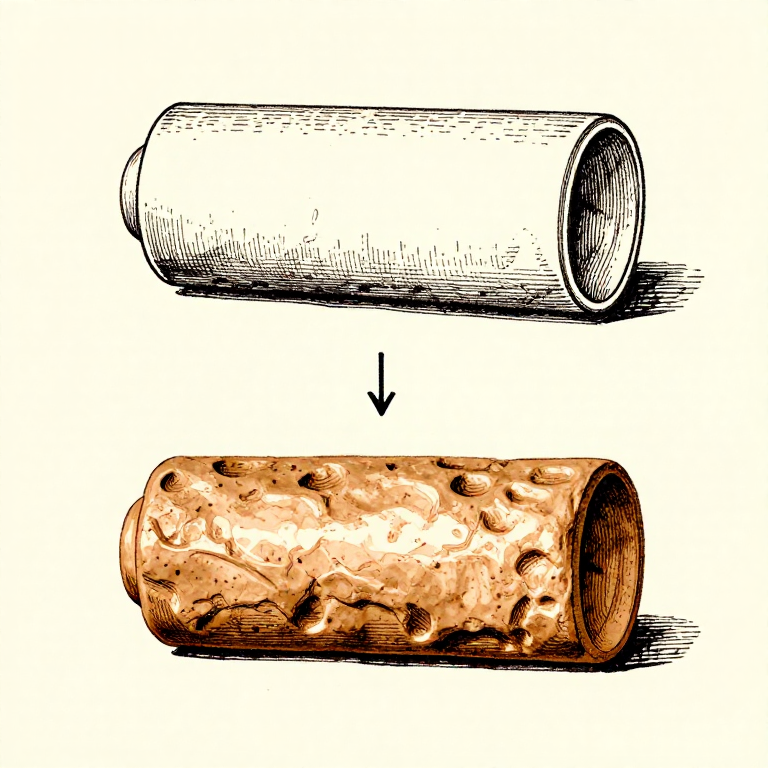
Using a flint burin or a hard stone engraving point, carefully cut the design into the cylinder surface. Work slowly — each cut removes stone that cannot be replaced. Cut the deepest elements first (the main figures) and add fine details last. The depth of the carving determines how prominent the relief appears in the impression — typical depth is 1-2 mm. Ancient seal cutters used a combination of hand-held point tools for linear details and small rotary drill bits spun with a bow drill for circular elements like eyes and rosettes. Rotate the cylinder frequently to check that the design maintains consistent proportions around the full circumference.
Test and Refine
Test and Refine
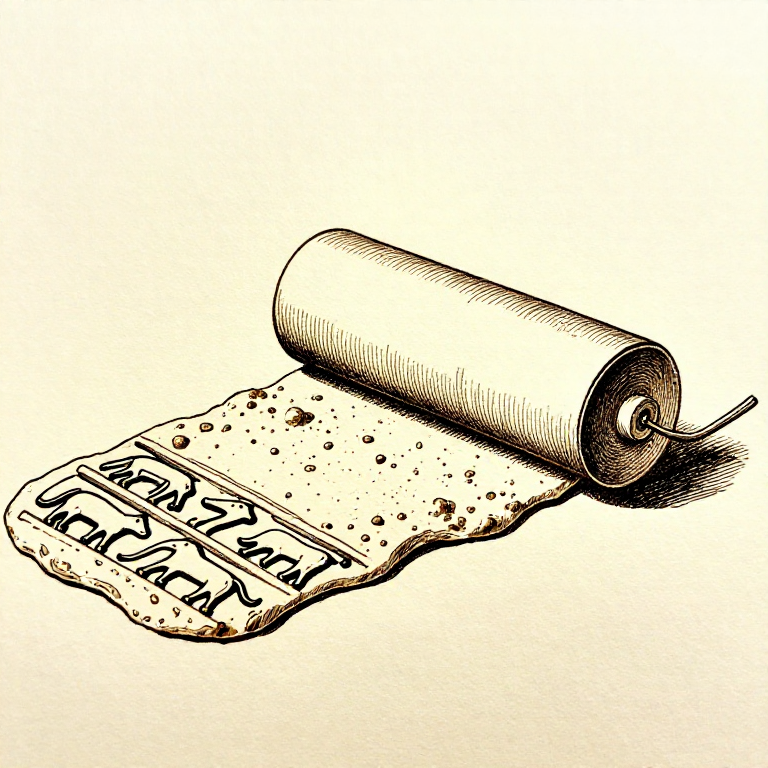
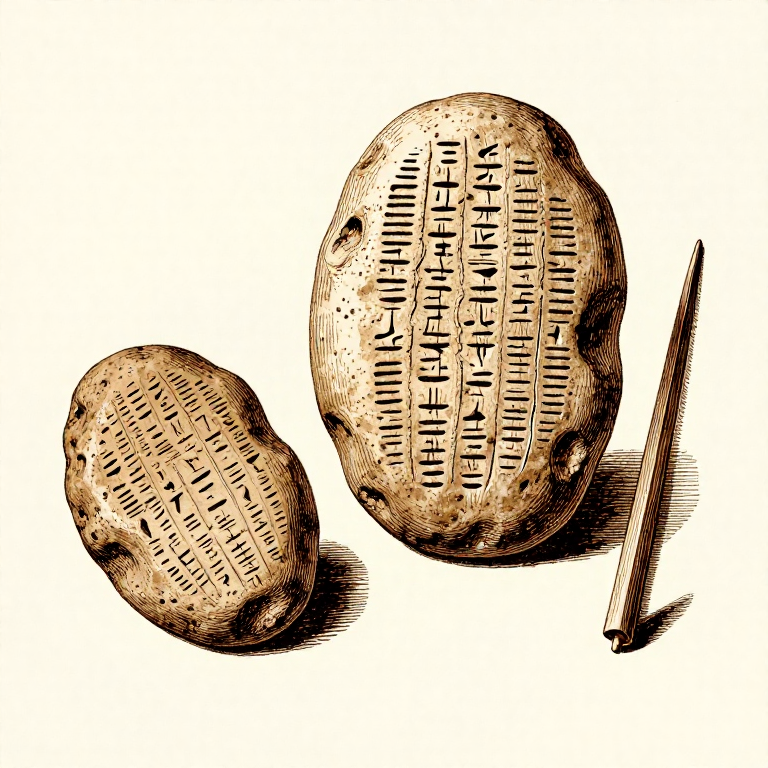
Roll the seal across a flat piece of wet clay to produce a test impression. Examine the impression carefully — areas that appear too shallow need deeper carving; any unintended marks on the background need to be smoothed away. The impression should show a clear, readable design with even depth. Test rolling pressure: too little pressure produces a faint impression; too much distorts the image. Refine the carving based on the test impression, deepening lines that appear weak and smoothing rough areas. Professional Mesopotamian seal cutters achieved extraordinary detail — figures less than 1 cm tall with clearly defined facial features and textile patterns.
Use and Significance
Use and Significance
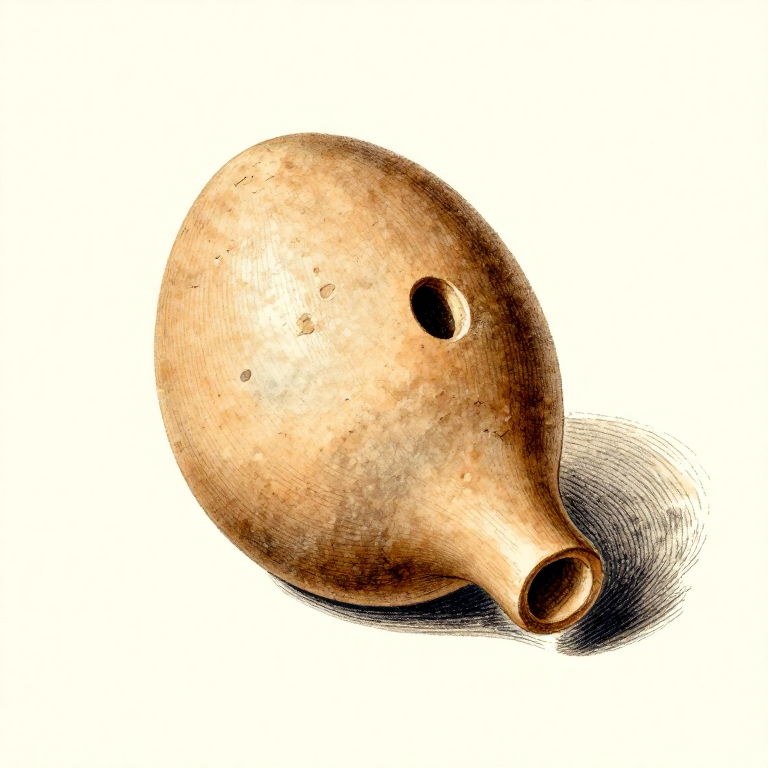
To use the seal, roll it firmly across wet clay — on the surface of a tablet, across the clay sealing of a jar or door lock, or onto a clay tag attached to a bundle of goods. The continuous design wraps around completely, making it impossible to forge by simple stamping. Each seal was unique to its owner and served as a personal signature and legal authentication. Seals were often inscribed with the owner's name and title. Losing one's cylinder seal was serious — legal texts describe procedures for publicly invalidating a lost seal. Cylinder seals were personal property passed through generations, and many show evidence of re-carving when ownership changed.
Materiali
2- 1 piece, 2-4 cm pezzoSegnaposto
- small amount pezzoSegnaposto
Strumenti richiesti
3- Segnaposto
- Segnaposto
- Segnaposto
Related blueprints
Other builds that share materials, tools, or techniques with this one.

CC0 Pubblico dominio
Questo progetto è rilasciato sotto CC0. Sei libero di copiare, modificare, distribuire e utilizzare quest'opera per qualsiasi scopo, senza chiedere permesso.
Supporta il Maker acquistando prodotti tramite il suo progetto dove guadagna una Commissione Maker stabilita dai venditori, oppure crea una nuova iterazione di questo progetto e includilo come collegamento nel tuo progetto per condividere i ricavi.