Collaborazione
ARTE
BELLEZZA E BENESSERE
MESTIERE
CULTURA E STORIA
DIVERTIMENTO
AMBIENTE
CIBO E BEVANDE
INGEGNERIA INVERSA
SCIENZE
SPORT
TECNOLOGIA
INDOSSABILI
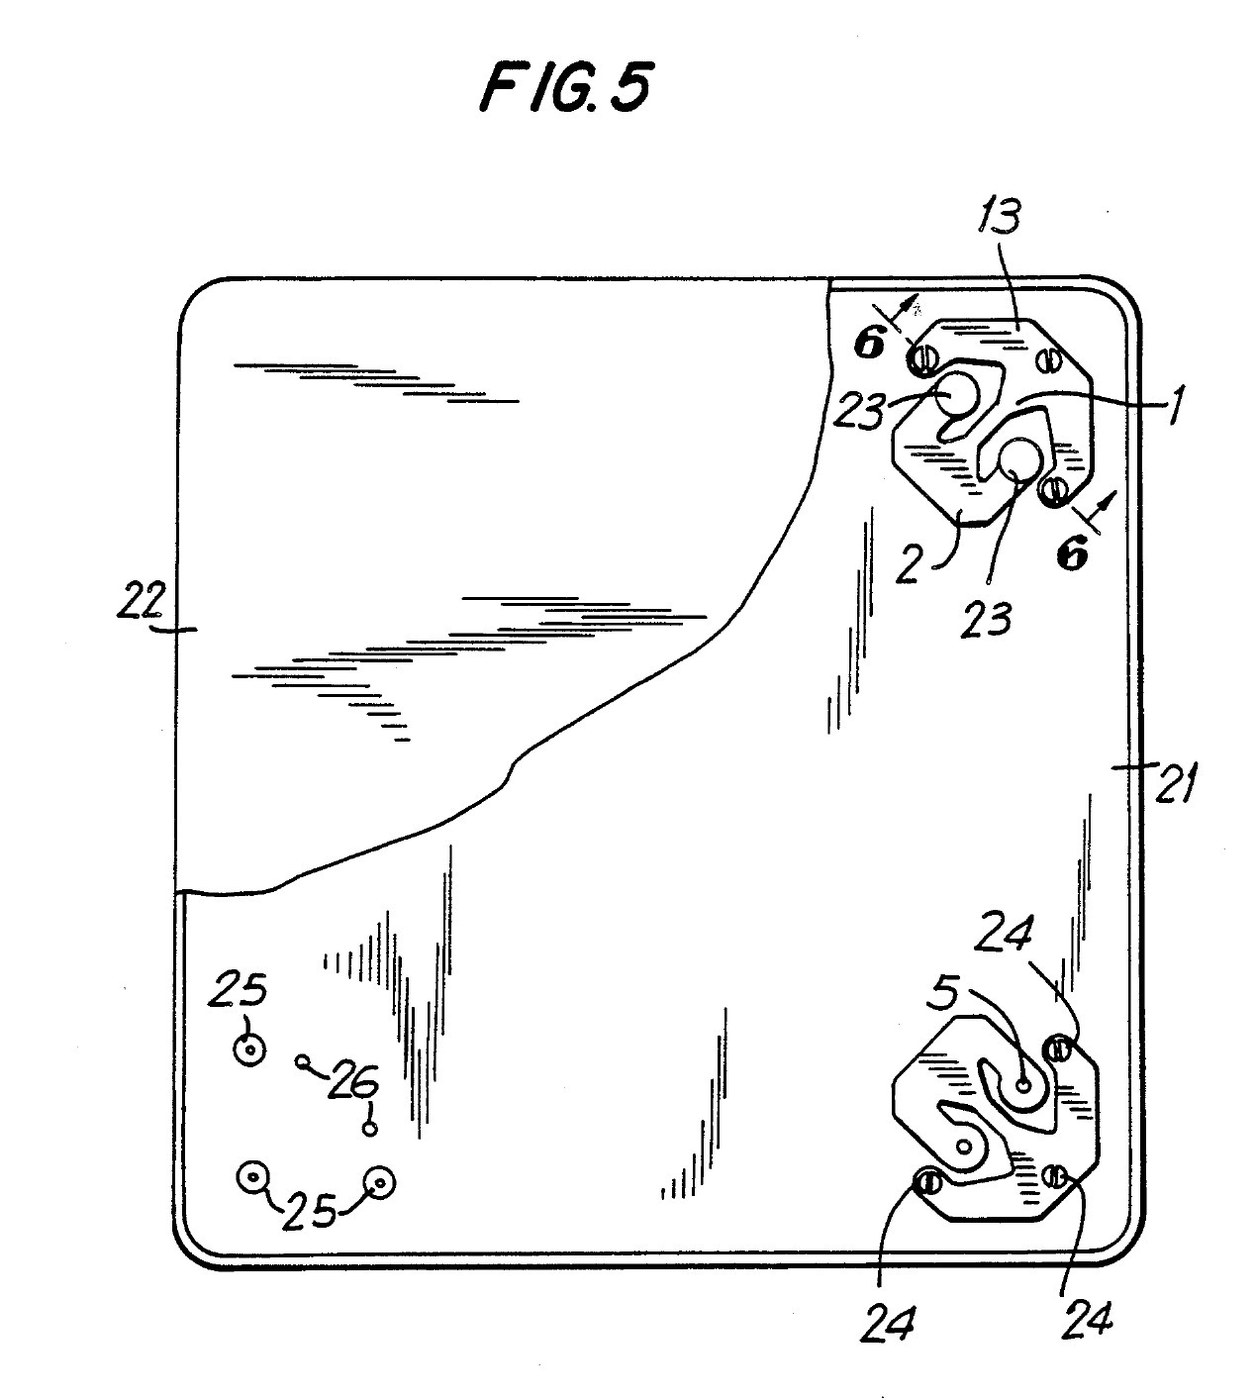


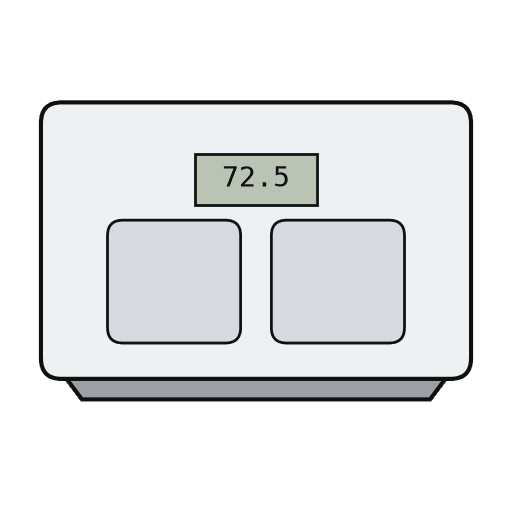
Bathroom Scale: Four Flat Load Cells Between Two Plates (Angel, 1991)
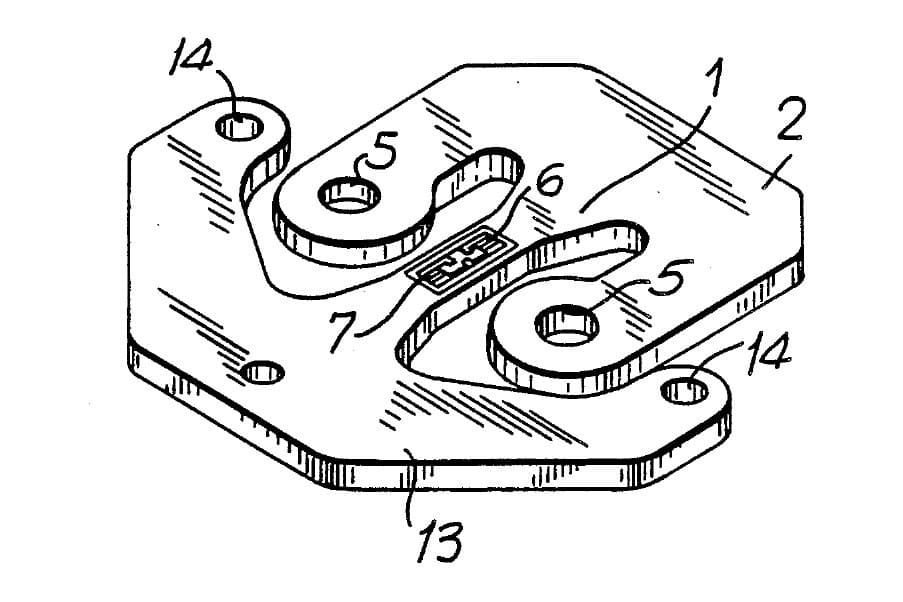
A floor scale only as thick as two plates. Four flat load cells sit in the corners between a base and a top plate; their strain gauges are wired into one bridge, so the signal is the sum of the four loads wherever you stand.
Result: a low digital bathroom scale reading in pounds or kilograms. The patent gives under 0.05 % non-linearity, hysteresis and non-repeatability, and under 0.1 % error from off-centre loads; its feet let it stand on thick carpet.
Source: S. Angel, US Patent 4,993,506 (1991). Unknown: the plate material and size, the maximum load, and the circuit. Ours: ebonite for the hard rubber, epoxy, the amplifier and display parts. Picture: patent drawing (Fig. 5).
Avanzato
2 days
Istruzioni
1
1
Mount the four load cells
Mount the four load cells
Put one load cell in each corner of the rigid base plate. Screw each one down to small flat raised pads on the plate. Place the pads away from the edge of the cell's beam, so that fixing the cell does not change its sensitivity. Under each cell, tap two holes through the base for the overload screws. Not given: the plate material and size.
Materiali per questo passaggio:
 Cella di carico4 pezzi
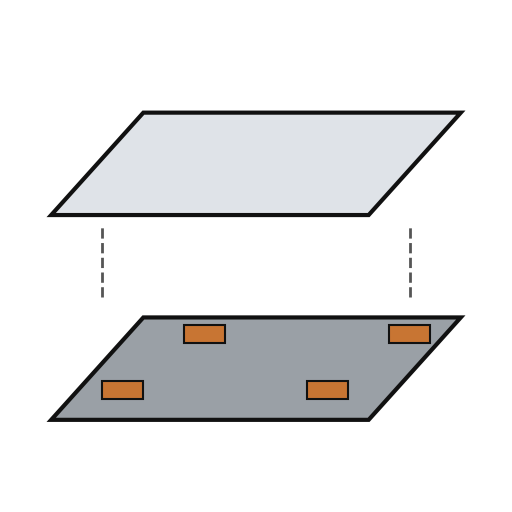 Base e piatto della bilancia1 base and top plate
 Viti da metallo8 cell screws
Strumenti necessari:
 Serie di maschi e filiere
 Set di cacciaviti
 Dimensioni sconosciute
2
2
Wire one bridge and the readout
Wire one bridge and the readout
Each cell's two gauges are half a Wheatstone bridge. Join the four halves into one full bridge, one half at each corner, so the bridge gives a signal in step with the sum of the four loads. The signal is amplified, turned into numbers by an analog-to-digital converter, worked into pounds or kilograms and shown on a display. Put the electronics and batteries in the space between the plates. Not given: the circuit. Ours: an op-amp and a segment LCD.
Materiali per questo passaggio:
 Circuito integrato amplificatore operazionale1 amplifier
 Convertitore analogico-digitale1 pezzo
 Display LCD a segmenti1 pezzo
 Batteria1 as the circuit needs
 Filo per cablaggio1 as needed
 Filo per saldatura1 a little
Strumenti necessari:
 Saldatore a stagno
3
3
Fit the top plate on hard rubber pads
Fit the top plate on hard rubber pads
Glue four flat round pads of a rigid but slightly yielding material, such as hard rubber, under the top plate. Give each pad small round studs that snap into the two load holes of its cell, so the weight goes in at the centres of those holes. The pads soften impacts when something is dropped on the scale and take up sideways forces as the top plate bends. The snaps let the top plate be pulled off for repairs. Ours: ebonite and epoxy.
Materiali per questo passaggio:
 Barra di ebanite1 four pads
 Resina epossidica bicomponente1 a little
Strumenti necessari:
 Seghetto per metalli
4
4
Fit the feet
Fit the feet
Under the base, below each cell, fix a shallow foot of flexible material such as hard rubber, rounded underneath. Put its lowest point exactly below the centre of the cell's beam: the floor then pushes up at the beam's centre without bending it, and the scale works on thick carpet or uneven floors. Ours: ebonite.
Materiali per questo passaggio:
Barra di ebanite1 four feetResina epossidica bicomponente1 a littleStrumenti necessari:
Seghetto per metalli5
5
Set the overload stops
Set the overload stops
Load the scale to its maximum capacity. Turn the short screws in from below until they just touch the arms of each cell's loading element, then lock them with adhesive. Any heavier load now rests on the screws instead of bending the cells further. Not given: the maximum capacity. Ours: calibration weights and epoxy.
Materiali per questo passaggio:
Viti da metallo8 overload screwsResina epossidica bicomponente1 a littleStrumenti necessari:
 Set di pesi di taraturaSet di cacciaviti
Materiali
11- 4 pezziSegnaposto
- 1 base and top plateSegnaposto
- 8 overload screwsSegnaposto
- Segnaposto
- Segnaposto
- 1 pezzoSegnaposto
- 1 as the circuit needsSegnaposto
- 1 as neededSegnaposto
- 1 a littleSegnaposto
- 1 four feetSegnaposto
- 3 a littleSegnaposto
Strumenti richiesti
6- Segnaposto
- Segnaposto
- Segnaposto
- 2 vendors sell this, none ship to you yetSegnaposto
- Segnaposto
- Segnaposto
Materiali dei progetti collegati
Questo progetto realizza
Blueprint correlati
Questi blueprint condividono conoscenze — tecniche, materiali o principi

CC0 Pubblico dominio
Questo progetto è rilasciato sotto CC0. Sei libero di copiare, modificare, distribuire e utilizzare quest'opera per qualsiasi scopo, senza chiedere permesso.
Supporta il Maker acquistando prodotti tramite il suo progetto dove guadagna una Commissione Maker stabilita dai venditori, oppure crea una nuova iterazione di questo progetto e includilo come collegamento nel tuo progetto per condividere i ricavi.