ARTE
BELLEZZA E BENESSERE
MESTIERE
CULTURA E STORIA
DIVERTIMENTO
AMBIENTE
CIBO E BEVANDE
FUTURO VERDE
INGEGNERIA INVERSA
SCIENZE
SPORT
TECNOLOGIA
INDOSSABILI

Tradotto
BLUEPRINT NFT

Lampeggiamento LED — Il Tuo Primo Progetto Arduino
Il classico primo progetto di elettronica! Costruisci un circuito LED lampeggiante utilizzando un Arduino, una breadboard, un resistore e un singolo LED. Perfetto per principianti assoluti — nessuna saldatura richiesta.
Istruzioni
1
1
Raccogli i tuoi componenti
Raccogli i tuoi componenti
Raccogli tutti i componenti elencati di seguito. Non è necessario saldare — tutto si collega alla breadboard.
Materiali per questo passaggio:
 SparkFun Inventor's Kit - V3.21 kit
Arduino Uno R31 pezzo
5mm LED (any color)1 pezzo
 220 ohm Resistor (1/4W)1 pezzo
Breadboard1 pezzo
Jumper Wires (Male-to-Male)2 pezzi
USB-B Cable1 pezzo
Strumenti necessari:
Computer with Arduino IDE
2
2
Schema Circuitale
Schema Circuitale
Il segnale fluisce da Arduino Pin 13 → resistore 220Ω (R1) → LED (D1) → GND. Il resistore limita la corrente per proteggere LED.
Materiali per questo passaggio:
Arduino Uno R31 pezzo
5mm LED (any color)1 pezzo
220 ohm Resistor (1/4W)1 pezzo3
3
Collegalo
Collegalo
- Inserisci il LED nella breadboard — gamba lunga (anodo +) in una riga, gamba corta (catodo −) nella riga successiva.
- Inserisci una gamba del resistore 220Ω nella stessa riga del catodo LED. L'altra gamba in una riga separata.
- Jumper wire dalla riga anodo LED → Arduino Pin 13.
- Jumper wire dalla riga libera del resistore → Arduino GND.
Materiali per questo passaggio:
5mm LED (any color)1 pezzo
220 ohm Resistor (1/4W)1 pezzoBreadboard1 pezzo
Jumper Wires (Male-to-Male)2 pezzi
4
4
Caricare il Codice Blink
Caricare il Codice Blink
Collega Arduino tramite USB. Apri Arduino IDE, seleziona Tools → Board → Arduino Uno, incolla il codice e clicca su Upload.
blink.inoarduino
Materiali per questo passaggio:
Arduino Uno R31 pezzo
USB-B Cable1 pezzo
Strumenti necessari:
Computer with Arduino IDE
5
5
PCB Layout (Riferimento)
PCB Layout (Riferimento)
Questo mostra il circuito come un layout PCB. Non necessario per questo progetto — la breadboard funziona perfettamente — ma mostra come lo stesso circuito apparirebbe se realizzato come una scheda reale.
6
6
Test e Esperimento
Test e Esperimento
LED lampeggia? Congratulazioni! Hai appena programmato hardware.
Risoluzione dei problemi:
Prossimi esperimenti:
Risoluzione dei problemi:
- LED non si accende? Capovolgi il LED — gamba lunga verso Pin 13.
- LED rimane acceso? Verifica che il codice sia stato caricato correttamente.
- Non succede nulla? Verifica che il cablaggio corrisponda allo schema nel Passaggio 2.
Prossimi esperimenti:
- Modifica i valori di
delay()per controllare la velocità di lampeggio - Aggiungi un secondo LED su Pin 12
- Sostituisci con un RGB LED (vedi SIK Circuito 3)
Materiali
7- €90.00
- Segnaposto
Strumenti richiesti
2- Computer with Arduino IDE
- Segnaposto
Totale stimato
€90.00Related blueprints
Other builds that share materials, tools, or techniques with this one.

Using a Shift Register — SIK Circuit 14electronics/active
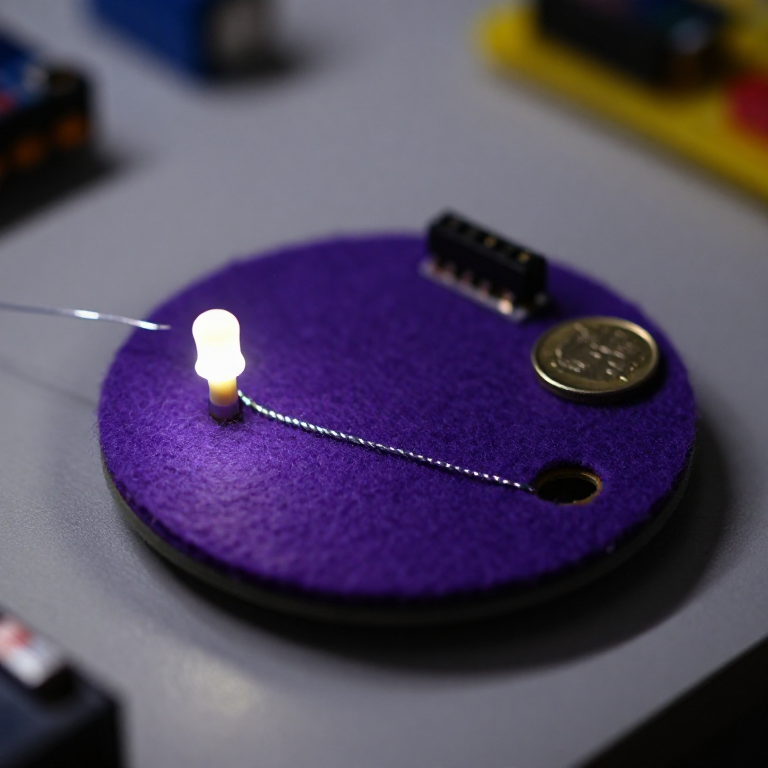
Blinking an LED with LilyPad Arduinoelectronics

Making Charcoal — The First Chemical Processmaterials

The Spinning Jenny — Multi-Spindle Yarn Productiontextiles

Starting Seeds Indoors — Raising Seedlings for a Head Start

Driving a Motor — SIK Circuit 12electronics/electromech
CC0 Pubblico dominio
Questo progetto è rilasciato sotto CC0. Sei libero di copiare, modificare, distribuire e utilizzare quest'opera per qualsiasi scopo, senza chiedere permesso.
Supporta il Maker acquistando prodotti tramite il suo progetto dove guadagna una Commissione Maker stabilita dai venditori, oppure crea una nuova iterazione di questo progetto e includilo come collegamento nel tuo progetto per condividere i ricavi.