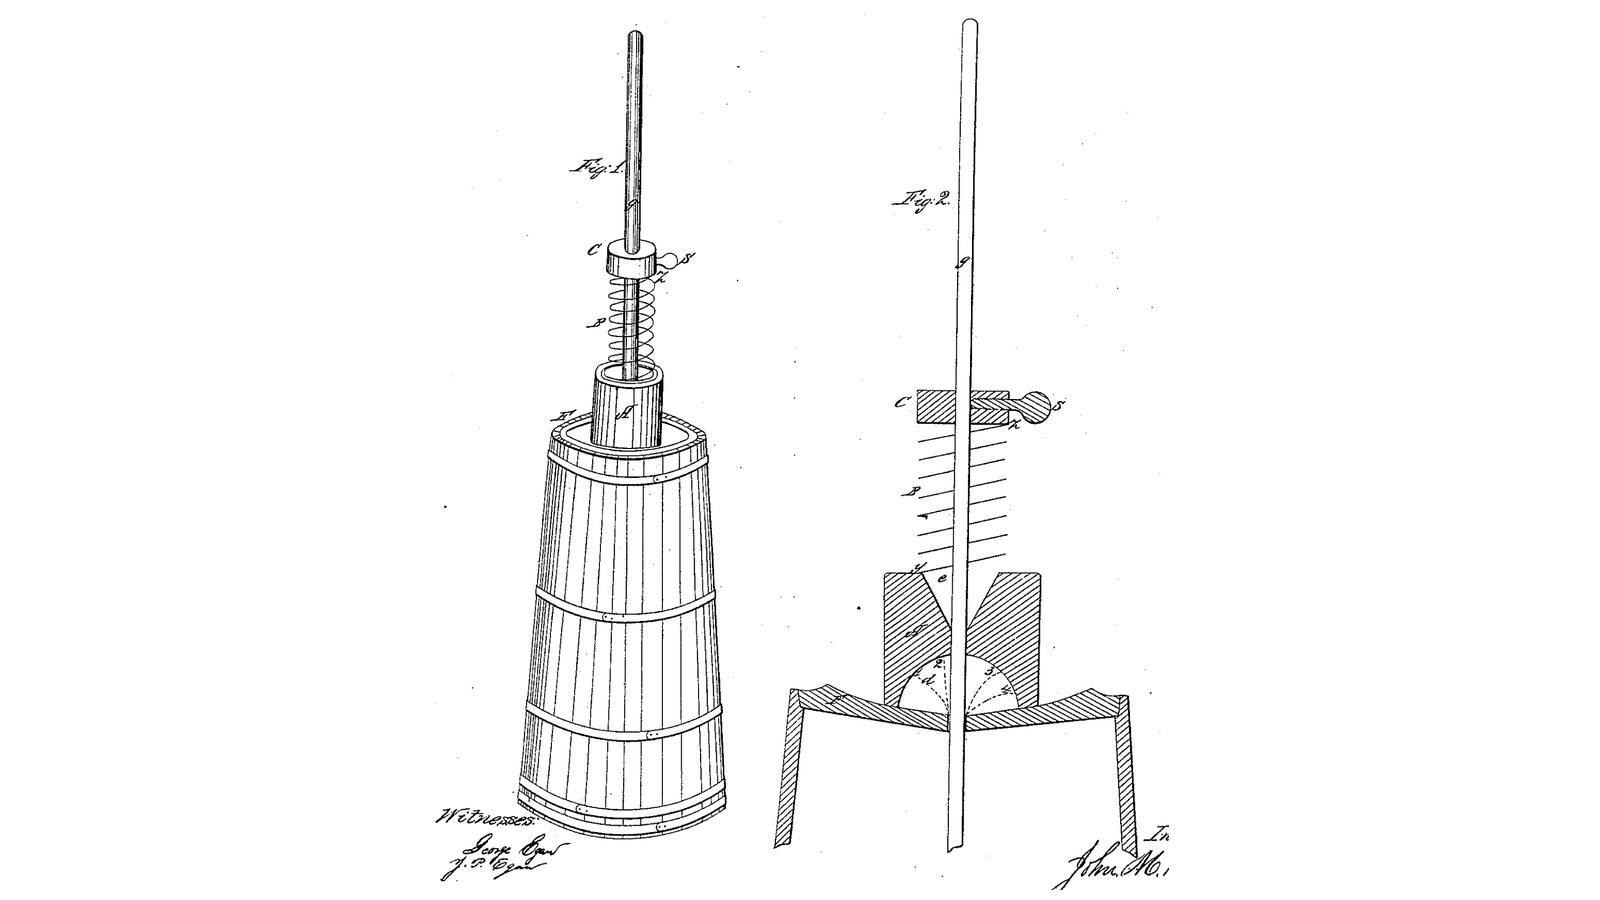

Spatter-Guard Spring Dasher Churn: A Funnel-and-Bowl Block on the Lid Keeps the Cream In, a Spring Lifts the Dasher
Istruzioni
Choosing the spring B
Choosing the spring B
A spring that lifts the dasher, a month before
A spring that lifts the dasher, a month before
Read US 29,460
Read US 29,460
Churn, lid F and dasher
Churn, lid F and dasher
Materiali per questo passaggio:
 Secchio da 20 litri1 pezzo
 Lastra di HDPE1 pezzo
 Tavola di legno duro1 pezzo
 Tasselli di legno duro1 pezzo
 Colla da legno1 pezzo
 Viti da legno4 pezzi
Strumenti necessari:
 Sega circolare da banco
 Seghetto alternativo
 Set di punte a lancia
 Trapano a batteria
 Serie di punte da trapano
 Set di cacciaviti
Device A: bowl d and funnel E
Device A: bowl d and funnel E
Materiali per questo passaggio:
Tavola di legno duro1 pezzoColla da legno1 pezzoStrumenti necessari:
 Tornio per legno
 Set di sgorbie da intaglioTrapano a batteriaSerie di punte da trapano
 Metro a nastro
Spring B, head block C and thumb screw s
Spring B, head block C and thumb screw s
Materiali per questo passaggio:
 Set di molle di compressione1 pezzoTavola di legno duro1 pezzo
 Barra filettata1 pezzo
 Dado esagonale2 pezzi
 Dado ad alette1 pezzo
 Rondella piana2 pezziViti da legno2 pezziColla da legno1 pezzo
Strumenti necessari:
Tornio per legnoTrapano a batteriaSerie di punte da trapano Seghetto per metalli
 Lime (lima a mano)
 Chiave regolabile a rullinoSet di cacciaviti
The build in 3D
The build in 3D
Set the stroke and churn
Set the stroke and churn
Materiali per questo passaggio:
 Panna da montare10 l
 Sale marino grosso1 pezzo
 Acqua1 pezzo
Strumenti necessari:
 Termometro a sonda permanente
 Cronometro
 Bilancia digitale da cucina
 Grande ciotola da impasto in acciaio inossidabile
Troubleshooting
Troubleshooting
Flow
History and honest limits
History and honest limits
Materiali
14- 1 pezzoSegnaposto
- 1 pezzoSegnaposto
- 1 pezzoSegnaposto
- 1 pezzoSegnaposto
- 3 pezziSegnaposto
- 6 pezziSegnaposto
- 1 pezzoSegnaposto
- 1 pezzoSegnaposto
- 2 pezziSegnaposto
- 1 pezzoSegnaposto
- 2 pezziSegnaposto
- 10 lSegnaposto
- 1 pezzoSegnaposto
- 1 pezzoSegnaposto
Strumenti richiesti
16- 1 vendor sell this, none ship to you yetSegnaposto
- 1 vendor sell this, none ship to you yetSegnaposto
- Segnaposto
- 1 vendor sell this, none ship to you yetSegnaposto
- Segnaposto
- Segnaposto
- Segnaposto
- Segnaposto
- 1 vendor sell this, none ship to you yetSegnaposto
- Segnaposto
- Segnaposto
- Segnaposto
- Segnaposto
- Segnaposto
- Segnaposto
File di progetto
1Questo progetto realizza


Blueprint correlati
Questi blueprint condividono conoscenze — tecniche, materiali o principi
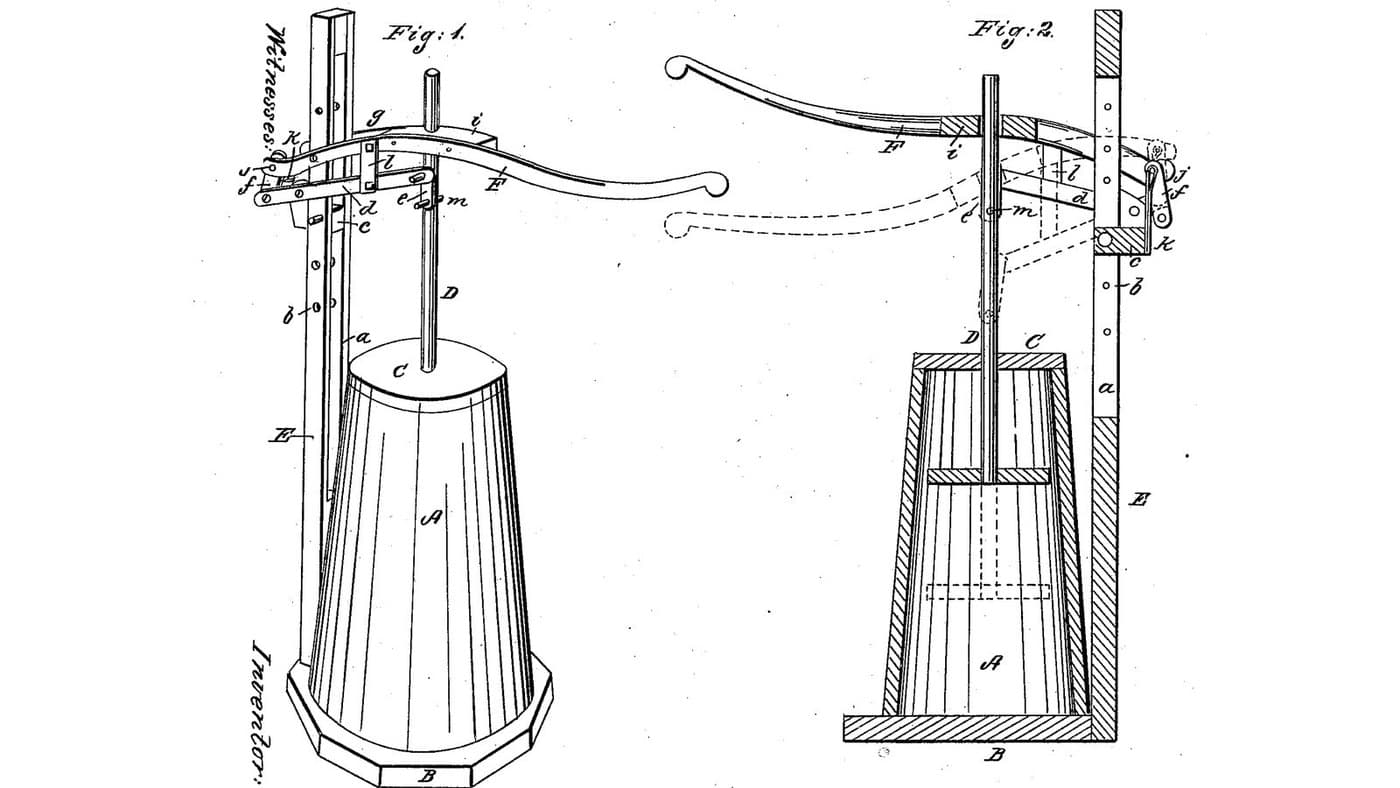
Spring-Lever Dasher Churn: A Hand Lever and a Faster Bar on a Post Drive the Old Dasher Down, a Rubber Spring Lifts It
di Buttercup
Lavorazione del legno
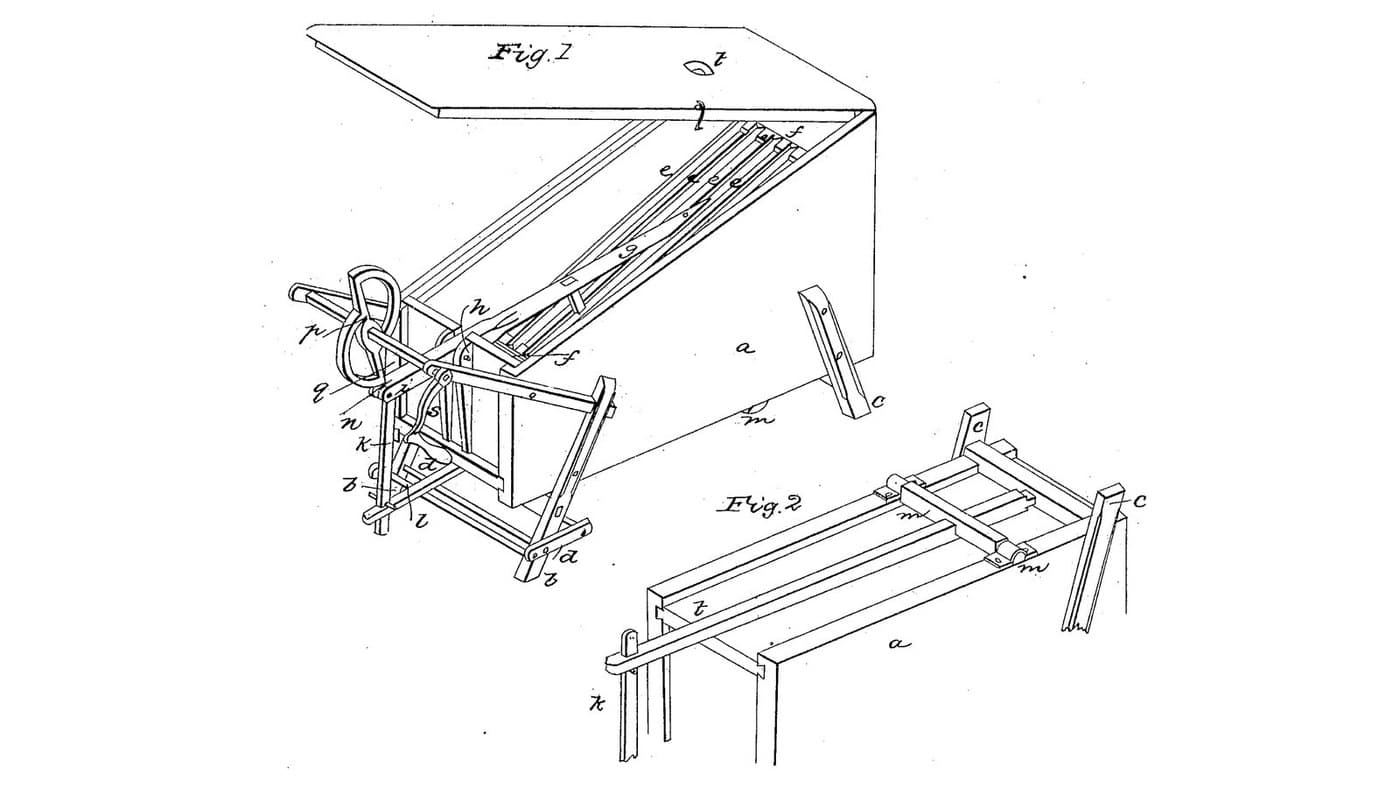
Spring-Pole Cam Churn: A Two-Arc Cam Lifts a Hinged Strip Dasher and a Wooden Spring Pole Drives It Down
di Buttercup
Lavorazione del legno

Churning Butter from Cream — The 5,000-Year-Old Fat Separation
di TheChef
MESTIERE
CC0 Pubblico dominio
Questo progetto è rilasciato sotto CC0. Sei libero di copiare, modificare, distribuire e utilizzare quest'opera per qualsiasi scopo, senza chiedere permesso.
Supporta il Maker acquistando prodotti tramite il suo progetto dove guadagna una Commissione Maker stabilita dai venditori, oppure crea una nuova iterazione di questo progetto e includilo come collegamento nel tuo progetto per condividere i ricavi.