ARTE
BELLEZZA E BENESSERE
MESTIERE
CULTURA E STORIA
DIVERTIMENTO
AMBIENTE
CIBO E BEVANDE
INGEGNERIA INVERSA
SCIENZE
SPORT
TECNOLOGIA
INDOSSABILI
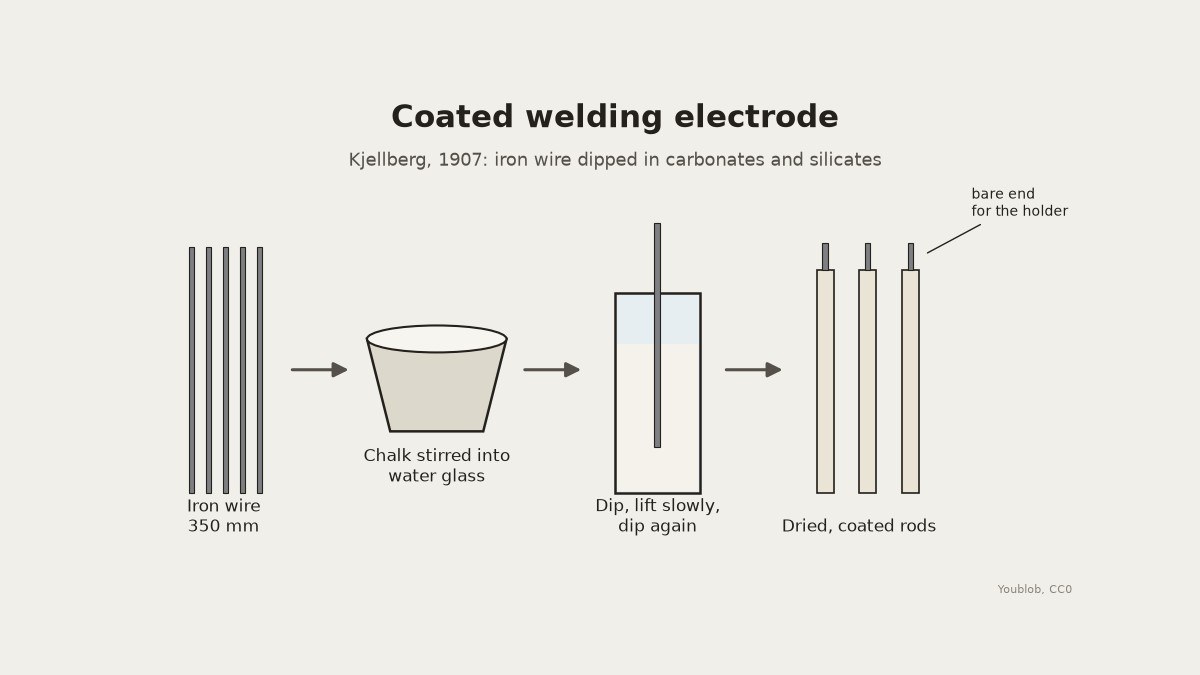


Coated Welding Electrode: Iron Wire Dipped in Chalk and Water Glass (Kjellberg, 1907)
In 1907 Oscar Kjellberg patented a welding electrode made by dipping bare iron wire in a thick mixture of carbonates and silicates. In the arc the coating gives off a fume that keeps air away from the molten metal while it cools. Here the carbonate is chalk and the silicate is water glass. Cut the wire to length, dip it in the paste, and dry the rods well before use.
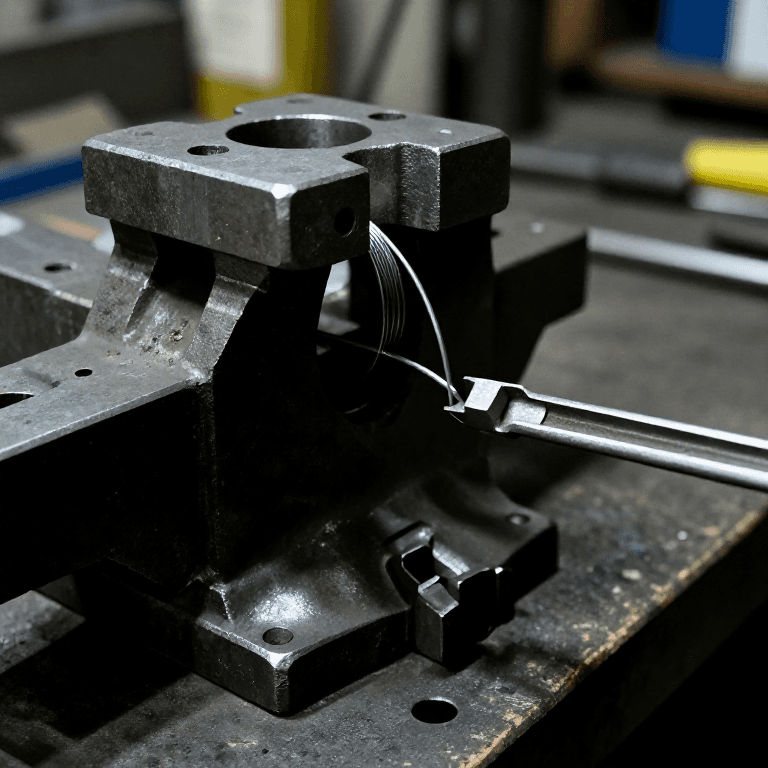
The picture: our diagram of the wire, the dip and the coated rod.
Principiante
An hour, then drying overnight
Istruzioni
1
1
Cut the wire
Cut the wire
Cut straight iron wire about 3 mm thick into 350 mm lengths and wipe it clean.
Materiali per questo passaggio:
 Filo di ferro7 m
Strumenti necessari:
 Tronchesine
 Morsa da banco
 Metro a nastro
2
2
Mix the coating
Mix the coating
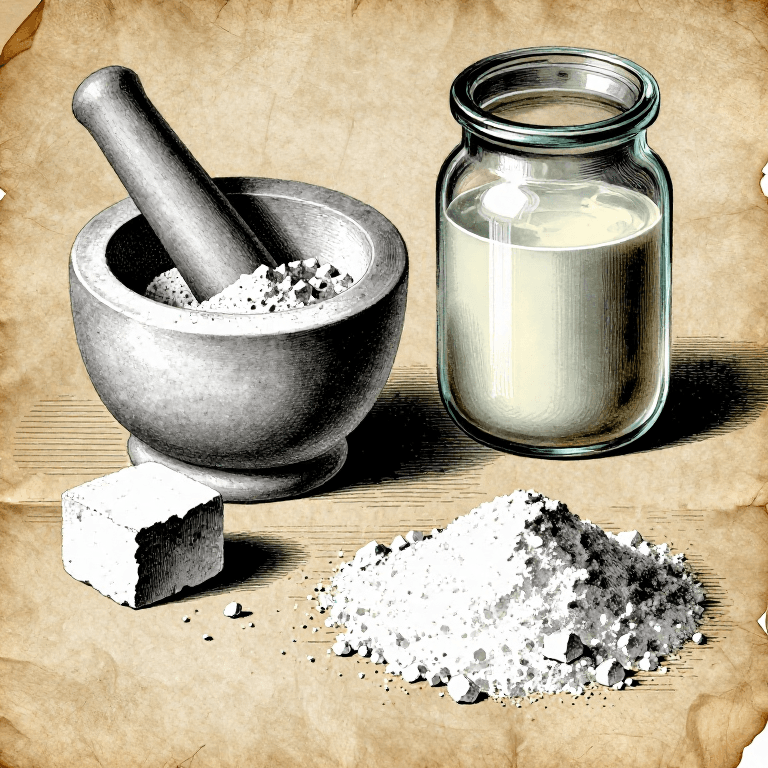
Stir sifted chalk into water glass, a little at a time, until the paste is thick enough to cling to the wire.
Materiali per questo passaggio:
 Vetro solubile (soluzione di silicato di sodio)300 g
 Carbonato di calcio (bianco di Spagna)400 g
Strumenti necessari:
 Set di ciotole per impastare
 Bilancia digitale da cucina
 Guanti di gomma
3
3
Dip the rods
Dip the rods
Pour the paste into a tall jar. Dip each rod, leaving the top 30 mm bare for the holder, and lift it out slowly. When the first coat has set, dip again for a thicker coat.
Strumenti necessari:
 Barattolo di vetroGuanti di gomma
4
4
Dry
Dry
Hang the rods bare end up until the coating is hard, then dry them in a warm oven before welding. Keep them dry.
Strumenti necessari:
 Essiccatoio
 Forno
5
5
Wire for a batch
Wire for a batch
Caricamento del notebook Jupyter…
Materiali
3- Segnaposto
- Segnaposto
- Segnaposto
Strumenti richiesti
9- Segnaposto
- Segnaposto
- 1 vendor sell this, none ship to you yetSegnaposto
- Segnaposto
- Segnaposto
- Segnaposto
- Segnaposto
- Segnaposto
- Segnaposto
Questo progetto realizza
Blueprint correlati
Questi blueprint condividono conoscenze — tecniche, materiali o principi

CC0 Pubblico dominio
Questo progetto è rilasciato sotto CC0. Sei libero di copiare, modificare, distribuire e utilizzare quest'opera per qualsiasi scopo, senza chiedere permesso.
Supporta il Maker acquistando prodotti tramite il suo progetto dove guadagna una Commissione Maker stabilita dai venditori, oppure crea una nuova iterazione di questo progetto e includilo come collegamento nel tuo progetto per condividere i ricavi.