Collaborazione
ARTE
BELLEZZA E BENESSERE
MESTIERE
CULTURA E STORIA
DIVERTIMENTO
AMBIENTE
CIBO E BEVANDE
INGEGNERIA INVERSA
SCIENZE
SPORT
TECNOLOGIA
INDOSSABILI
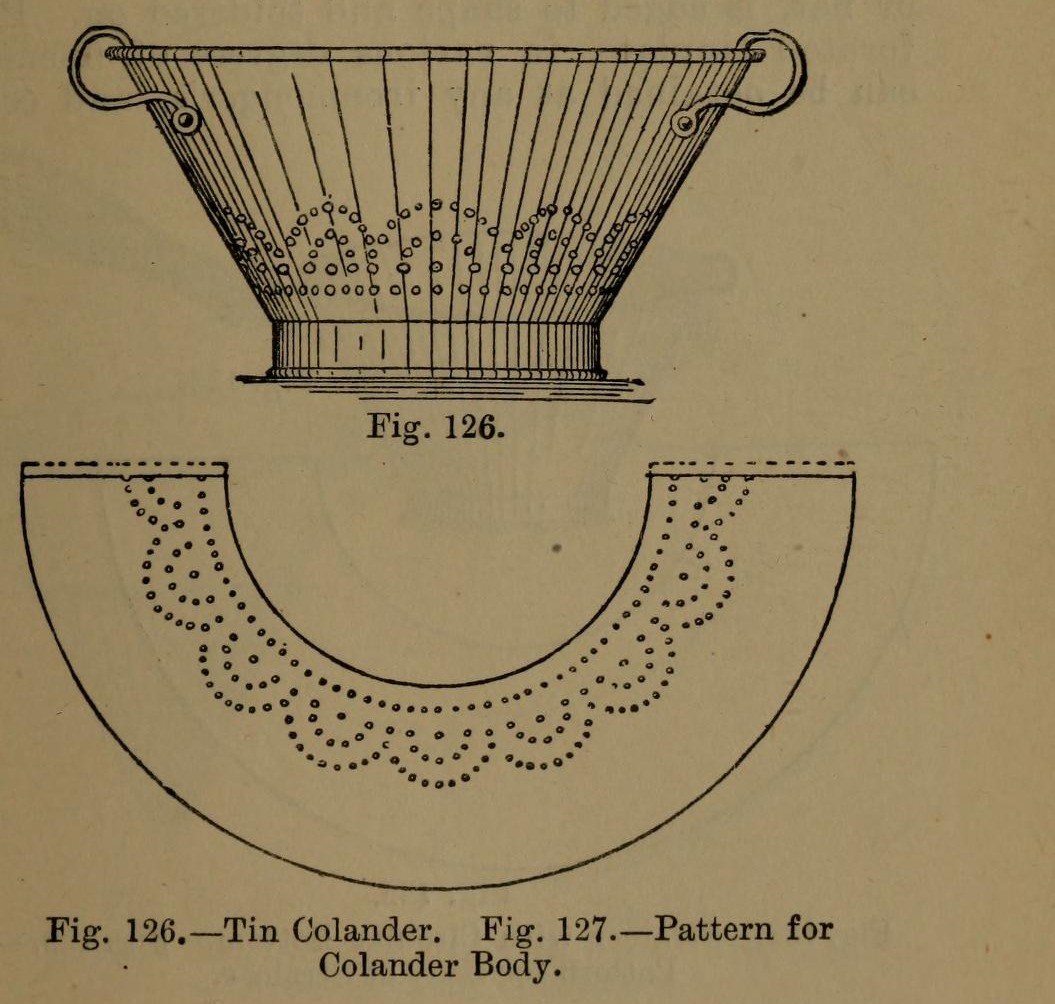


Colander: a Tinplate Colander with Perforated Body and Bottom (Hasluck, 1907)
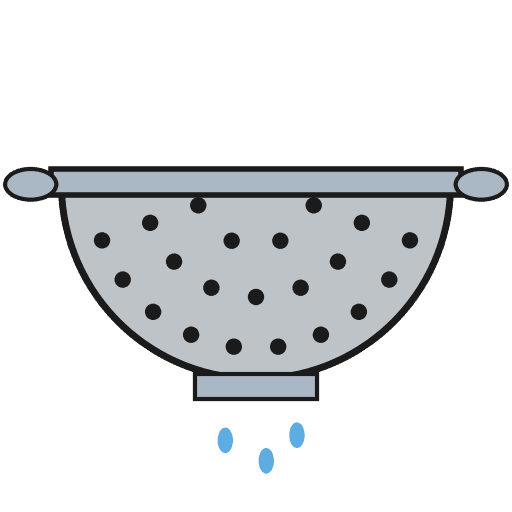
A tinsmith's colander for straining: a tapered tinplate body and a hollowed bottom, both punched full of holes, standing on a wired hoop, with two bow handles.
The body pattern is a ring segment: outer radius = top diameter, inner radius = bottom diameter, which gives sides at 60 degrees.
Source: Paul N. Hasluck, Tinplate Work (1907), pp. 50-51. Unknown: sizes, solder. Picture: Figs. 126-127 of the book.
Intermedio
Unknown
Istruzioni
1
1
Set out the body pattern
Set out the body pattern
Choose the top and bottom diameters. On tinplate, strike an arc with radius equal to the top diameter and, from the same centre, one equal to the bottom diameter (Fig. 127); the sides then slope at 60 degrees. Mark the rows of holes, add edges for a grooved seam and the wire, and cut it out.
Materiali per questo passaggio:
 Lamiera di latta1 body
Strumenti necessari:
 Compasso a punte fisse
 Punta da tracciare
 Cesoie da lattoniere
2
2
Break, punch and planish the body
Break, punch and planish the body
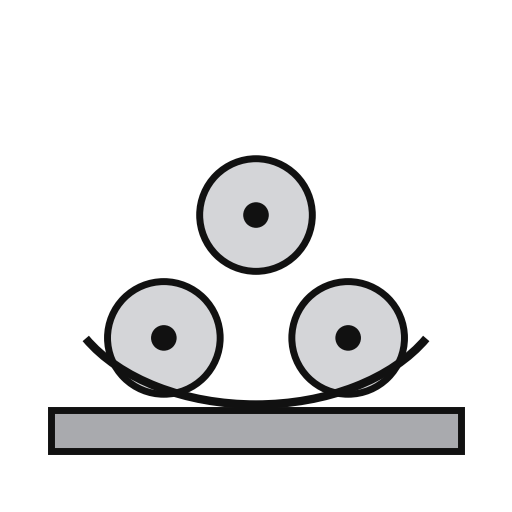
'Break' the pattern through the rollers, turning it the opposite way each pass, so it won't crease when bent. Punch the holes on a hardwood block, then flatten and planish the burrs.
Strumenti necessari:
 Calandra per lamiere
 Fustella per lamiera
 Blocco di legno duro
 Martello da spianare
3
3
Seam and wire the body
Seam and wire the body
Set off the edges for a grooved seam, bend the body to shape and seam it. Solder the seam inside. Set off an edge on the wide end and wire it with No. 10 B.W.G. wire. If you like, raise a swage about 1 1/2 in below the wired edge: it stiffens the colander and looks better.
Materiali per questo passaggio:
 Filo di ferro1 No. 10 B.W.G.
 Lega saldante stagno-piombo1 seam
Strumenti necessari:
 Mazzuolo di legno
 Picchetto
 Saldatore elettrico
 Flussante
4
4
Make and fit the bottom
Make and fit the bottom
Cut out the bottom, hollow it and edge it to fit the small end. Inside, mark circles from 1 in across at the centre, each 1 in wider than the last, out to the edge. Punch holes at short intervals round them and flatten the burrs on an upturned hollowing hammer. Solder the bottom on.
Materiali per questo passaggio:
Lamiera di latta1 bottomLega saldante stagno-piombo1 bottomStrumenti necessari:
Compasso a punte fisseCesoie da lattoniereFustella per lamieraMartello da spianareSaldatore elettricoFlussante5
5
Add the hoop and handles
Add the hoop and handles
Cut a strip 1 1/2 in wide, as long as the circumference of the bottom. Wire it with No. 10 B.W.G., round it, seam it and solder it on as the foot. Rivet a pair of bow handles opposite each other at the top.
Materiali per questo passaggio:
Lamiera di latta1 hoopFilo di ferro1 hoopLega saldante stagno-piombo1 hoop Manico2 bow handles
 Rivetti di ferro1 number not given
Strumenti necessari:
Cesoie da lattoniereSaldatore elettricoFlussante Martello da ribattere
6
6
Clean and scald
Clean and scald
Clean with turpentine and whiting, then polish with dry whiting. Before first use, steep it a short time in boiling water, as for any metal article for the kitchen.
Strumenti necessari:
 Trementina
 Carbonato di calcio (bianco di Spagna)
 Acqua
Materiali
5- 1 hoopSegnaposto
- 1 hoopSegnaposto
- Segnaposto
- 2 bow handlesSegnaposto
- 1 number not givenSegnaposto
Strumenti richiesti
15- Segnaposto
- Segnaposto
- Segnaposto
- Segnaposto
- Segnaposto
- Segnaposto
- Segnaposto
- Segnaposto
- Segnaposto
- Segnaposto
- Segnaposto
- Segnaposto
- Segnaposto
- Segnaposto
- Segnaposto
Materiali dei progetti collegati


Questo progetto realizza
CC0 Pubblico dominio
Questo progetto è rilasciato sotto CC0. Sei libero di copiare, modificare, distribuire e utilizzare quest'opera per qualsiasi scopo, senza chiedere permesso.
Supporta il Maker acquistando prodotti tramite il suo progetto dove guadagna una Commissione Maker stabilita dai venditori, oppure crea una nuova iterazione di questo progetto e includilo come collegamento nel tuo progetto per condividere i ricavi.