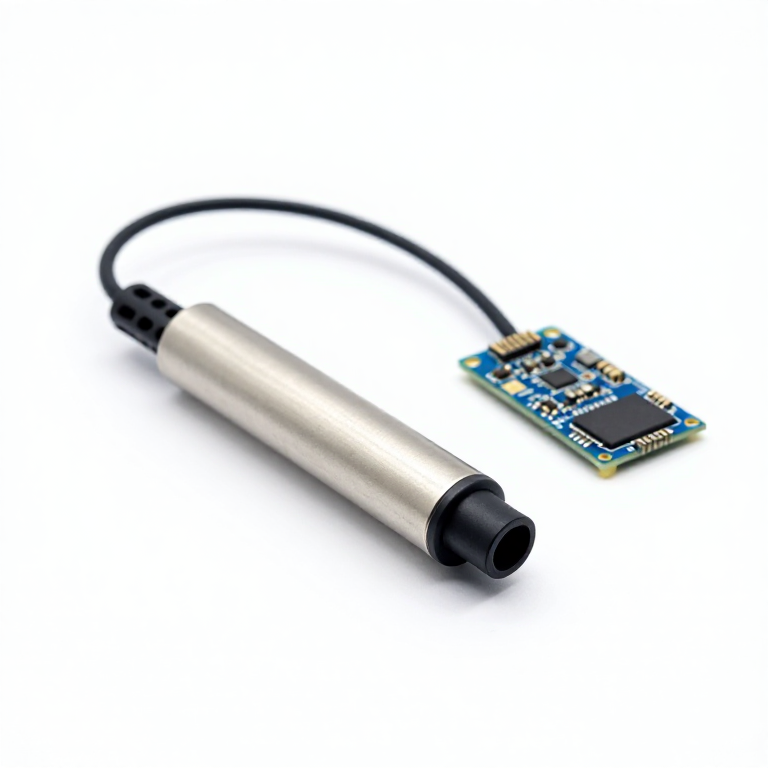


Data-Logging Thermometer
Istruzioni
Solder headers to the microSD shield
Solder headers to the microSD shield
Solder the stacking headers to the microSD shield.
- Seat the headers in the shield from the top.
- Tack one pin at each end first, then check the header sits square before doing the rest.
- Give each joint about two seconds of heat.
Materiali per questo passaggio:
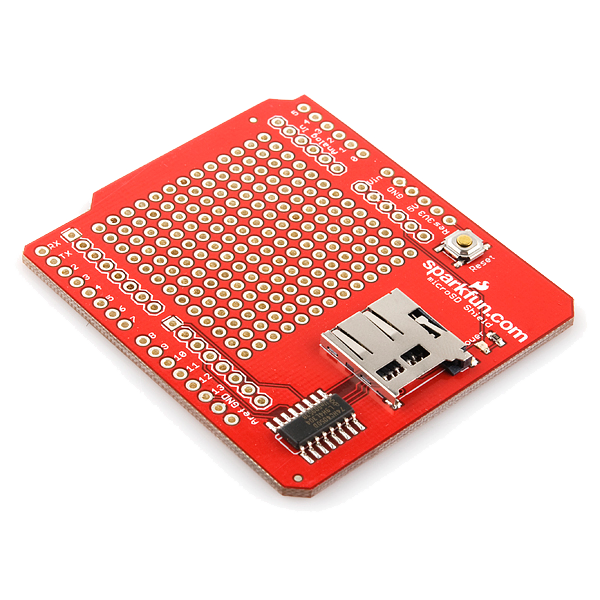 microSD Shield1 pezzo
Strumenti necessari:
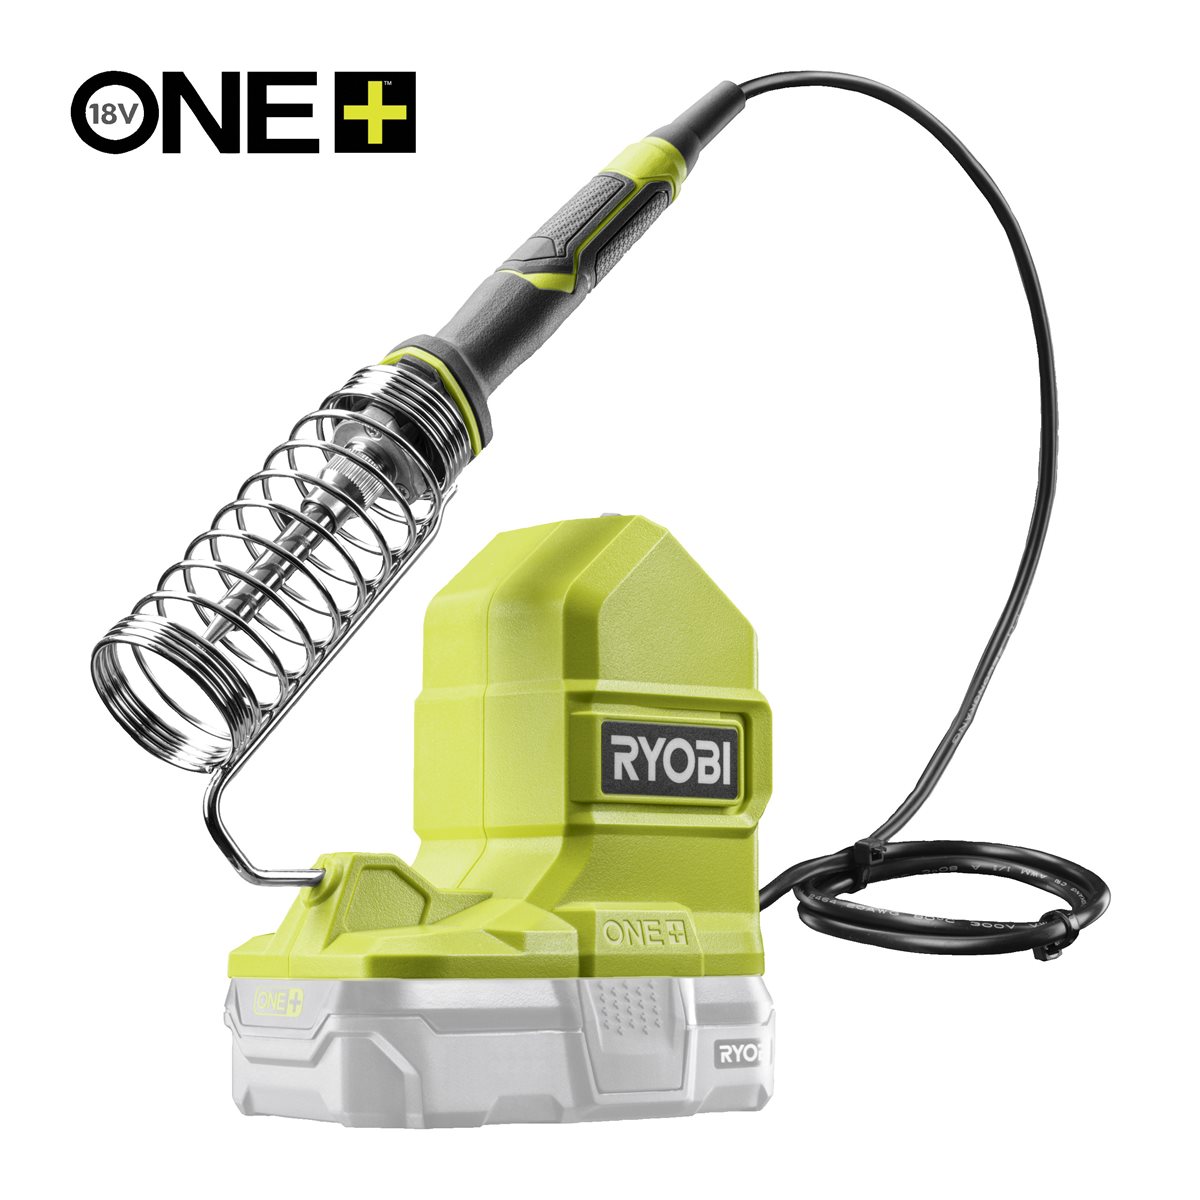 Ryobi ONE+ RSI18-0 Cordless Soldering Iron
Wire the probe — pin by pin
Wire the probe — pin by pin
Stack the shield on the Uno, then wire the probe on the breadboard.
- Probe red → Arduino 5V
- Probe black → Arduino GND
- Probe yellow (data) → Arduino D2
- 4.7 kΩ resistor between D2 and 5V
The shield already uses D11 MOSI, D12 MISO, D13 SCK and D8 as card select. Leave those four alone.
The 4.7 kΩ pull-up is not optional. The 1-Wire bus is open-drain: without it the bus never rises and every reading comes back -127.Materiali per questo passaggio:
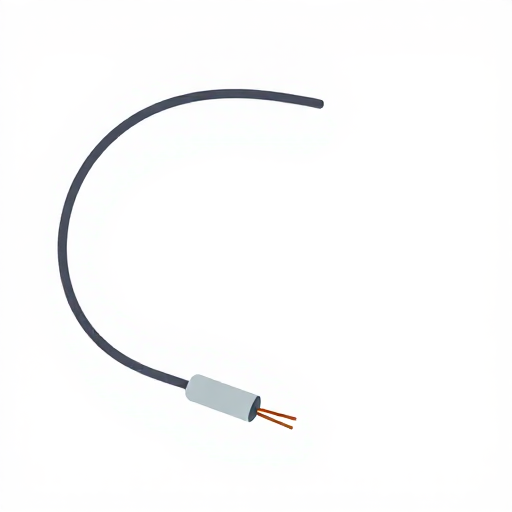 Sensore di temperatura1 pezzo
 Arduino Uno R31 pezzo
 Kit di resistenze da 1/4 W1 kit
 Breadboard1 pezzo
 Cavetti ponticello1 confezione
Power it, and decide how it will run
Power it, and decide how it will run
For setup and for reading the serial monitor, the USB-B cable from the computer both powers the board and carries the upload.
To leave it logging away from a computer, feed 7–12 V into the Uno's barrel jack instead, or a regulated 5 V into the 5V pin. Do not do both at once.
The card only receives what was written and closed. Pulling power mid-write loses at most the sample in flight, because the sketch closes the file after every line.Strumenti necessari:
 Cavo USB-B
Format the card
Format the card
Format the microSD card as FAT32.
The Arduino SD library cannot read exFAT, which is what cards larger than 32 GB are formatted with from the factory. A card that 'does not work' is nearly always this.Upload the logging sketch
Upload the logging sketch
Install OneWire and DallasTemperature via Library Manager. SD and SPI ship with the IDE. Select Tools → Board → Arduino Uno, then Upload.
Verify against a known point
Verify against a known point
Put the probe in a stirred ice-water bath — ice and water together, not ice alone.
- A correct DS18B20 settles at 0.0 °C ± 0.5.
- A constant -127 means no sensor on the bus: pull-up missing or data on the wrong pin.
- A constant 85.0 is the sensor's power-on default — it was read before its first conversion finished.
Materiali
6- microSD Shield10% commissione1 pezzo€12.79
- Segnaposto
- Segnaposto
- Segnaposto
- Segnaposto
- Segnaposto
Strumenti richiesti
2- Ryobi ONE+ RSI18-0 Cordless Soldering Iron3% commissione€83.62
- 1 vendor sell this, none ship to you yetSegnaposto
Questo progetto realizza
CC0 Pubblico dominio
Questo progetto è rilasciato sotto CC0. Sei libero di copiare, modificare, distribuire e utilizzare quest'opera per qualsiasi scopo, senza chiedere permesso.
Supporta il Maker acquistando prodotti tramite il suo progetto dove guadagna una Commissione Maker stabilita dai venditori, oppure crea una nuova iterazione di questo progetto e includilo come collegamento nel tuo progetto per condividere i ricavi.