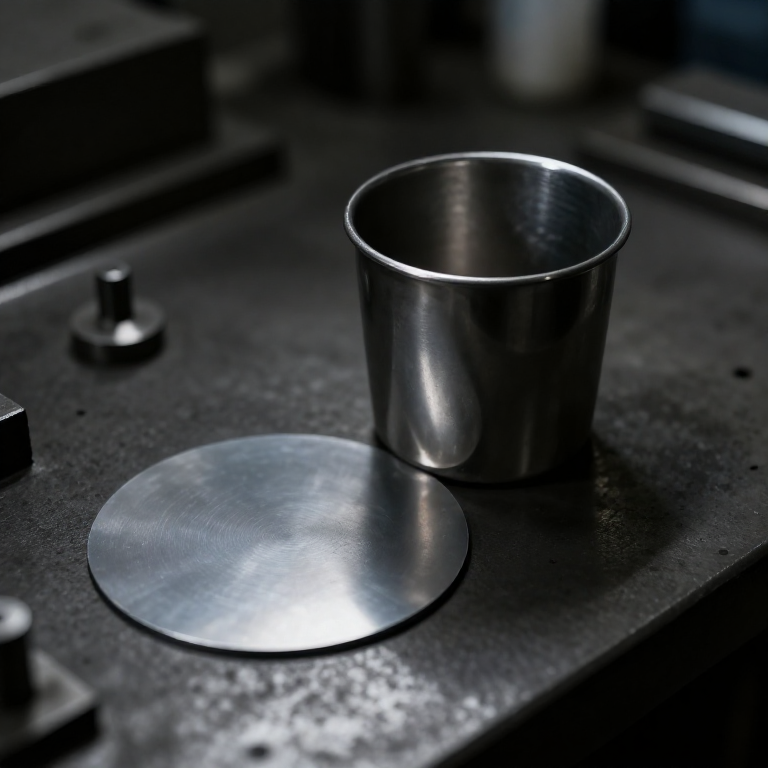


Deep Drawing
Istruzioni
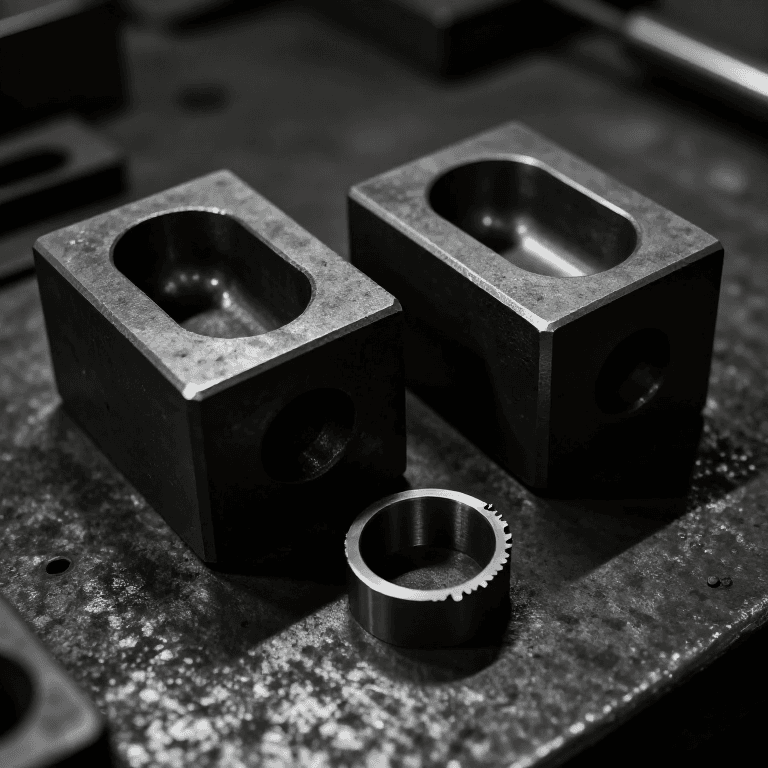
Make punch, die and blank holder
Make punch, die and blank holder
Three parts, and the radii on two of them decide whether it works.
- Turn a punch 40 mm diameter from aluminium round bar, with a generous 6 mm radius on its nose.
- Bore a die with an opening of punch diameter plus twice the sheet thickness plus a small clearance.
- Round the die's entry edge to a 6 mm radius as well — a sharp edge will shear the blank instead of drawing it.
- Make a flat blank holder ring that sits on the sheet around the die opening.
Both radii must be generous. The metal has to bend over the die entry, travel, and bend back straight — a sharp radius concentrates the strain into a narrow band and tears it. The punch nose radius does the same job at the bottom of the cup. Almost every failed draw is a radius that was too tight.
Clearance between punch and die should be slightly MORE than the sheet thickness. Less and you are ironing the wall thinner as well as drawing it, which raises the force sharply and often tears the base out.Materiali per questo passaggio:
 Tondo di alluminio1 pezzo
 Piastra di alluminio2 pezzi
Strumenti necessari:
 Trapano a batteria
 Serie di punte da trapano
 Serie di lime
 Morsa da banco
 Calibro digitale da 6 pollici
 Set di svasatori
Make the blank holder adjustable
Make the blank holder adjustable
Holder pressure is the process variable, so build it to be changed.
- Guide the blank holder on three or four posts around the die.
- Load it with compression springs whose preload can be set by nuts.
- Use M8 studs with M8 hex nuts × 4 and M8 flat washers × 8 to set spring compression.
- Mark the nut positions so a setting can be recorded and repeated.
Two failure modes, one dial between them. Too little holder pressure and the rim buckles into wrinkles as it is drawn in — visible as radial folds around the cup's mouth. Too much and the blank cannot slide inward at all, so the punch simply tears the base out and leaves the rim behind. The correct setting is the narrow band where the rim flows without folding.
Record the setting that works for your material and thickness. It changes with both, which is why press shops keep setup sheets rather than relying on the operator's memory.Materiali per questo passaggio:
 Set di molle di compressione1 set
 Rondella piana8 pezzi
 Dado esagonale4 pezziTondo di alluminio1 pezzo
Strumenti necessari:
Trapano a batteriaSerie di punte da trapano Serie di chiavi a brugolaSerie di limeCalibro digitale da 6 pollici
Draw a cup and find the limiting draw ratio
Draw a cup and find the limiting draw ratio
There is a hard limit on how deep one draw can go. Find yours.
- Cut annealed aluminium blanks of 60, 70, 80 and 90 mm diameter.
- Lubricate each and draw it over the 40 mm punch.
- Record which succeed and which tear.
- Compute the draw ratio for each: blank diameter ÷ punch diameter.
- Note the largest ratio that survived.
Materiali per questo passaggio:
Piastra di alluminio1 pezzo Olio di lino cotto1 bottiglia
Strumenti necessari:
 Sega da traforoCalibro digitale da 6 polliciSerie di limeMorsa da banco
Measure earing and understand why it happens
Measure earing and understand why it happens
The cup's rim comes out wavy, and the waves are not random.
- Draw a cup and measure its height at eight points around the rim.
- Plot height against angle.
- Look for a regular pattern — typically four peaks, sometimes six.
- Note the orientation of those peaks relative to the sheet's rolling direction.
Strumenti necessari:
Calibro digitale da 6 pollici Squadra combinata
One stroke, no joint, and history
One stroke, no joint, and history
Deep drawing became an industrial process through the nineteenth century and exploded in the twentieth with the cartridge case and then the motor body panel. The drawn brass cartridge case is a particularly demanding example — several draws with anneals between, holding a wall thickness that varies deliberately along its length so the case grips the chamber at the mouth and stays stiff at the base.
What it does that the alternatives cannot. Cut-and-solder makes a vessel with a seam. Machining from solid wastes most of the metal and cuts the grain. Casting gives a coarse structure and thick walls. Deep drawing produces a seamless, thin-walled vessel with the grain following the wall, in one stroke, from a flat blank — and the tooling then repeats it indefinitely. The modern drinks can is the extreme case: drawn, redrawn and ironed to a wall thinner than a human hair.
Its dependencies run right back through this batch. It needs sheet of consistent thickness and properties, which is the rolling mill; it needs a press with a controlled stroke, which is the drop forging lineage; and it needs to understand the anisotropy the rolling left behind. It is the last process in the chain and it inherits from all of them.
Its honest limits: the draw ratio limit, so deep parts need multiple operations and intermediate annealing; earing, so blanks must be oversized and trimmed; springback, so dies are cut to compensate rather than to the nominal shape; and expensive tooling that suits only high volume — the same economics as every die-based process in these two batches.
Materiali
6- 1 pezzoSegnaposto
- 3 pezziSegnaposto
- Segnaposto
- 8 pezziSegnaposto
- 4 pezziSegnaposto
- 1 bottigliaSegnaposto
Strumenti richiesti
9- 1 vendor sell this, none ship to you yetSegnaposto
- Segnaposto
- Segnaposto
- Segnaposto
- Segnaposto
- Segnaposto
- Segnaposto
- Segnaposto
- Segnaposto
Blueprint correlati
Questi blueprint condividono conoscenze — tecniche, materiali o principi

CC0 Pubblico dominio
Questo progetto è rilasciato sotto CC0. Sei libero di copiare, modificare, distribuire e utilizzare quest'opera per qualsiasi scopo, senza chiedere permesso.
Supporta il Maker acquistando prodotti tramite il suo progetto dove guadagna una Commissione Maker stabilita dai venditori, oppure crea una nuova iterazione di questo progetto e includilo come collegamento nel tuo progetto per condividere i ricavi.