ARTE
BELLEZZA E BENESSERE
MESTIERE
CULTURA E STORIA
DIVERTIMENTO
AMBIENTE
CIBO E BEVANDE
INGEGNERIA INVERSA
SCIENZE
SPORT
TECNOLOGIA
INDOSSABILI
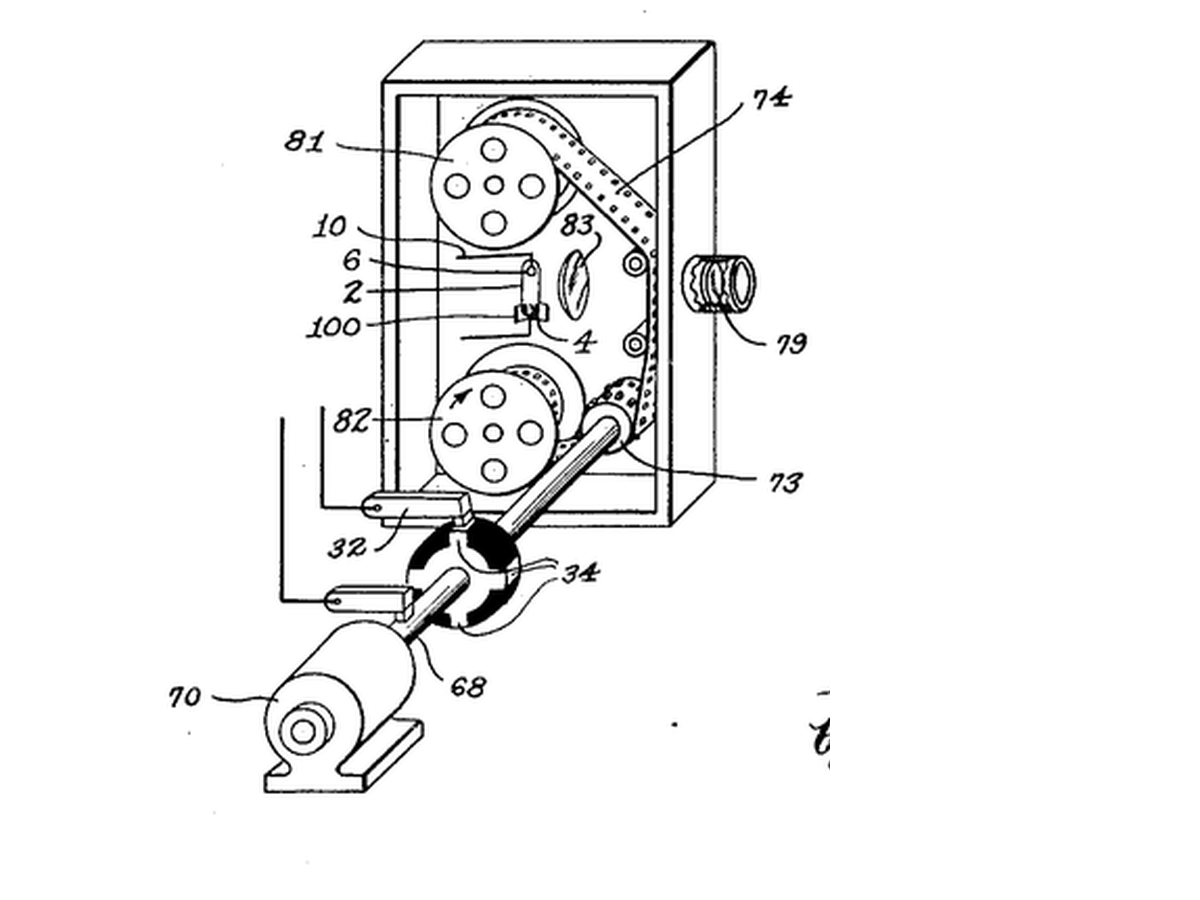


Stroboscope
**Warning: flashing light can trigger seizures in people with photosensitive epilepsy. Do not build or watch this if that applies to you or anyone in the room.**
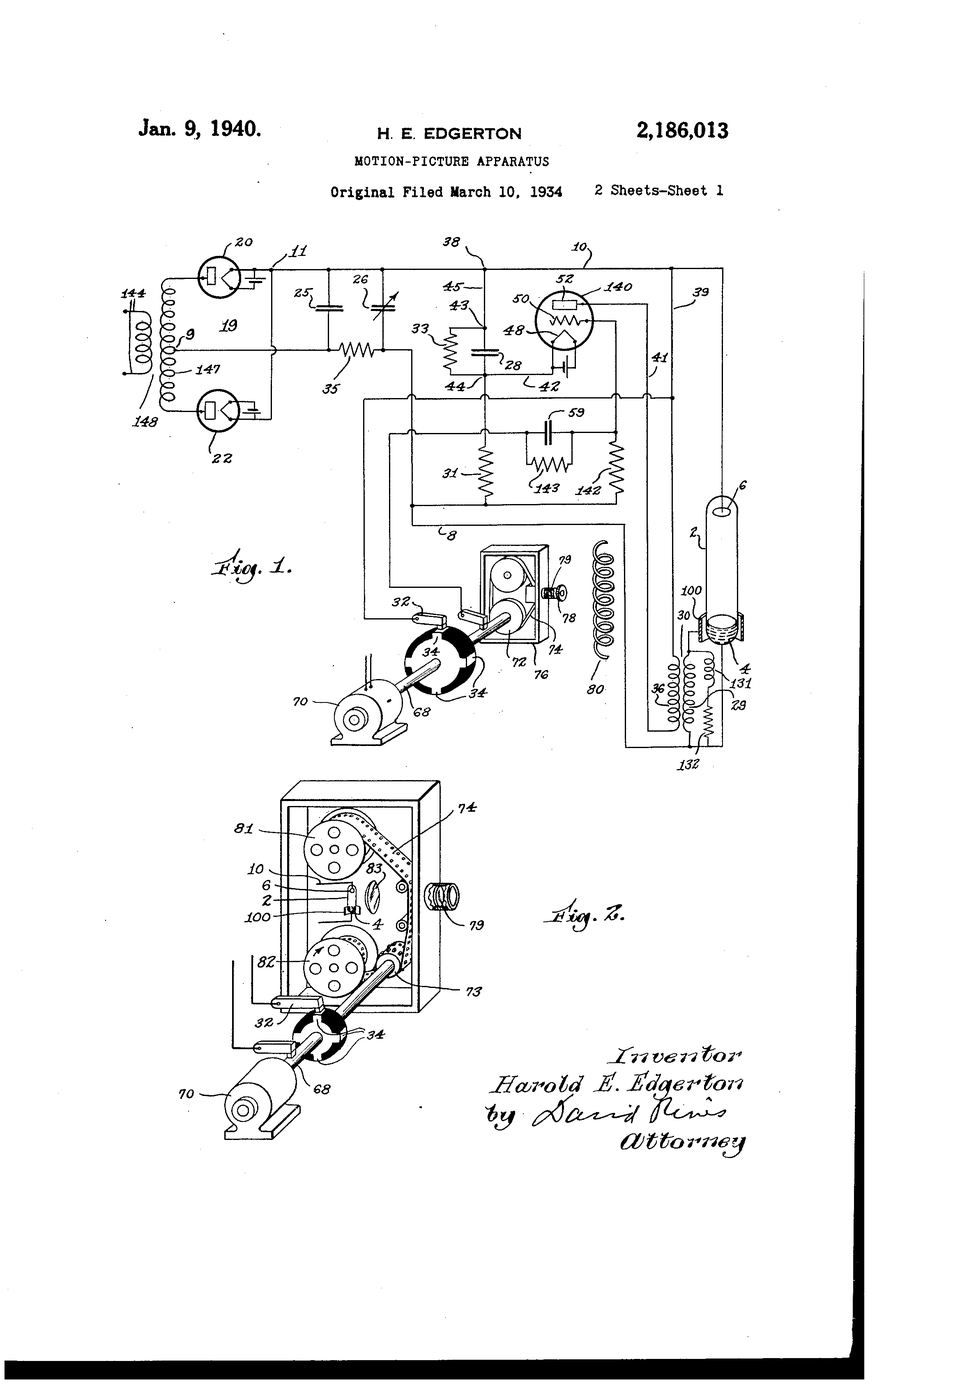
Harold Edgerton at MIT, studying electric motors, used a gas-discharge lamp that could flash for a few microseconds, many times a second, in step with a machine. Moving parts appeared frozen, and photographs made by the flash stopped bullets, splashes and hummingbird wings.
**US 2,186,013**, "Motion-picture apparatus", Edgerton, filed 10. March 1934, granted 9. January 1940, lights the subject with short, intense, repeated flashes instead of relying on a fast shutter, because "the time of exposure must be short" for rapidly moving objects.
**You build an LED stroboscope** with a speed knob, freeze a desk fan, and read its speed from the flash rate.
Intermedio
2 hours
Istruzioni
1
1
Wire the strobe
Wire the strobe
Strip DIN to D6, 5V and GND. Potentiometer ends to 5V and GND, wiper to A0. Install the Adafruit NeoPixel library, upload, open the serial monitor to read the rate.
led_stroboscope.inocpp
Materiali per questo passaggio:
 Striscia di LED Neopixel1 pezzo
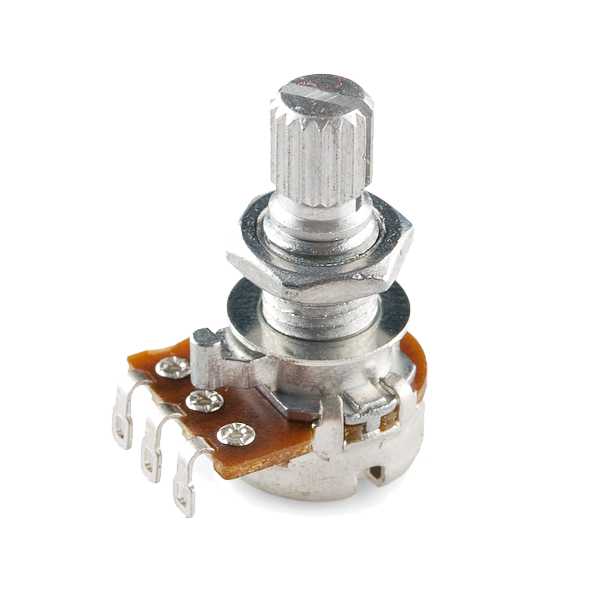 Rotary Potentiometer - 4.7k Ohm, Linear1 pezzo
 Set di cavi Dupont (maschio-femmina)1 set
Strumenti necessari:
 Arduino Uno R3
 Breadboard
 Cavo USB-B
2
2
Mark a blade
Mark a blade
Put a strip of masking tape on ONE fan blade near its tip, guard on. Darken the room and aim the strip at the fan.
Strumenti necessari:
 Ventilatore elettrico da tavolo
 Nastro di carta per mascherature
3
3
Find the freezes
Find the freezes
Run the fan on one setting. Turn the knob slowly from high to low and note every rate where the TAPED blade stands still as a single image. Just above the highest one it appears doubled or drifting.
4
4
Rates to rpm
Rates to rpm
Caricamento del notebook Jupyter…
5
5
History & Context
History & Context
**What the patent specifies:** a subject lit by short, intense, repeated flashes timed to the film, instead of continuous light and a fast shutter. **Modern build (derived):** an Arduino flashing an LED strip.
Edgerton's flash tubes became the electronic flash in every camera, and stroboscopes became workshop tools for checking engine timing and machine speed. Their limits: aliasing (a wheel frozen at a wrong speed), dim light from very short flashes, and the seizure risk of flicker.
Materiali
3- 1 pezzoSegnaposto
- Rotary Potentiometer - 4.7k Ohm, Linear10% commissione1 pezzo€1.07
- Segnaposto
Strumenti richiesti
5- 1 vendor sell this, none ship to you yetSegnaposto
- 1 vendor sell this, none ship to you yetSegnaposto
- 1 vendor sell this, none ship to you yetSegnaposto
- Segnaposto
- Segnaposto
Totale stimato
Ciò che il maker ha acquistato. I materiali senza prezzo si trovano dove li compri tu.
Blueprint correlati
Questi blueprint condividono conoscenze — tecniche, materiali o principi

CC0 Pubblico dominio
Questo progetto è rilasciato sotto CC0. Sei libero di copiare, modificare, distribuire e utilizzare quest'opera per qualsiasi scopo, senza chiedere permesso.
Supporta il Maker acquistando prodotti tramite il suo progetto dove guadagna una Commissione Maker stabilita dai venditori, oppure crea una nuova iterazione di questo progetto e includilo come collegamento nel tuo progetto per condividere i ricavi.