ARTE
BELLEZZA E BENESSERE
MESTIERE
CULTURA E STORIA
DIVERTIMENTO
AMBIENTE
CIBO E BEVANDE
INGEGNERIA INVERSA
SCIENZE
SPORT
TECNOLOGIA
INDOSSABILI
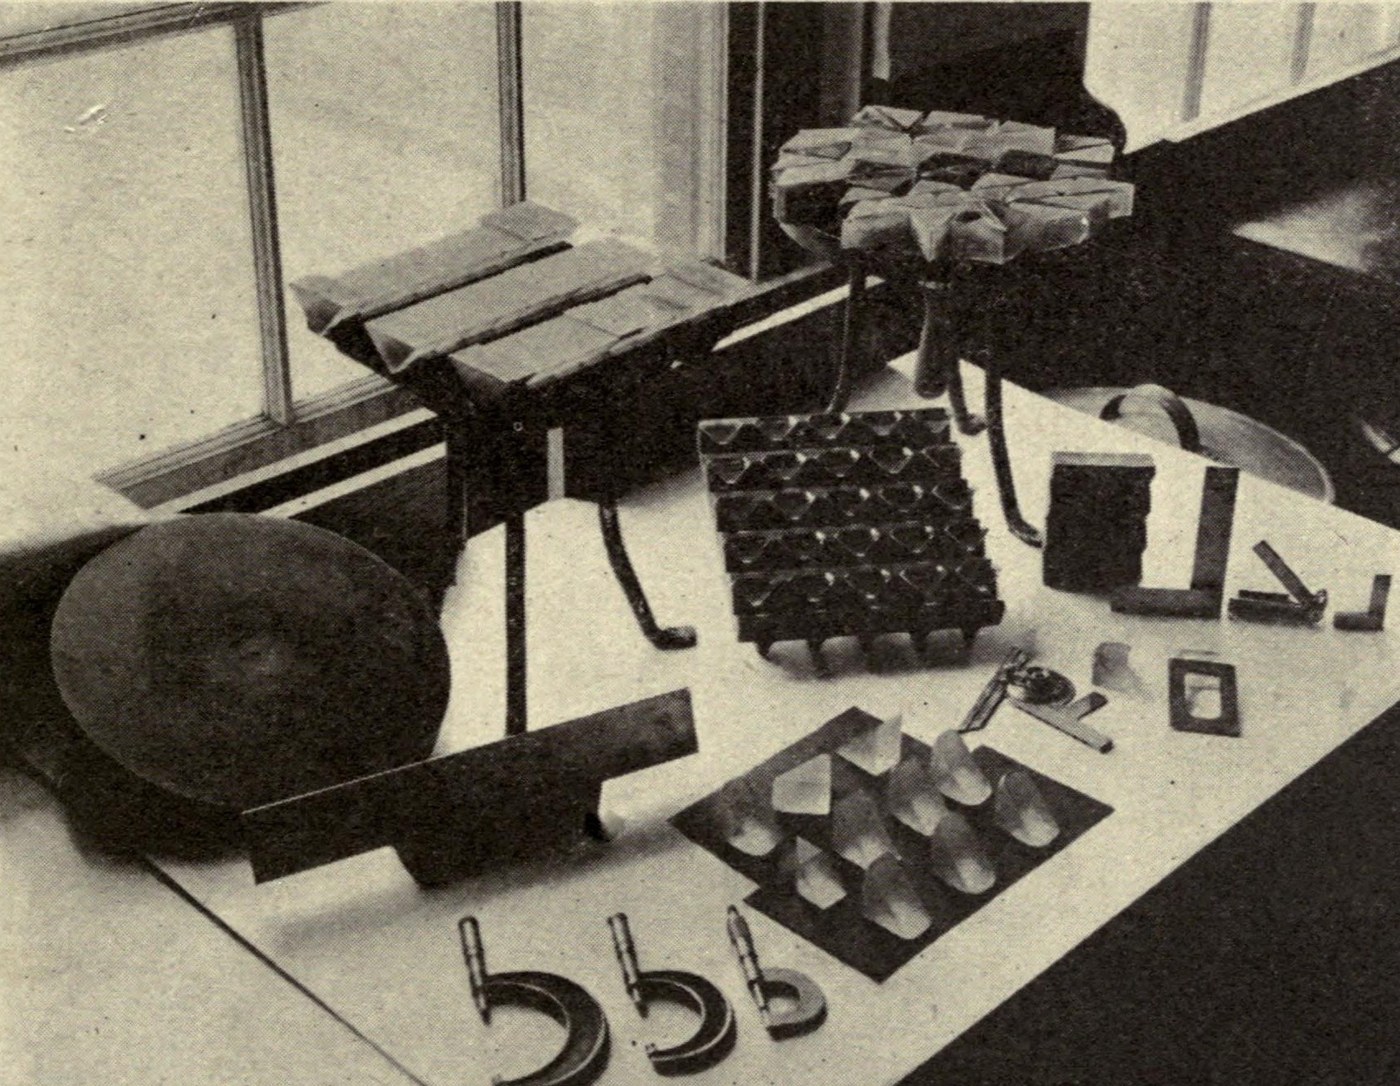


Equilateral Glass Prism: Sawn, Ground and Pitch-Polished
A prism splits white light into its colours, so its faces must be optically flat and its angles true. This is how the US arsenals ground prisms in 1918, as F. E. Wright recorded for the Ordnance Department in 1921: saw a blank from optical glass, rough-grind it on iron disks, set a batch of prisms in plaster, fine-grind, and polish on pitch with rouge. Wright's worked example is a right-angle prism; an equilateral prism has three 60° angles, made the same way.
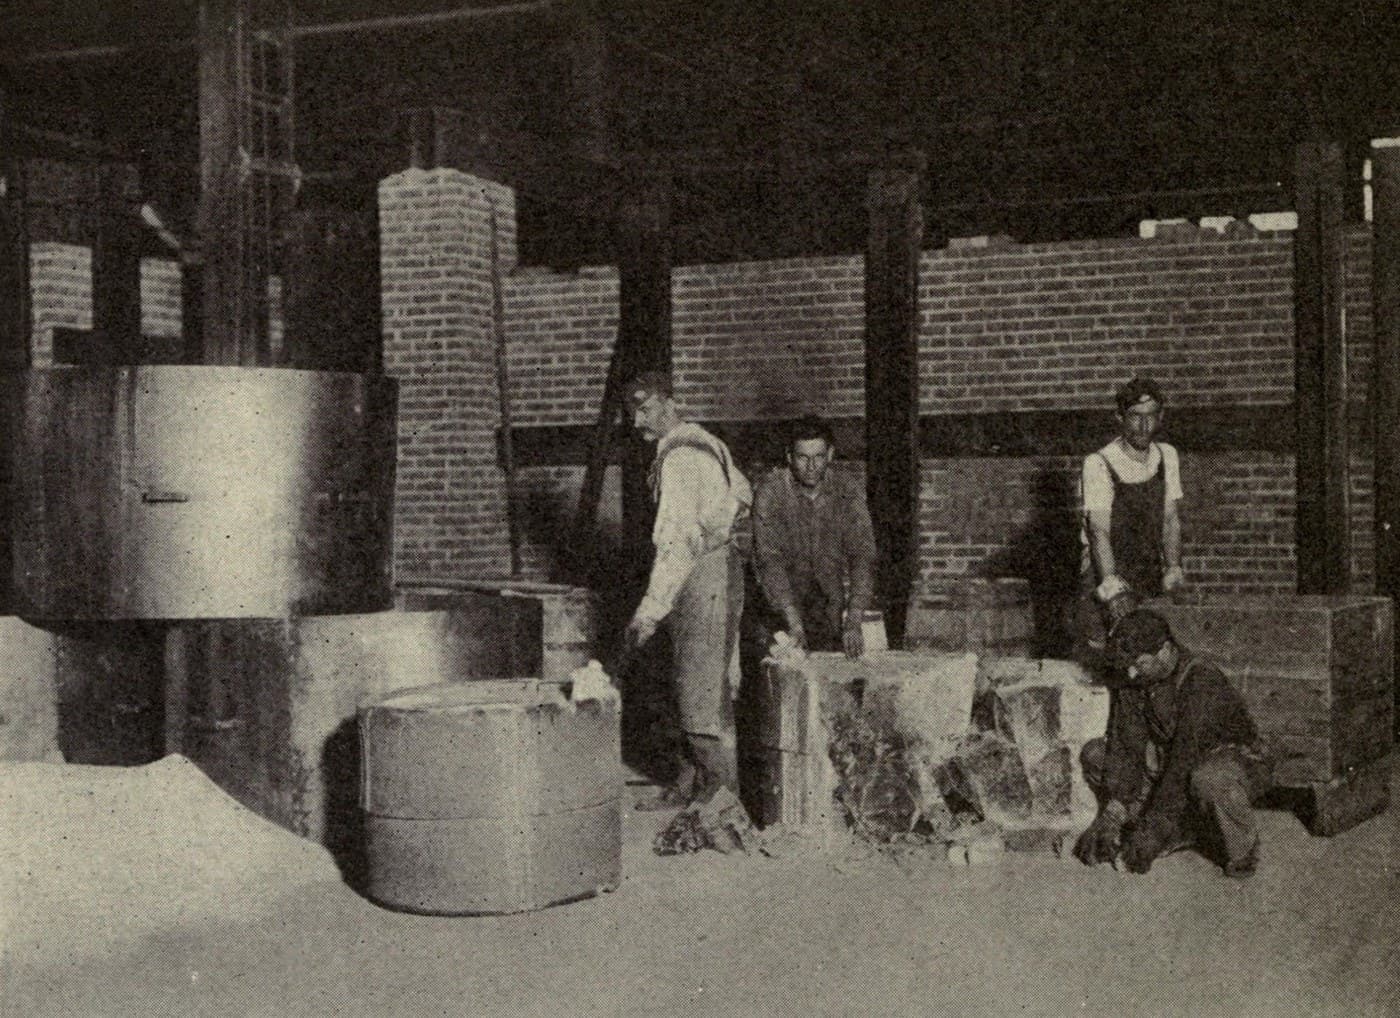
The picture: blocking prisms for rough grinding at Frankford Arsenal (Wright 1921, Fig. 77, public domain).
Avanzato
2-3 days
Istruzioni
1
1
Saw out the blank
Saw out the blank
Saw a triangular blank from a block of optical glass with a diamond saw, using kerosene as lubricant. Leave several millimetres extra on each face for grinding.
Materiali per questo passaggio:
 Vetro ottico1 as required
Strumenti necessari:
 Sega diamantata
 Cherosene
 Calibro digitale da 6 pollici
 Occhiali di sicurezza
2
2
Rough-grind the faces
Rough-grind the faces
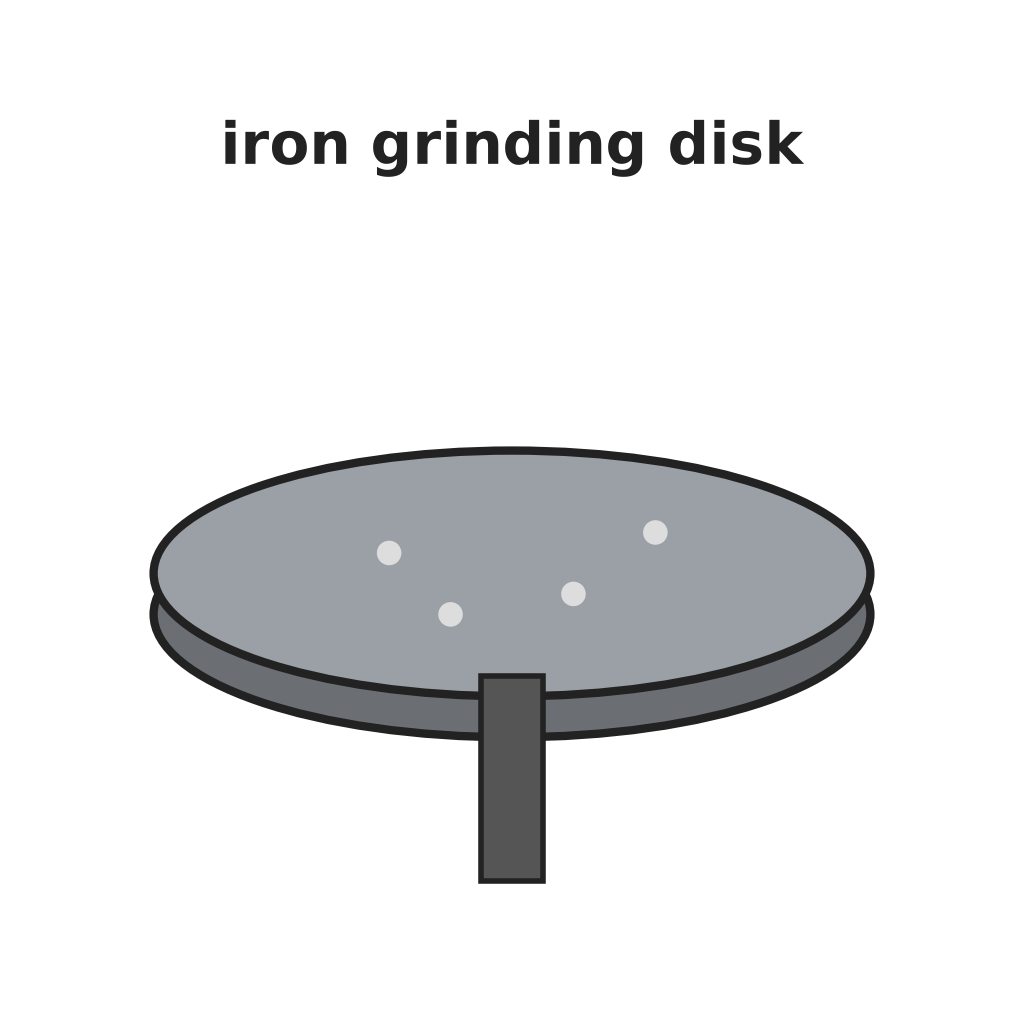
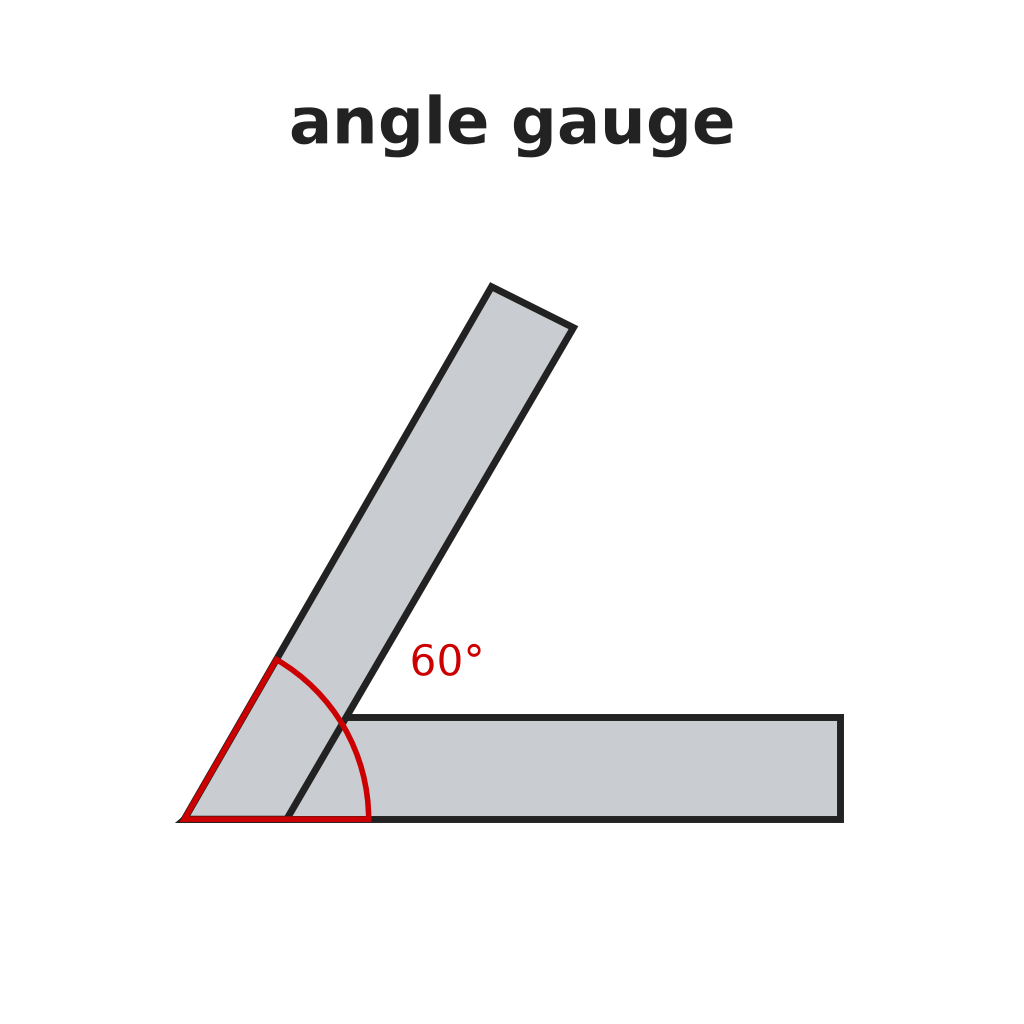
Grind one triangular end flat on a rotating iron disk with 90 or 150 mesh grit. Then rough out the three side faces at right angles to it, checking the 60° angles with an angle gauge.
Strumenti necessari:
 Disco di rettifica in ferro
 Set di grani abrasivi di carburo di silicio
 Calibro angolare
3
3
Grind the ends in a batch
Grind the ends in a batch
Wax 20 or more prisms by their ground ends onto a heated iron disk and grind the other ends together: 90, 150, then 220 mesh, then smoothing grit. Change grit only when the surface is free of scratches. Regrind to the set thickness.
Strumenti necessari:
Disco di rettifica in ferroSet di grani abrasivi di carburo di silicio Paraffina
 Cera d'api
 Piastra riscaldanteCalibro digitale da 6 pollici
4
4
Block the prisms in plaster
Block the prisms in plaster
Set the prisms face down in melted paraffin on a flat iron disk and coat their backs with beeswax. Clamp a ring round them, fill with plaster of Paris and a little Portland cement (10 : 1), and let it harden about 16 hours. Cut the plaster back 1/8 in from the prisms and give it two coats of shellac.
Strumenti necessari:
Piastra riscaldanteParaffinaCera d'api Gesso da presa
 Cemento Portland
 Cera d'api in pastiglie
5
5
Fine-grind
Fine-grind
Grind the block on a slightly convex plate with wet flour emery (the part that settles out of water between 10 and 60 minutes). After five minutes check with a magnifier: the faces should have an even velvet finish, slightly hollow by less than 0.001 in.
Strumenti necessari:
Disco di rettifica in ferroSet di grani abrasivi di carburo di silicio Lente da orologiaio
6
6
Polish on pitch
Polish on pitch
Pour strained pitch with a little rosin 1/4 in deep on an iron tool and cut crossed grooves 1/8 in wide, 1 in apart. Press it true with a rouge-wetted flat. Polish the block with creamy rouge and water on the machine, usually 4–8 hours, running nearly dry at the end.
Strumenti necessari:
 Pece di catrame di legno
 Colofonia di pino
 Rosso da gioielliere
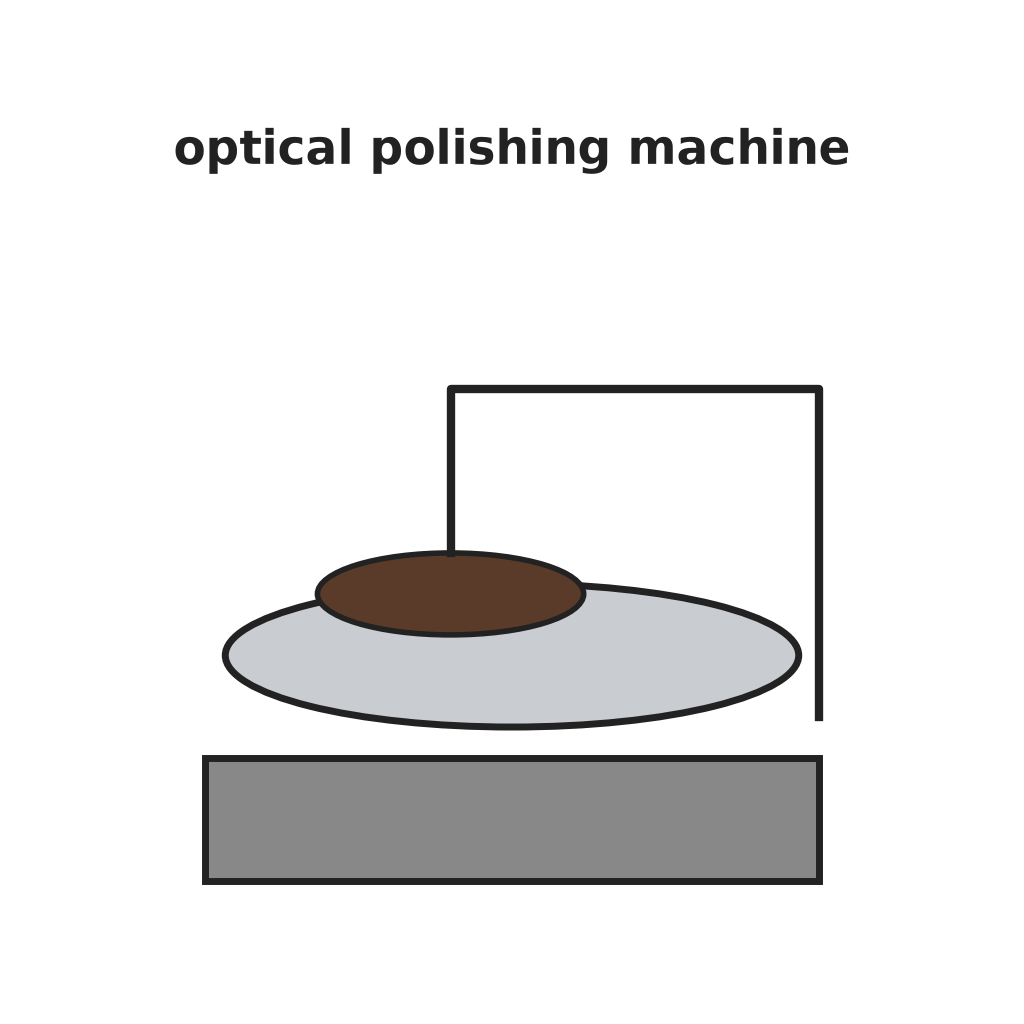 Macchina per lucidatura ottica
7
7
Test for flatness
Test for flatness
Lay an optical flat on each face and look at the Newton colours in sodium light (salt in a Bunsen flame). Straight bands to the edge, or one colour over the whole face, mean it is flat.
Strumenti necessari:
 Piano ottico (campione)
 Becco Bunsen
 SaleLente da orologiaio
8
8
Free, clean, check the angle, repeat
Free, clean, check the angle, repeat
Break the plaster away, clean the prisms with benzene and check each angle with the angle gauge. Correct by hand on a flat tool with smoothing grit. Repeat blocking and polishing for every face, smallest face first.
Strumenti necessari:
 Martello
 BenzeneCalibro angolareDisco di rettifica in ferroSet di grani abrasivi di carburo di silicio
Materiali
1- 1 as requiredSegnaposto
Strumenti richiesti
23- Segnaposto
- Segnaposto
- Segnaposto
- Segnaposto
- Segnaposto
- Segnaposto
- Segnaposto
- Segnaposto
- Segnaposto
- Segnaposto
- Segnaposto
- Segnaposto
- Segnaposto
- Segnaposto
- Segnaposto
- Segnaposto
- Segnaposto
- Segnaposto
- Segnaposto
- Segnaposto
- Segnaposto
- Segnaposto
Questo progetto realizza

Blueprint correlati
Questi blueprint condividono conoscenze — tecniche, materiali o principi
CC0 Pubblico dominio
Questo progetto è rilasciato sotto CC0. Sei libero di copiare, modificare, distribuire e utilizzare quest'opera per qualsiasi scopo, senza chiedere permesso.
Supporta il Maker acquistando prodotti tramite il suo progetto dove guadagna una Commissione Maker stabilita dai venditori, oppure crea una nuova iterazione di questo progetto e includilo come collegamento nel tuo progetto per condividere i ricavi.