
Collaborazione
ARTE
BELLEZZA E BENESSERE
MESTIERE
CULTURA E STORIA
DIVERTIMENTO
AMBIENTE
CIBO E BEVANDE
INGEGNERIA INVERSA
SCIENZE
SPORT
TECNOLOGIA
INDOSSABILI
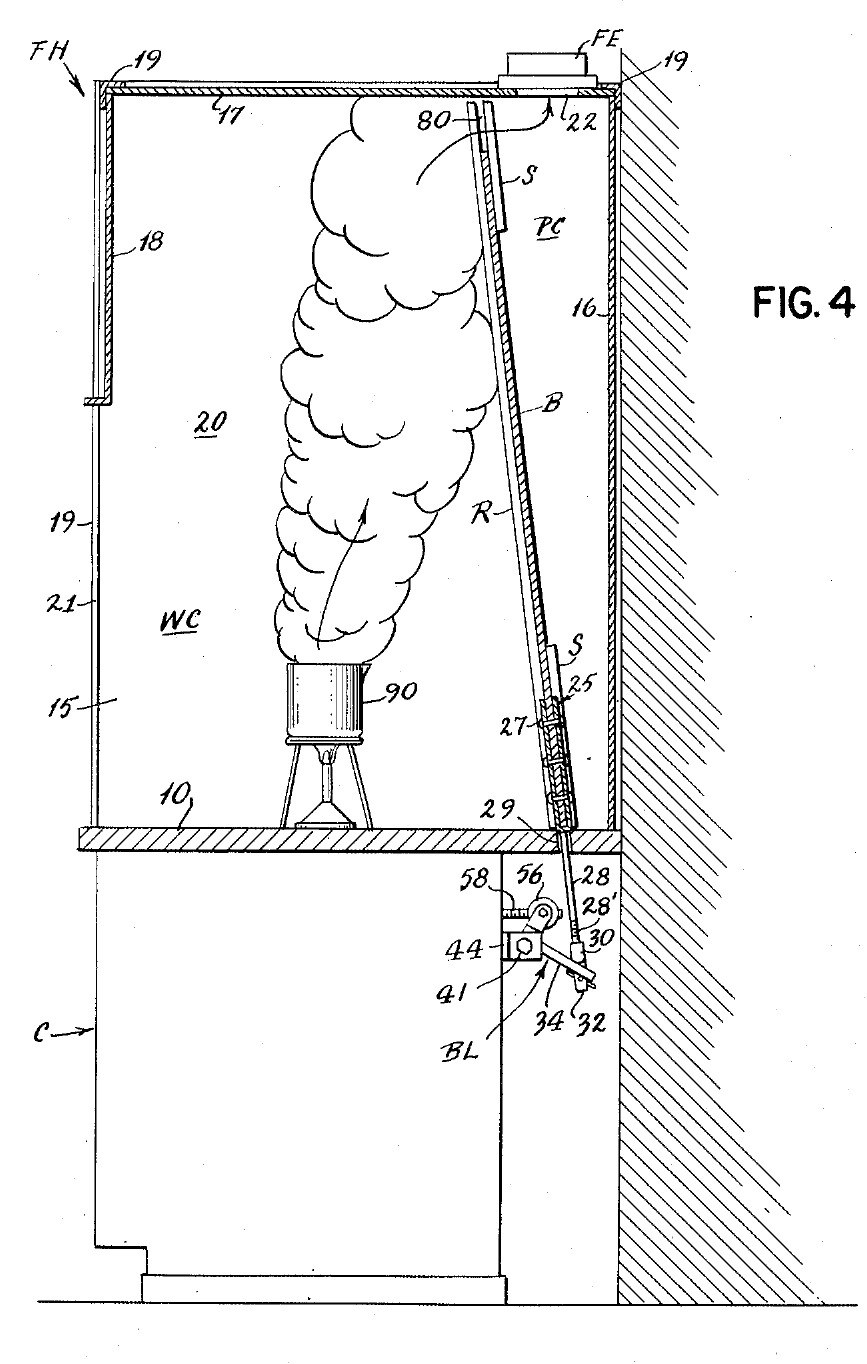
Fume Hood (Ducted): Sloping Stone Baffle Set from Outside by a Crank (Liptay, US 2,779,265, 1957)
Penny

Creato da

Penny

3. novembre 2026DK
7
0
0
0
0

Fume Hood (Ducted): Sloping Stone Baffle Set from Outside by a Crank (Liptay, US 2,779,265, 1957)

A bench fume hood on a stone counter, drawn off through a duct with a fan. Inside, a sloping stone baffle leaves a gap at the top and one at the bottom. A crank under the counter slides the baffle: one gap grows as the other shrinks, so the air sweeps light fumes out at the top or heavy fumes out at the bottom, with no one reaching inside. Result: a ducted hood whose air flow can be set for light or heavy fumes during work. Source: J. M. Liptay, US 2,779,265 (1957). Unknown: sizes, air flow, the fan and most materials. Picture: the patent drawing.
Avanzato
Unknown

Istruzioni

1

Build the cabinet and stone counter

Build a sheet metal cabinet. Fix spaced sheet metal channels to its front panel and rear wall, and lay a stone slab on them as the counter. Bore a hole through the slab near the back, at the middle, for the baffle's lifting rod. Not given: sizes, the metal.

Materiali per questo passaggio:

Metallo sconosciutoMetallo sconosciuto1 cabinet and channels
Lastra di pietra piattaLastra di pietra piatta1 counter

Strumenti necessari:

Cesoie da lattoniereCesoie da lattoniere
Trapano a colonnaTrapano a colonna
Dimensioni sconosciuteDimensioni sconosciute
2

Build the hood

On the counter, make a frame of corner angle irons. Fix to it two sides, a rear wall, a roof and a front panel. Leave the front open below the front panel: this is the large opening where you work and where air comes in. Cut the fume outlet in the roof, towards the back. Not given: the panel material, sizes.

Materiali per questo passaggio:

Angolare di acciaio dolceAngolare di acciaio dolce1 corner frame

Materiale sconosciutoMateriale sconosciuto1 sides, rear wall, roof, front panel

Strumenti necessari:

Seghetto per metalliSeghetto per metalli
Dimensioni sconosciuteDimensioni sconosciute
3

Fit the exhaust pipe and fan

Fix an exhaust pipe over the roof outlet, with a fan in it, to draw the fumes out. Not given: the pipe, the fan, the air flow.

Materiali per questo passaggio:

Canalizzazioni d'ariaCanalizzazioni d'aria1 exhaust pipe
Soffiatore d'ariaSoffiatore d'aria1 fan

Strumenti necessari:

Chiave regolabile a rullinoChiave regolabile a rullino
4

Fit the sloping baffle

Make a solid stone baffle almost as wide as the hood. Set it sloping up and forward from the rear wall, so it splits the inside into the work space in front and a duct behind that widens upward to the outlet. Guide it on sloping rails in front and strips behind, fixed to the sides, so it can slide. Leave a gap between its top and the roof, and one between its bottom and the counter. Not given: the rails' metal, sizes.

Materiali per questo passaggio:

Lastra di pietra piattaLastra di pietra piatta1 baffle
Metallo sconosciutoMetallo sconosciuto1 rails and strips

Strumenti necessari:

Dimensioni sconosciuteDimensioni sconosciute
5

Make the lifting rod

Cut a notch in the middle of the baffle's lower edge. Make a V-shaped yoke whose legs straddle the baffle front and back, rivet the legs to it, and give the yoke a rod that hangs down through the hole in the counter. Thread the rod's lower end. Not given: the metal.

Materiali per questo passaggio:

Metallo sconosciutoMetallo sconosciuto1 yoke, rod, rivets

Strumenti necessari:

Set da ribadireSet da ribadire
Serie di maschi e filiereSerie di maschi e filiere
6

Fit the bell crank

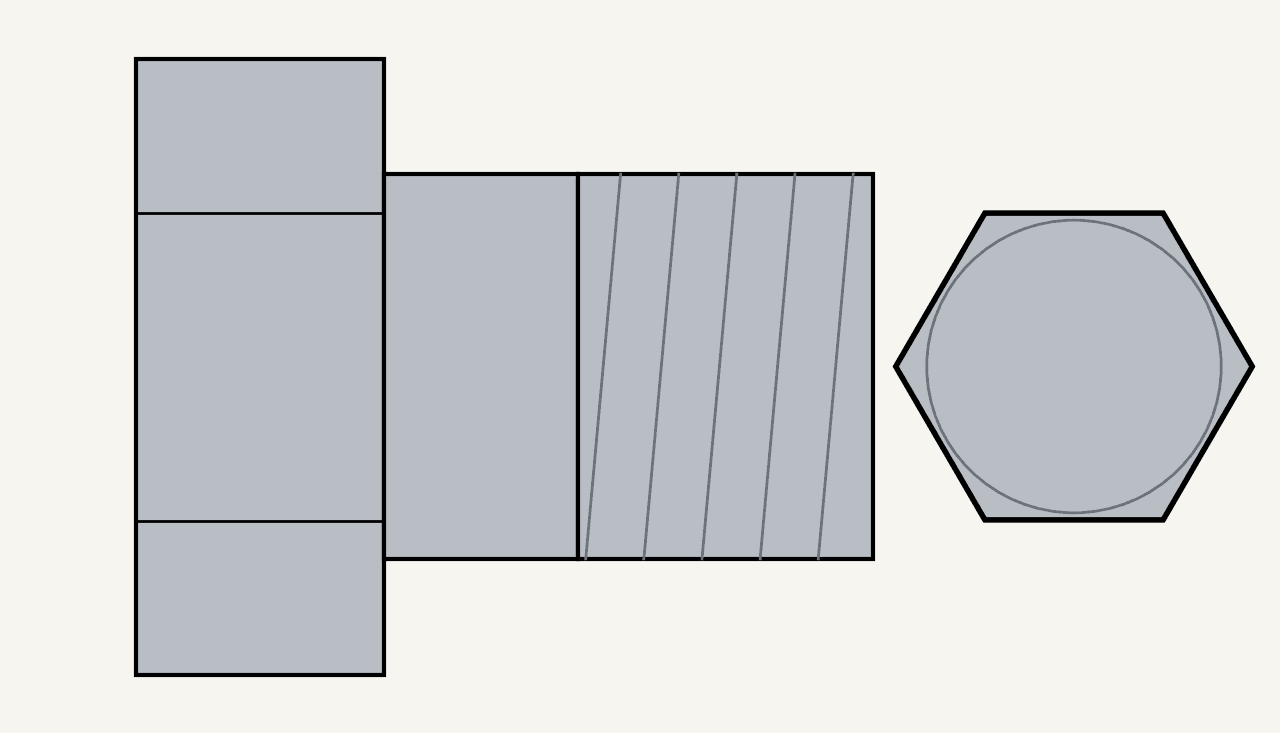
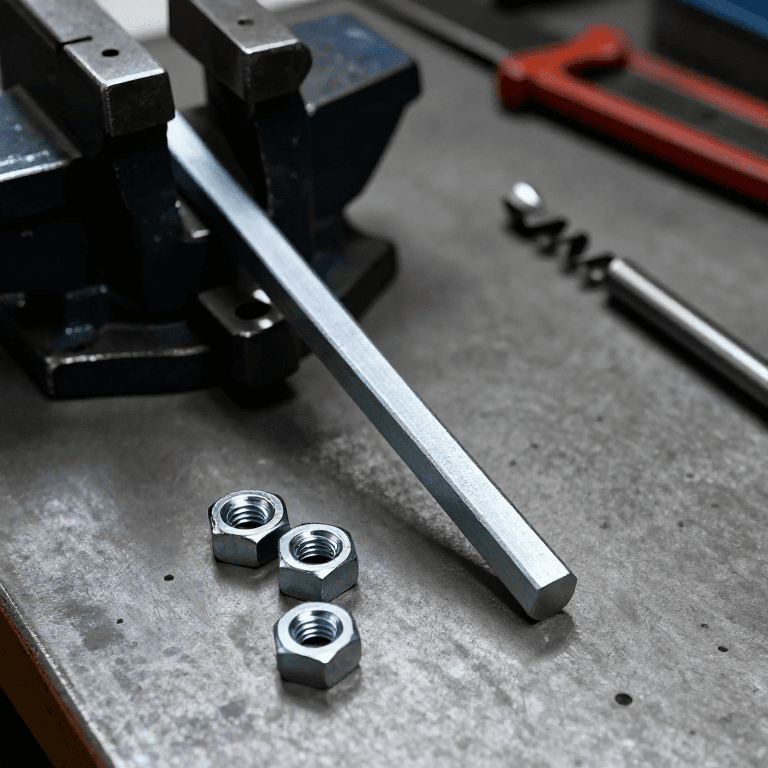
Under the counter, pivot a bell crank lever on a bolt through the lugs of a bracket fixed to the cabinet's rear channel. Screw a coupling onto the rod's threaded end. The coupling's two curved lips rock on the lever's long arm, and its tongue hangs through a slot in the arm, held by a cotter pin. On the short arm, a yoke turns on two bolts set fast in the threaded cross-holes of a round nut. Ours: hex bolts and nuts.

Materiali per questo passaggio:

Leva a squadraLeva a squadra1 bell crank
Metallo sconosciutoMetallo sconosciuto1 bracket, coupling, round nut

Assortimento di bulloni a testa esagonaleAssortimento di bulloni a testa esagonale3 pezzi

Dado esagonaleDado esagonale1 pezzo
CoppigliaCoppiglia1 pezzo

Strumenti necessari:

Serie di maschi e filiereSerie di maschi e filiere
Chiave regolabile a rullinoChiave regolabile a rullino
7

Fit the crank and set the baffle

Screw a metal operating rod through the round nut and run it forward to the cabinet front. Screw its front socket onto the shaft of a hand crank and pin it with a cotter pin. Weld an angle iron to the inside of the front panel to stiffen it. Clamp a bushing through the panel with a nut, and set a ball bearing between two rings on the shaft, between the bushing and the crank. Turning the crank tips the bell crank, which raises the rod and baffle or lets them slide down by their own weight: as one gap grows the other shrinks. Air comes in at the front; the upper stream carries light fumes to the top gap, the lower stream heavy fumes to the bottom gap. Open the top fully for light fumes, the bottom fully for heavy ones, or set any point between, without reaching inside. A sliding safety sash may be fitted over the front opening, to watch dangerous reactions safely.

Materiali per questo passaggio:

Metallo sconosciutoMetallo sconosciuto1 operating rod, crank, bushing
CoppigliaCoppiglia1 pezzo
Dado esagonaleDado esagonale1 pezzo
Angolare di acciaio dolceAngolare di acciaio dolce1 stiffener
Cuscinetto assiale a sfereCuscinetto assiale a sfere1 pezzo

Strumenti necessari:

Saldatrice ad arcoSaldatrice ad arco
Serie di maschi e filiereSerie di maschi e filiere
Chiave regolabile a rullinoChiave regolabile a rullino

Materiali

11

Strumenti richiesti

8

Blueprint correlati

Questi blueprint condividono conoscenze โ€” tecniche, materiali o principi

CC0 Pubblico dominio

Questo progetto รจ rilasciato sotto CC0. Sei libero di copiare, modificare, distribuire e utilizzare quest'opera per qualsiasi scopo, senza chiedere permesso.

Supporta il Maker acquistando prodotti tramite il suo progetto dove guadagna una Commissione Maker stabilita dai venditori, oppure crea una nuova iterazione di questo progetto e includilo come collegamento nel tuo progetto per condividere i ricavi.

Commenti

(0)

Accedi per partecipare alla discussione

Caricamento commenti...