Collaborazione
ARTE
BELLEZZA E BENESSERE
MESTIERE
CULTURA E STORIA
DIVERTIMENTO
AMBIENTE
CIBO E BEVANDE
INGEGNERIA INVERSA
SCIENZE
SPORT
TECNOLOGIA
INDOSSABILI
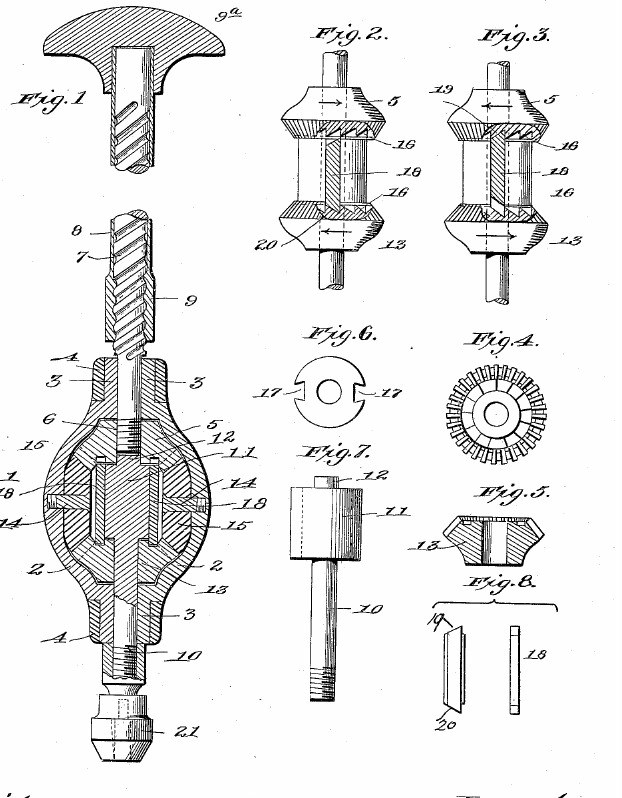


Hand Drill: Double-Acting Push Drill, Spiral Rod and Ratchet Bevel Gears (Olson, US 652,137, 1900)
A hand drill you work by pushing a handle back and forth. The handle's nut runs on a spiral-grooved rod and spins it one way, then the other. Inside a bulb-shaped casing you hold in your other hand, bevel gears and two sliding ratchet bolts turn that back-and-forth spin into steady rotation of the chuck, so the bit cuts on every stroke.
Result: a hand drill that bores continuously in one direction from a push-pull stroke.
Source: J. E. Olson, US 652,137 (1900). Unknown: all materials and sizes. Picture: the patent drawing.
Avanzato
Unknown
Istruzioni
1
1
Make the casing
Make the casing
Make two half-egg-shaped shells, each with a half-round neck at both ends. Put them face to face and hold them together with ferrules pushed over the necks: a hollow bulb that fits the hand. Not given: the metal, sizes.
Materiali per questo passaggio:
 Metallo sconosciuto1 shells, ferrules
Strumenti necessari:
 Tornio per metalli
 Dimensioni sconosciute
2
2
Make the spiral rod and handle
Make the spiral rod and handle
Cut a rod with a steep spiral groove or thread. Fit a tube over it with a nut at its lower end that runs in the spiral, and a handle at its upper end. Not given: the pitch, the handle material.
Materiali per questo passaggio:
Metallo sconosciuto1 rod, tube, nut Materiale sconosciuto1 handle
Strumenti necessari:
Tornio per metalli Serie di maschi e filiere
3
3
Make the gears and ratchet hub
Make the gears and ratchet hub
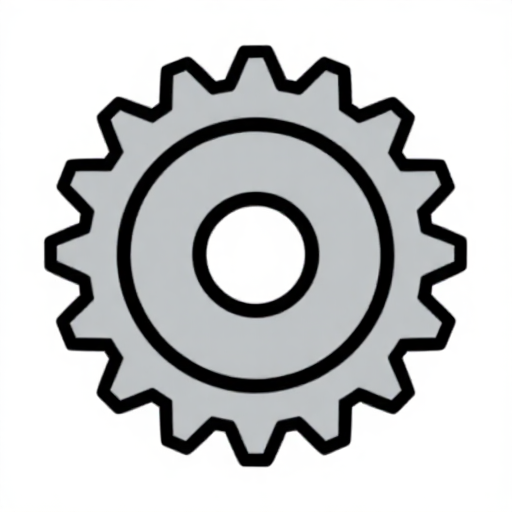
Take four bevel wheels: an upper one bored through the centre and fixed on the lower end of the spiral rod, a lower one the same shape and size, and two side wheels that gear them together. Cut a ring of ratchet teeth on the facing sides of the upper and lower wheels, slanted opposite ways. Make a shaft with a hub (barrel) at its top whose tip runs in the bore of the upper wheel; cut two upright dovetail grooves in the hub, each holding a sliding bolt with its two ends bevelled opposite ways, long enough that one end meets one wheel's teeth while the other end is clear of the other wheel. Ours: steel mitre gears.
Materiali per questo passaggio:
 Coppia di ingranaggi conici (acciaio, 1:1)2 four bevel wheelsMetallo sconosciuto1 shaft, hub, two bolts
Strumenti necessari:
Tornio per metalli Seghetto per metalli
4
4
Assemble
Assemble
Inside the casing, set the upper wheel with the spiral rod coming out of the top neck, the hub between the wheels, and the lower wheel turning loose on the shaft. Run the two side wheels on screws through the casing wall as their axles. Bring the shaft out of the lower neck and fix a drill chuck on its end. Ours: a drill chuck.
Materiali per questo passaggio:
Metallo sconosciuto1 two journal screws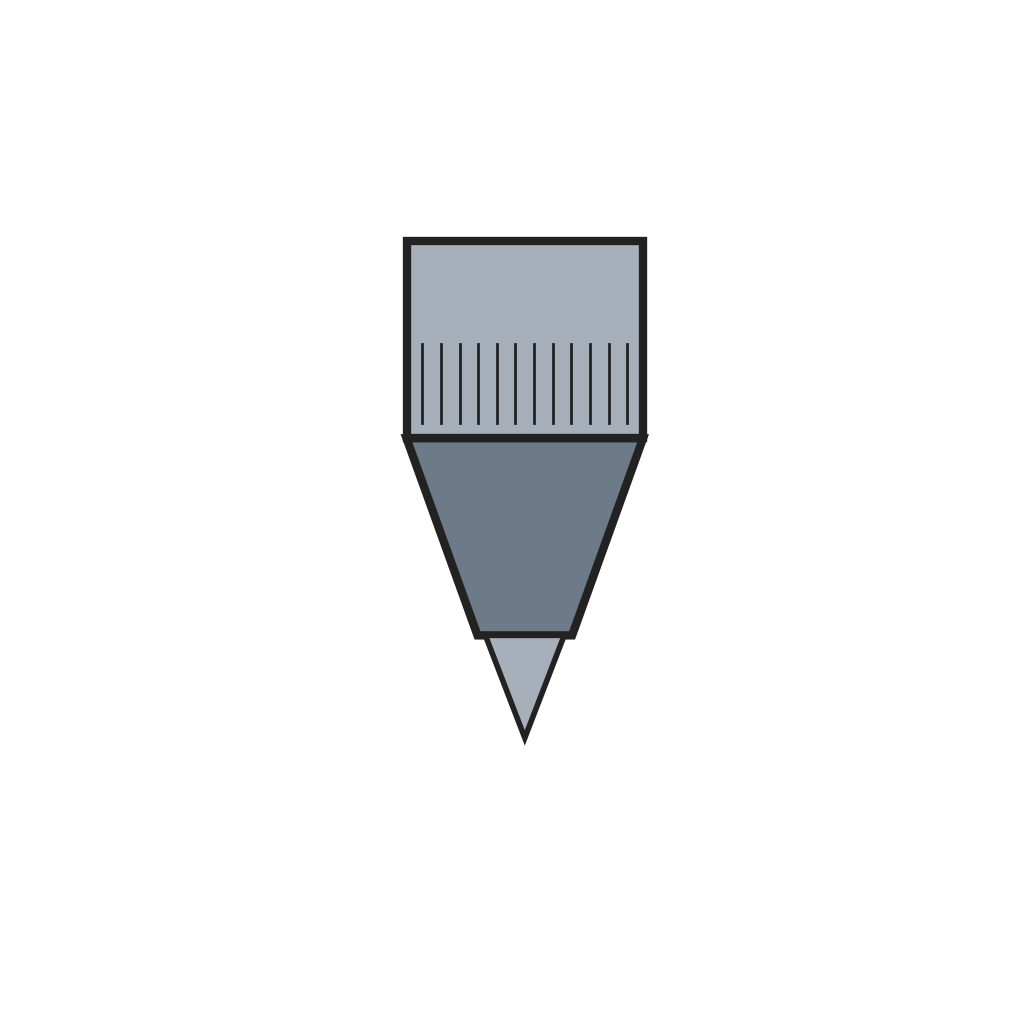 Mandrino portapunte1 pezzo
Strumenti necessari:
Serie di maschi e filiere5
5
Drill
Drill
Put a bit in the chuck and set it on the mark. Hold the casing still in one hand, pressing lightly toward the work, and push and pull the handle with the other. Each stroke turns the upper and lower wheels opposite ways; the bolts slide over to engage whichever wheel is turning the cutting way, so the bit turns steadily one way.
Strumenti necessari:
 Serie di punte da trapano
Materiali
4- 1 two journal screwsSegnaposto
- 1 handleSegnaposto
- 2 four bevel wheelsSegnaposto
- 1 pezzoSegnaposto
Strumenti richiesti
5- Segnaposto
- Segnaposto
- Segnaposto
- Segnaposto
- Segnaposto
Materiali dei progetti collegati

Questo progetto realizza
CC0 Pubblico dominio
Questo progetto è rilasciato sotto CC0. Sei libero di copiare, modificare, distribuire e utilizzare quest'opera per qualsiasi scopo, senza chiedere permesso.
Supporta il Maker acquistando prodotti tramite il suo progetto dove guadagna una Commissione Maker stabilita dai venditori, oppure crea una nuova iterazione di questo progetto e includilo come collegamento nel tuo progetto per condividere i ricavi.