Harvesting and Preparing Wild Clay from Riverbanks
Every ceramic object ever made before the industrial age began with someone digging clay from the earth. Wild clay — clay found in natural deposits along riverbanks, road cuts, construction sites, and eroded hillsides — is available on every continent and in most localities. Learning to find, test, harvest, and prepare wild clay is the most fundamental skill in ceramics.
Clay is a product of geological weathering. Feldspars in granite and other igneous rocks break down over millions of years into clay minerals — primarily kaolinite, illite, and montmorillonite. These microscopic plate-shaped particles give clay its plasticity: when wet, the plates slide over each other; when dried and fired, they lock together permanently.
There are two types of natural clay deposits: primary (residual) clay, found where it formed from the parent rock (typically white, pure, but not very plastic — kaolin is the classic example), and secondary (sedimentary) clay, transported by water and deposited elsewhere (typically darker, more plastic, and contaminated with iron, organic matter, and sand — but usually better for hand-building and pottery).
This blueprint covers finding, testing, harvesting, and processing wild secondary clay into a workable pottery material.
Istruzioni
Find a clay deposit
Find a clay deposit
Clay deposits are found wherever water has eroded soft ground: riverbanks, stream beds, road cuts, construction excavations, and coastal cliffs. Look for smooth, sticky, grey or red-brown soil that holds its shape when squeezed. Avoid sandy or gritty soils — clay feels slippery and smooth between your fingers.
The simplest field test: take a pinch of wet soil, roll it between your palms into a thin coil (3-4 mm diameter). If you can wrap the coil around your finger without it cracking or crumbling, you have usable clay. If it cracks immediately, it's too sandy. If it's too sticky to roll, it may be pure clay but needs tempering with sand.
Strumenti necessari:
 Shovel
 Bucket (5-gallon)
Harvest the raw clay
Harvest the raw clay
Dig below the topsoil layer (usually 15-30 cm) to reach clean clay. Topsoil contains too much organic matter (roots, humus) which burns out during firing and leaves weak, porous pottery. The clay layer beneath is typically denser, more uniform in color, and free of visible plant material.
Collect 10-20 kg of raw clay — it will reduce significantly during processing as you remove stones, roots, and excess water. Break it into fist-sized chunks and fill your buckets. If the clay is very wet and sticky at the site, allow the chunks to dry partially before transporting (wet clay is extremely heavy).
Strumenti necessari:
ShovelBucket (5-gallon)Dry and crush the clay
Dry and crush the clay
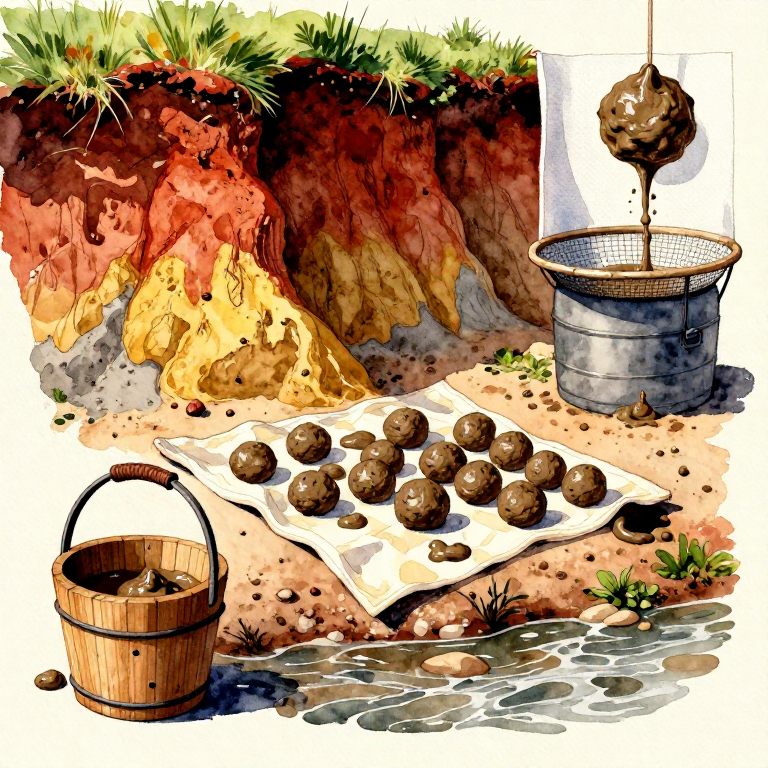
Spread the clay chunks on a tarp or plastic sheet in the sun and allow them to dry completely — this takes 1-3 days depending on humidity and chunk size. Fully dried clay is hard, pale in color, and cracks easily. Drying is essential because dry clay dissolves in water much faster than wet clay breaks down.
Once bone-dry, crush the clay into small pieces (1-2 cm) or powder using a hammer, mallet, or even by placing chunks in a cloth bag and striking with a rock. The finer you crush it, the faster it will dissolve in the next step. Remove any visible stones, roots, or debris during crushing.
Strumenti necessari:
 Hand Hammer (1 kg)
 Plastic Sheet
Slake the clay in water
Slake the clay in water
Place the crushed dry clay into a large bucket and add water until it covers the clay by 5-10 cm. Allow it to soak for 24-48 hours without stirring — the clay will absorb water and slowly dissolve into a thick slurry called 'slip.' After soaking, stir vigorously to break up any remaining lumps.
The slip should be the consistency of thick cream. Add more water if it's too thick to stir, or add more dry clay if it's too thin. This slaking process separates the fine clay particles from sand, gravel, and other contaminants that will settle to the bottom.
Strumenti necessari:
Bucket (5-gallon) Steel Stirring Rod
Screen the slip to remove debris
Screen the slip to remove debris
Pour the stirred clay slip through a mesh screen or old window screen into a second clean bucket. This removes stones, roots, coarse sand, and any debris. For fine pottery, use a finer mesh (40-60 mesh); for hand-building and sculpture, a coarser screen (20 mesh) is sufficient.
Press the slip through the screen with your hands or a rubber spatula. Discard the debris caught on the screen. The screened slip in the second bucket is now clean, uniform clay suspended in water. Allow this to settle undisturbed for several hours — any fine sand will settle to the bottom.
Strumenti necessari:
 Classifier Sieve (mesh screen)Bucket (5-gallon)
Dry the clay to working consistency
Dry the clay to working consistency
The screened slip needs to lose excess water before it becomes workable clay. The traditional method: pour the slip onto a plaster bat (a thick plaster slab) which absorbs water. Without plaster, spread the slip onto a clean cloth draped over a wooden frame, or simply pour it into a shallow container and allow it to evaporate in sun and wind.
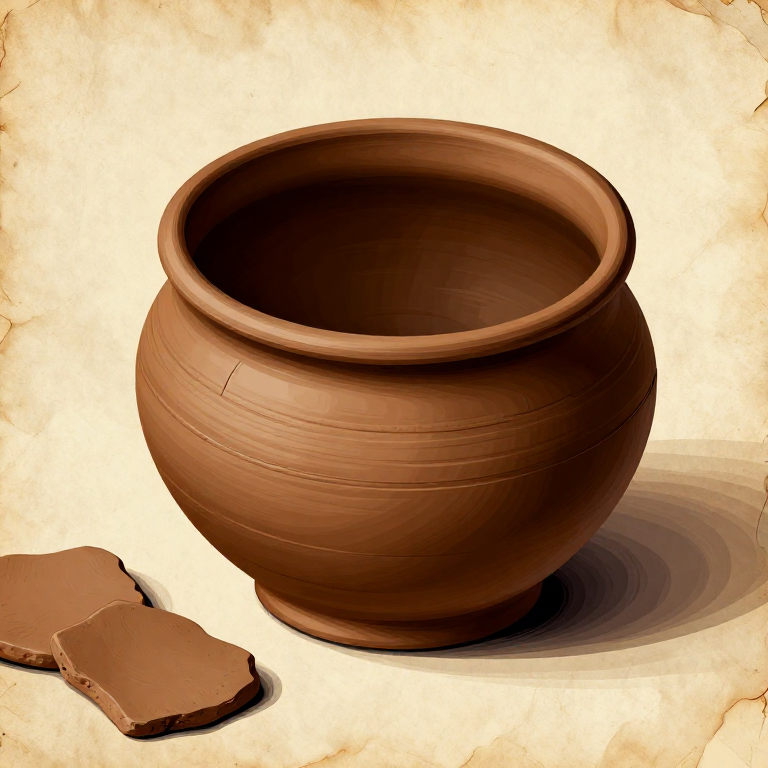
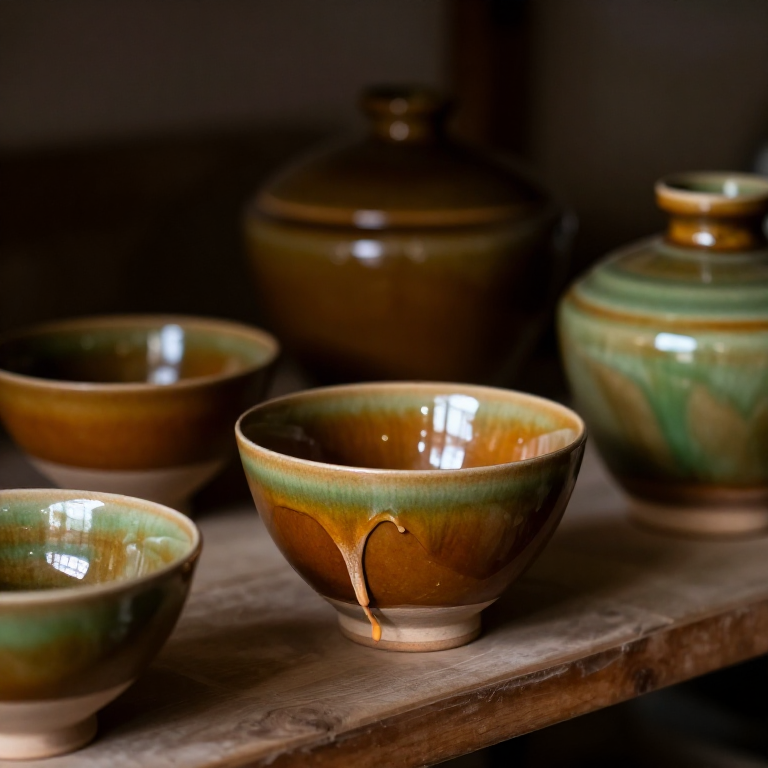
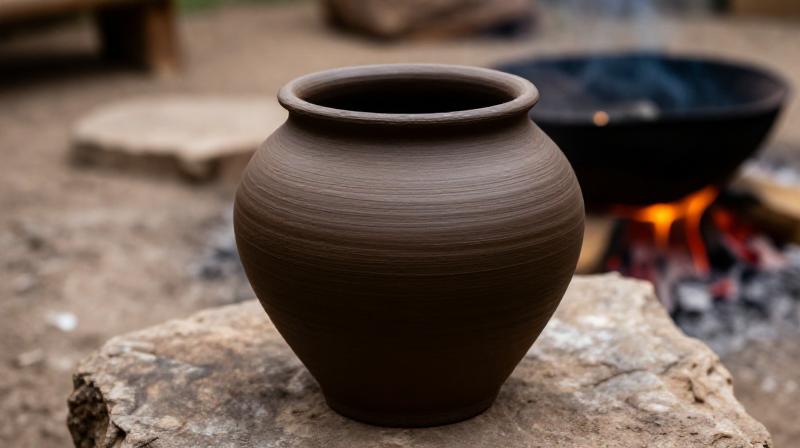
Check daily. When the clay is firm enough to hold its shape but soft enough to press a thumbprint into easily, it's at working consistency. This typically takes 1-3 days on plaster, longer in a container. The finished clay should be smooth, plastic, and free of grit — ready for hand-building, coiling, or throwing on a wheel.
Strumenti necessari:
Plastic SheetWedge the clay and test plasticity
Wedge the clay and test plasticity
Wedging is the potter's equivalent of kneading bread dough. Cut the clay mass in half, slam one half onto the other, and push forward with the heel of your hand. Rotate 90° and repeat. Continue for 50-100 repetitions. This removes air bubbles (which explode during firing) and creates a uniform, homogeneous mass.
Test the finished clay: roll a coil 1 cm diameter and wrap it tightly around your finger. Good clay wraps smoothly with no cracks. If it cracks, the clay is too 'short' (not plastic enough) — adding a small percentage (5-10%) of bentonite clay or ball clay improves plasticity. If it's too sticky, wedge in fine sand (grog) at 10-20% by volume. Store unused clay wrapped tightly in plastic — it keeps for months.
Strumenti richiesti
6- Segnaposto
- Segnaposto
- Segnaposto
- Segnaposto
- Segnaposto
- Segnaposto
Related blueprints
Other builds that share materials, tools, or techniques with this one.
CC0 Pubblico dominio
Questo progetto è rilasciato sotto CC0. Sei libero di copiare, modificare, distribuire e utilizzare quest'opera per qualsiasi scopo, senza chiedere permesso.
Supporta il Maker acquistando prodotti tramite il suo progetto dove guadagna una Commissione Maker stabilita dai venditori, oppure crea una nuova iterazione di questo progetto e includilo come collegamento nel tuo progetto per condividere i ricavi.