ARTE
BELLEZZA E BENESSERE
MESTIERE
CULTURA E STORIA
DIVERTIMENTO
AMBIENTE
CIBO E BEVANDE
INGEGNERIA INVERSA
SCIENZE
SPORT
TECNOLOGIA
INDOSSABILI
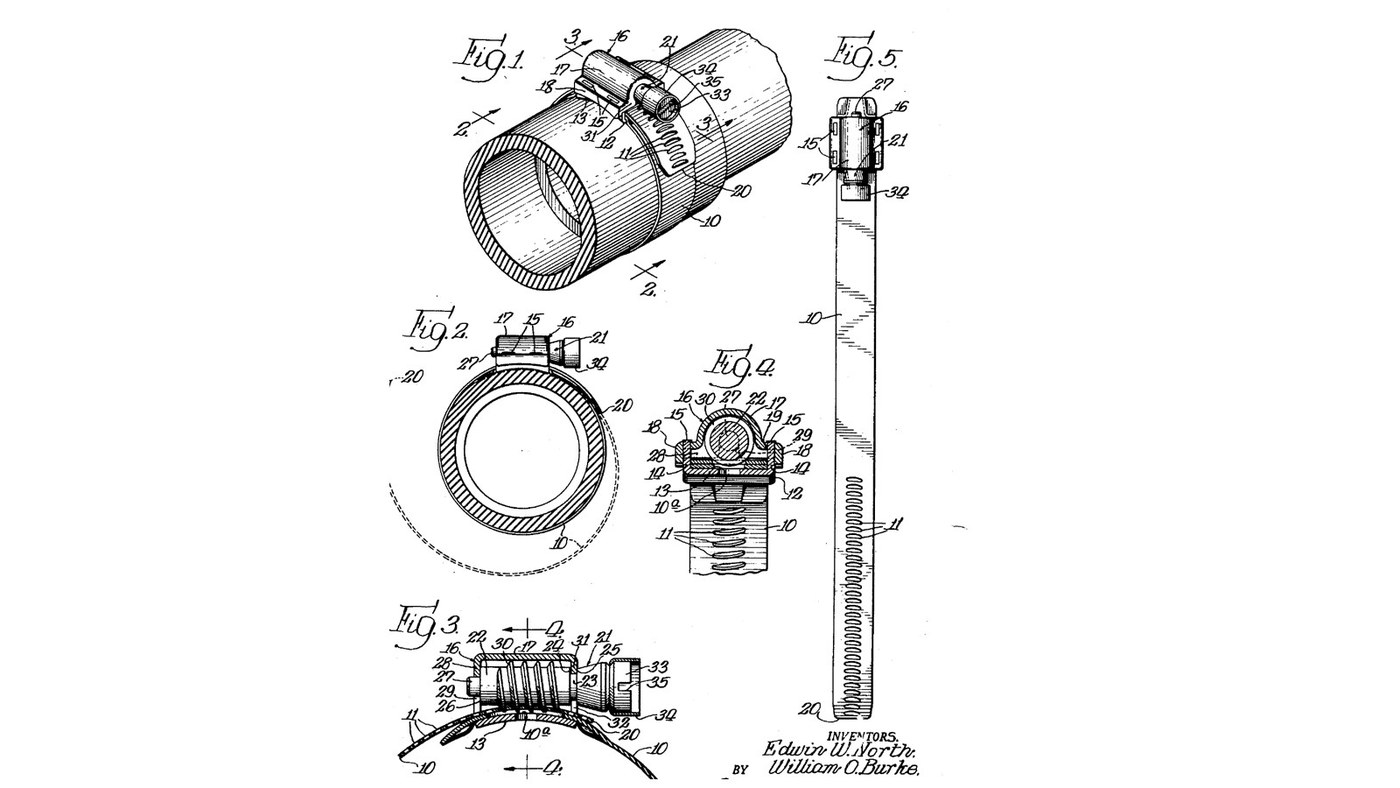


Hose-Clamp Saddle, Screw Housing and Worm Screw (North & Burke, 1945)
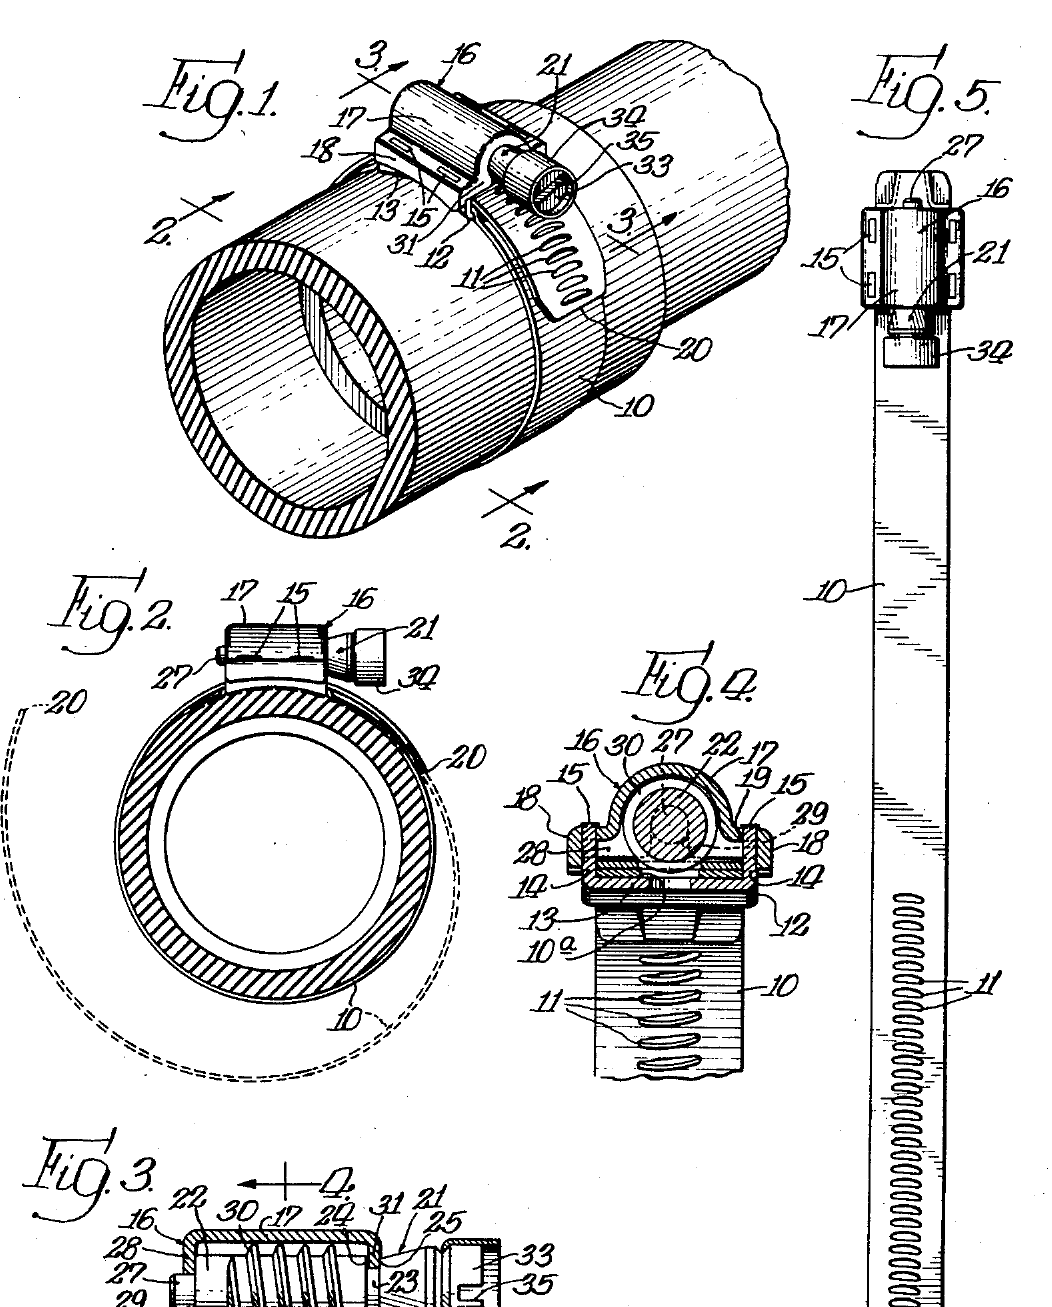
North and Burke's worm-drive hose clamp of 1945 has three small parts on the band: a U-shaped saddle welded to it, a housing that fits over the saddle as the screw's casing, held by prongs riveted through its flanges, and a screw with one continuous thread whose reduced ends sit in slots in the housing's end walls. Here they are made by hand from mild steel sheet and bar instead of being stamped; method and sizes are ours.
The picture: North and Burke's patent drawing, US 2,386,629.
Avanzato
1 day
Istruzioni
1
1
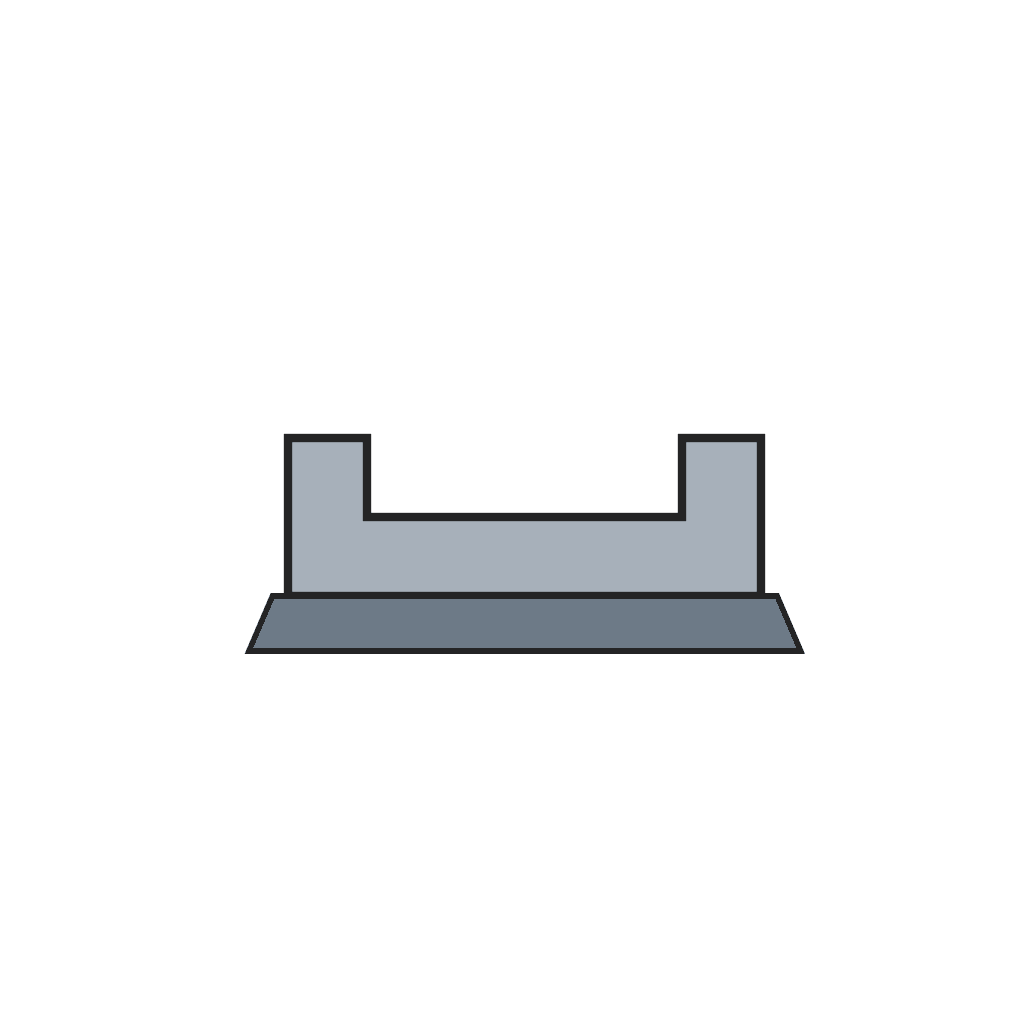
Saddle
Saddle
From 0.8 mm mild steel sheet cut a strip as wide as the band, with two narrow tabs on each long edge for the prongs. Bend the long edges up into a U and curve the base slightly along its length to match the band.
Materiali per questo passaggio:
 Lamiera di acciaio dolce1 pezzo
Strumenti necessari:
 Punta da tracciare
 Righello
 Cesoie da lattoniere
 Serie di lime
 Morsa da banco
 Martello a penna trasversale
 Guanti da lavoro in pelle
2
2
Screw housing
Screw housing
Cut a blank for the casing that fits over the saddle, with a flange along each side and an end wall at each end. Drill a hole in each flange where a prong will pass, and cut a slot down into each end wall for the screw's reduced ends. Bend it to shape.
Strumenti necessari:
Punta da tracciareCesoie da lattoniere Trapano a manoSerie di limeMorsa da bancoMartello a penna trasversaleGuanti da lavoro in pelle
3
3
Turn the worm screw
Turn the worm screw
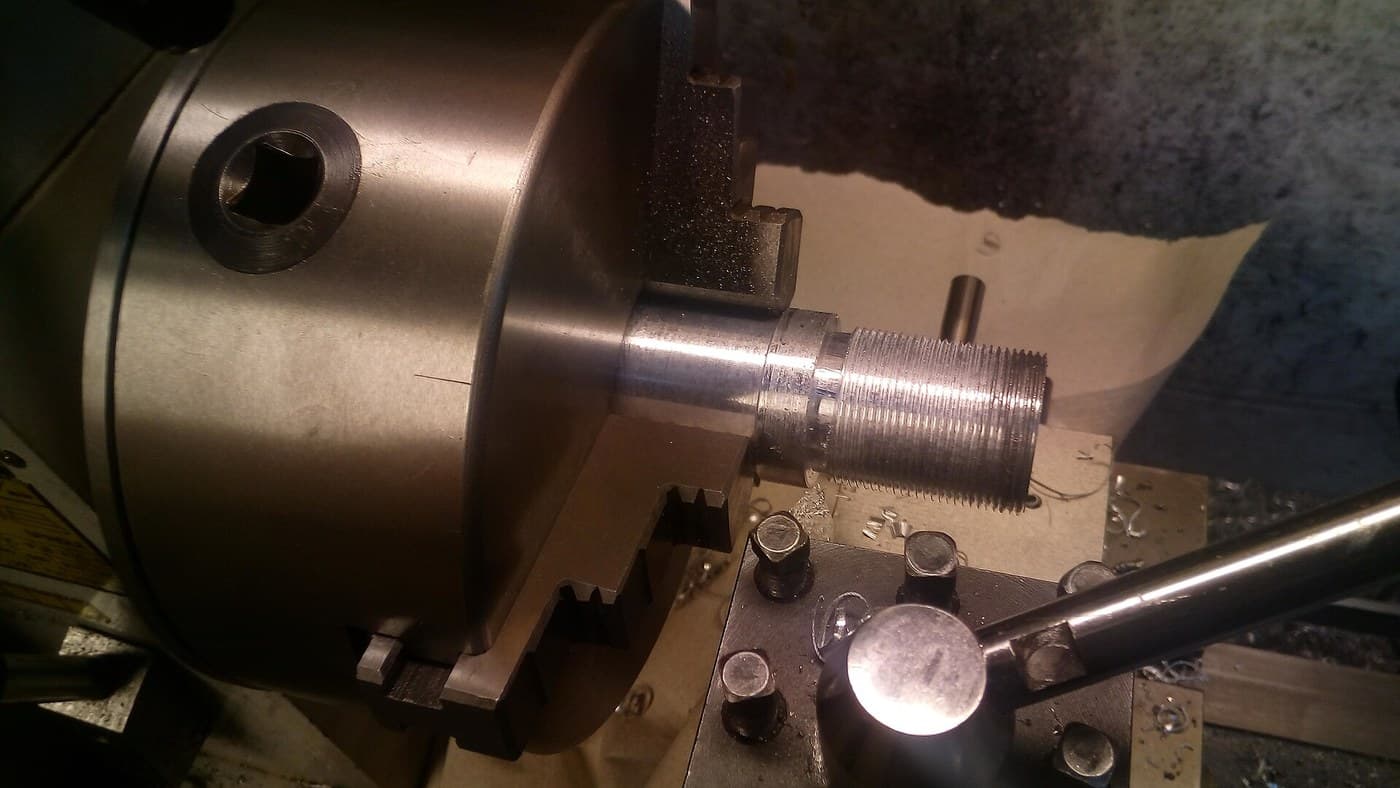
Chuck mild steel bar and turn the screw: a head with a screwdriver slot, a shoulder, the threaded body, and a reduced end at each end that drops into the housing's slots, with shoulders that bear on the end walls.
Materiali per questo passaggio:
 Barra di acciaio dolce1 pezzo
Strumenti necessari:
 Tornio per metalli
 Mandrino per tornio a 3 griffe
 Utensile da taglio per tornio
 Utensile da troncare
 Seghetto per metalli
 Calibro digitale da 6 pollici
 Olio da taglio
 Occhiali di sicurezza
4
4
Cut the thread
Cut the thread
Single-point cut one continuous thread along the body, its pitch matching the spacing of the band's slots, with a flat working face and a rounded back so it fills the slots.
Strumenti necessari:
Tornio per metalliUtensile da taglio per tornio Calibro per passi di filettaturaOlio da taglio
5
5
Trial fit
Trial fit
Lay the screw in the saddle with its ends in the housing's slots, fit the housing over it and check the prongs pass through the flange holes and the screw turns freely without end play. The clamp blueprint then welds, rivets and assembles them.
Strumenti necessari:
Calibro digitale da 6 polliciSerie di limeMateriali
2- 1 pezzoSegnaposto
- 1 pezzoSegnaposto
Strumenti richiesti
17- Segnaposto
- Segnaposto
- Segnaposto
- Segnaposto
- Segnaposto
- Segnaposto
- Segnaposto
- Segnaposto
- Segnaposto
- Segnaposto
- Segnaposto
- Segnaposto
- Segnaposto
- Segnaposto
- Segnaposto
- Segnaposto
- Segnaposto
Questo progetto realizza
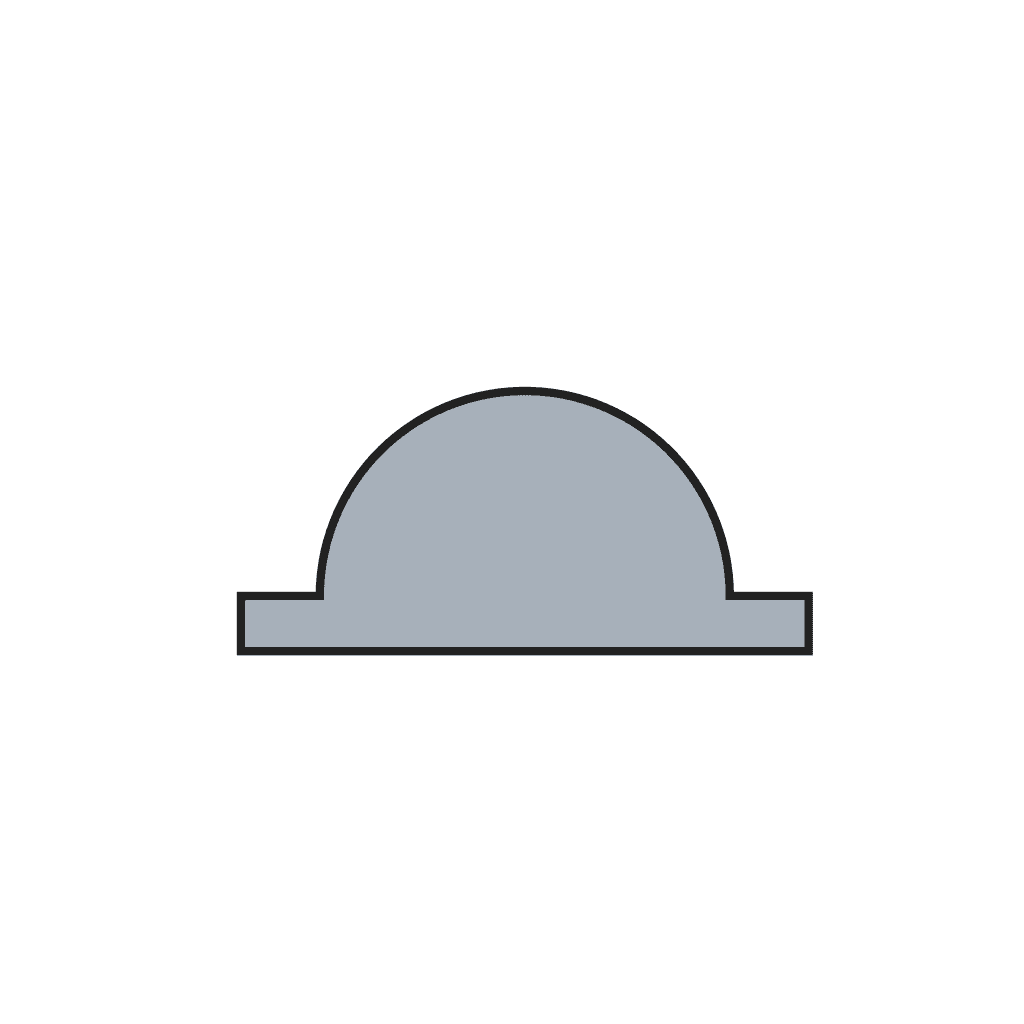
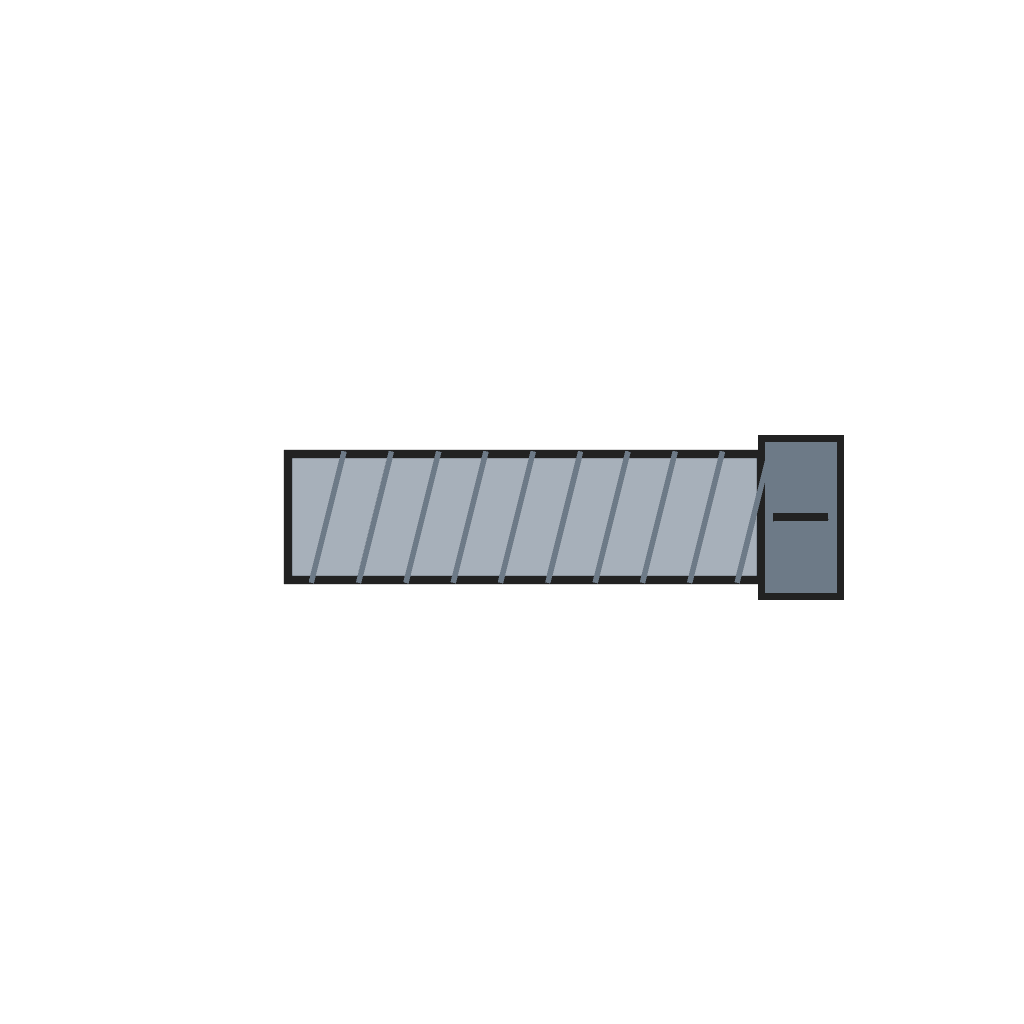
Blueprint correlati
Questi blueprint condividono conoscenze — tecniche, materiali o principi

CC0 Pubblico dominio
Questo progetto è rilasciato sotto CC0. Sei libero di copiare, modificare, distribuire e utilizzare quest'opera per qualsiasi scopo, senza chiedere permesso.
Supporta il Maker acquistando prodotti tramite il suo progetto dove guadagna una Commissione Maker stabilita dai venditori, oppure crea una nuova iterazione di questo progetto e includilo come collegamento nel tuo progetto per condividere i ricavi.