Collaborazione
ARTE
BELLEZZA E BENESSERE
MESTIERE
CULTURA E STORIA
DIVERTIMENTO
AMBIENTE
CIBO E BEVANDE
INGEGNERIA INVERSA
SCIENZE
SPORT
TECNOLOGIA
INDOSSABILI
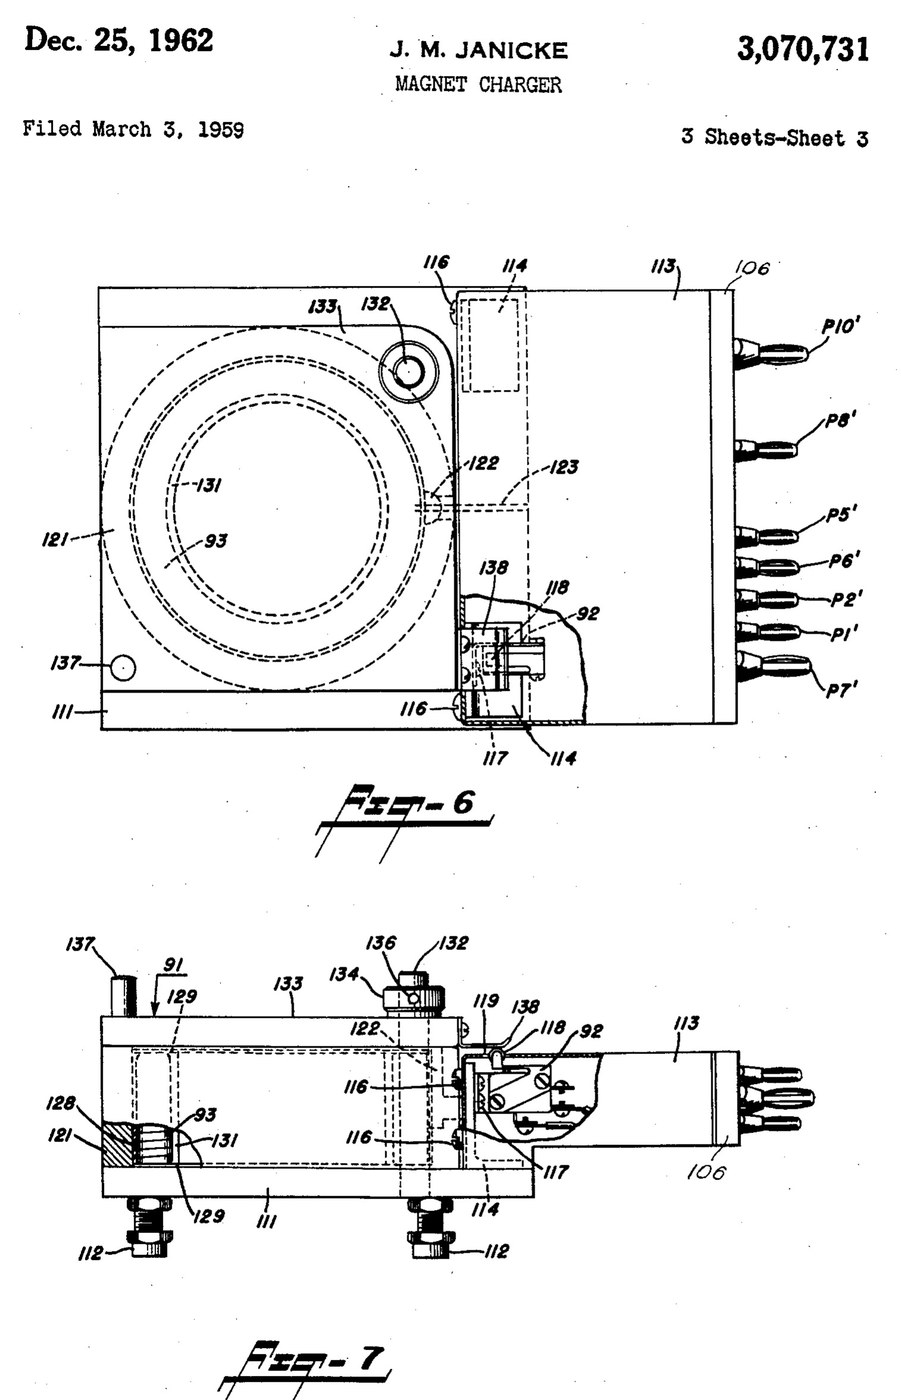


Magnetiser: Capacitor-Discharge Magnet Charger with a Wire-Wound Fixture (Janicke, US 3,070,731, 1962)
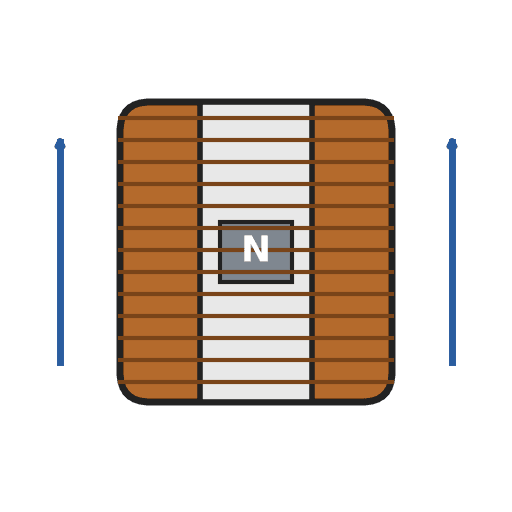
An impulse magnetiser. A capacitor is charged to a high voltage, then an ignitron dumps it all at once through a coil. The magnet sits inside the coil in a closed steel pot, so almost all of the flux goes through it.
Result: a magnet charger that magnetises rods, bars and blocks in one pulse, with an interlocked lid.
Source: J. M. Janicke, US 3,070,731 (1962). Unknown: voltages, capacitance, coil windings, field strength and sizes. Picture: the patent drawing.
Esperto
Unknown
Istruzioni
1
1
Build the charging supply
Build the charging supply
Feed a line switch from the mains through two fuses, with a pilot lamp. Wire a high-voltage transformer with two primaries, which a high-low switch puts in series or in parallel. Run its centre-tapped secondary to two mercury-vapour rectifier tubes, "or the like", with their own filament transformer, so they charge the energy-storage capacitor. A charging on-off switch with a red lamp switches the high-voltage side. A meter with multiplier resistors across the capacitor shows its voltage. Ours: toggle switches, neon lamps, a moving-coil meter. Not given: any voltage or value.
Materiali per questo passaggio:
 Trasformatore ad alta tensione1 high-voltage transformer
 Tubo raddrizzatore a vapori di mercurio2 rectifier tubes
 Trasformatore riduttore1 filament transformer
 Condensatore di accumulo di energia1 storage capacitor
 Strumento da pannello a bobina mobile1 voltage meter
 Resistore sconosciuto2 meter multipliers
 Interruttore a levetta3 line, charging and high-low switches
 Fusibile2 fuses
 Lampada spia al neon2 pilot and red lamps
Strumenti necessari:
 Saldatore a stagno
 Spelafili
2
2
Add the delay and the bleeder
Add the delay and the bleeder
Put a thermal time-delay relay before the charging switch: about thirty seconds after switch-on it energises a control relay, which feeds the charging switch and holds itself on. A third contact of the control relay lifts a bleeder resistor off the capacitor while the charger runs. When the charger is shut down the relay drops out and the bleeder drains the dangerous high-voltage charge from the capacitor.
Materiali per questo passaggio:
 Relè temporizzato1 thermal delay relay
 Relè1 control relay, three contact setsResistore sconosciuto1 bleeder resistor
Strumenti necessari:
Saldatore a stagnoSpelafili3
3
Fit the ignitron firing circuit
Fit the ignitron firing circuit
Put an ignitron in the discharge path of the storage capacitor, as its switch. The meter's multiplier resistors also form a divider that charges a small firing capacitor. Pressing the push button discharges the firing capacitor through a small limiting resistor into the ignitron's igniter, and the ignitron conducts. Not given: the firing capacitor's type and value.
Materiali per questo passaggio:
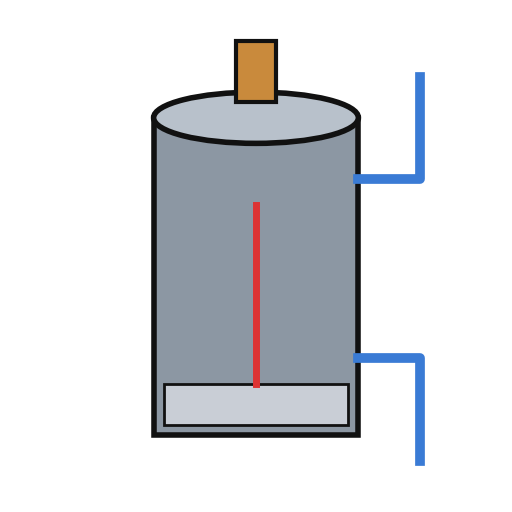 Ignitron1 discharge switch
 Materiale sconosciuto1 firing capacitorResistore sconosciuto1 limiting resistor
 Pulsante1 charge button
Strumenti necessari:
Saldatore a stagnoSpelafili4
4
Build the wire-wound fixture
Build the wire-wound fixture
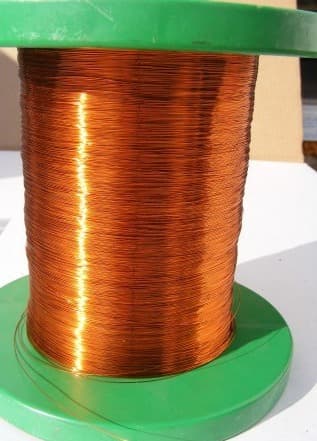
Weld a hollow cylindrical shell onto a base plate on levelling legs, both of magnetic material, to make a pot. Cut slots through the shell and the base plate so they cannot act as a shorted single-turn winding. Set the coil inside the shell in potting compound, with ring-shaped end pieces and a hollow cylindrical core in it. Hinge a square magnetic cover on a post beside the shell, held by a collar and set screw, with a handle. An L-shaped plate on the cover closes a switch in the igniter circuit only when the cover is shut. Wire the coil between the storage capacitor and the ignitron anode. Ours: mild steel, enamelled copper wire, casting epoxy. Not given: sizes, turns.
Materiali per questo passaggio:
 Piastra di acciaio dolce1 base plate and cover
 Tubo tondo di acciaio dolce1 shell
 Filo di rame smaltato1 coil
 Resina epossidica nera da colata1 potting compound
 Metallo sconosciuto1 end pieces, core, post, legs
 Microinterruttore (azionato a leva)1 lid interlock switch
Strumenti necessari:
 Saldatrice ad arco
 Trapano a colonna
 Set di cacciaviti
 Dimensioni sconosciute
5
5
Charge a magnet
Charge a magnet
Put the magnet inside the core. Fill most of the air gap between it and the base plate and cover with soft iron, but leave a small gap near the cover, or the cover will be hard to swing open afterwards. Lay insulating material about 1/16 inch thick on top of the magnet. Close the cover, which arms the igniter switch, charge the capacitor, and press the button: one pulse magnetises it. Ours: wrought iron for the soft iron.
Strumenti necessari:
 Barra di ferro battuto
 Materiale isolante sconosciuto
Materiali
20- 1 high-voltage transformerSegnaposto
- 2 rectifier tubesSegnaposto
- 1 filament transformerSegnaposto
- 1 storage capacitorSegnaposto
- 1 voltage meterSegnaposto
- 1 limiting resistorSegnaposto
- 3 line, charging and high-low switches1 vendor sell this, none ship to you yetSegnaposto
- 2 fusesSegnaposto
- 2 pilot and red lampsSegnaposto
- 1 thermal delay relaySegnaposto
- 1 control relay, three contact setsSegnaposto
- 1 discharge switchSegnaposto
- 1 firing capacitorSegnaposto
- Segnaposto
- 1 base plate and coverSegnaposto
- 1 shellSegnaposto
- 1 coilSegnaposto
- 1 potting compoundSegnaposto
- 1 end pieces, core, post, legsSegnaposto
- 1 lid interlock switchSegnaposto
Strumenti richiesti
8- 2 vendors sell this, none ship to you yetSegnaposto
- Segnaposto
- Segnaposto
- Segnaposto
- Segnaposto
- Segnaposto
- Segnaposto
- Segnaposto
Materiali dei progetti collegati


Questo progetto realizza
CC0 Pubblico dominio
Questo progetto è rilasciato sotto CC0. Sei libero di copiare, modificare, distribuire e utilizzare quest'opera per qualsiasi scopo, senza chiedere permesso.
Supporta il Maker acquistando prodotti tramite il suo progetto dove guadagna una Commissione Maker stabilita dai venditori, oppure crea una nuova iterazione di questo progetto e includilo come collegamento nel tuo progetto per condividere i ricavi.